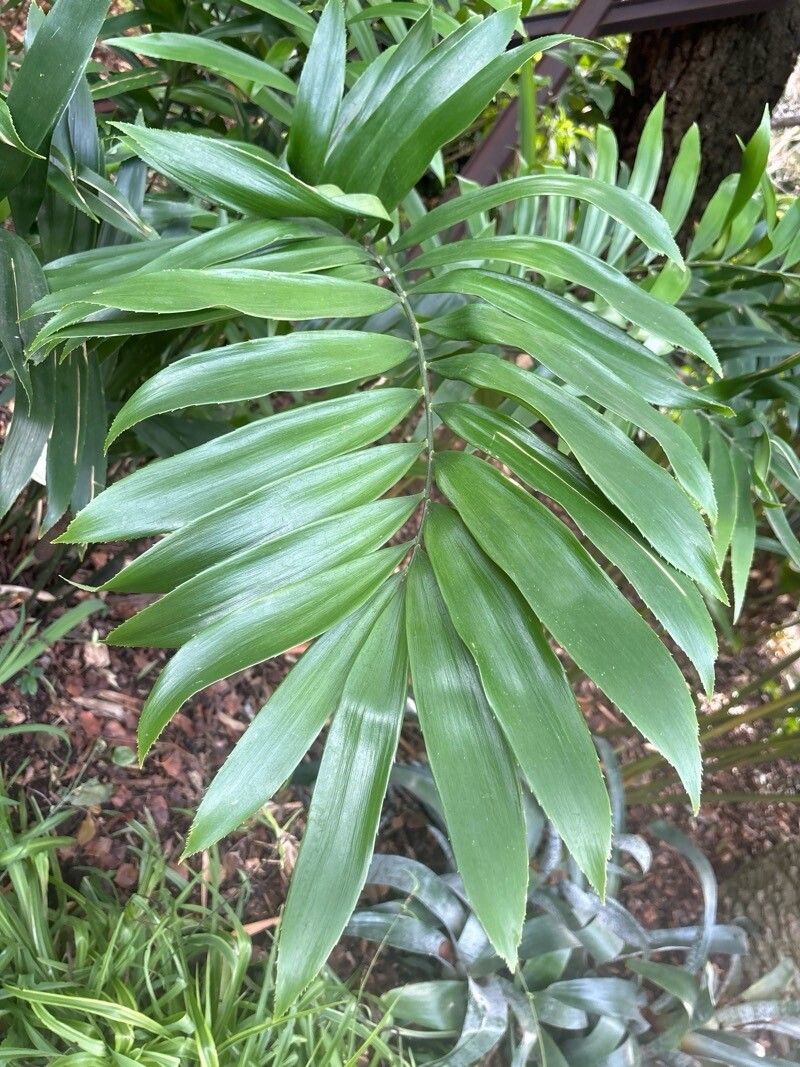
Hello fellow plant lovers! I’m so excited to chat with you today about a truly unique and rewarding plant: Zamia muricata. You might know it better as the Puerto Rican Sago or by its common name, “cycad.” Its striking, spiky fronds and ancient, almost prehistoric feel bring such a sense of drama to any collection. And the best part? You can easily multiply this beauty for yourself or to share with fellow enthusiasts.
Why Propagate Zamia Muricata?
There’s a special kind of joy that comes from coaxing a new life from an existing plant. With Zamia muricata, it’s not just about having more plants; it’s about mastering a fascinating process and watching something new spring forth. While it’s not as simple as sticking a begonia leaf in water, I’d say Zamia muricata is moderately challenging, making it a fantastic project for the enthusiastic beginner or the seasoned gardener looking for a rewarding endeavor.
The Best Time to Start
Timing is everything, isn’t it? For Zamia muricata, the absolute best time to try your hand at propagation is during its active growing season, which generally runs from late spring through summer. You’ll see the most vigorous new growth then, and the plant will have the energy it needs to put into developing new roots. Trying to propagate when the plant is dormant is like asking someone to run a marathon after a long nap – not ideal!
Supplies You’ll Need
Before we get our hands dirty, let’s gather our tools. You don’t need anything too fancy, just the essentials:
- Sharp, clean pruning shears or a sharp knife: For making clean cuts.
- Well-draining potting mix: A cactus/succulent mix is a great starting point. I often amend mine with extra perlite for even better drainage.
- Small pots or propagation trays: Anything that can hold your medium and accommodate a small plant.
- Rooting hormone (optional but recommended): A powder formulation works well.
- Watering can with a fine rose or a spray bottle: To provide gentle moisture.
- Gloves: To protect your hands from any sap.
- A warm, bright location: Your propagation station needs good light but not scorching direct sun.
Propagation Methods
Zamia muricata primarily propagates through offsets and stem cuttings. Let’s break down how to do it.
Method 1: Dividing Offsets
This is often the easiest and most successful method for home gardeners. Your mature Zamia muricata will likely produce little baby plants, called offsets or pups, around its base.
- Gently unpot your main plant. Tip it out of its pot carefully.
- Inspect the base. You’ll see the smaller offsets growing from the parent plant.
- Carefully separate the offsets. Use your sharp knife or pruning shears to cut them away from the mother plant. Try to get a little bit of root attached to each offset if possible. If an offset has no roots, don’t worry too much; we’ll encourage them.
- Allow the cuts to callous. This is crucial! Let the separated offsets sit in a dry, well-ventilated spot for a day or two until the cut surface dries and forms a protective scab. This prevents rot.
- Pot them up. Fill your small pots with your well-draining mix. Make a small hole in the center and plant the offset, ensuring the base is firm in the soil. For offsets with roots, plant them so the roots are spread out. For those without, bury the base just enough so it stands upright.
- Water lightly. Give them a gentle watering, just enough to moisten the soil.
Method 2: Stem Cuttings (More Advanced)
This method involves taking a piece of the main stem. It’s a bit more involved and requires patience.
- Identify a healthy stem. Look for a strong, mature stem section that has no leaves or the leaves are very old and about to fall off.
- Make a clean cut. Using your sharpest, cleanest tool, cut a section of the stem, about 4-6 inches long. Ensure it’s a healthy, firm piece of stem tissue.
- Remove lower leaves or bracts. If there are any small leaf bases or structures on the cut stem, gently remove them.
- Let it callous. Just like with offsets, let the cut end of your stem cutting dry and form a callous. This can take 2-3 days, sometimes even a week, depending on humidity.
- Apply rooting hormone (optional). Dip the calloused end of the stem into your rooting hormone powder. Tap off any excess.
- Plant the cutting. Insert the calloused end about 1-2 inches deep into your well-draining propagation mix. You can plant several in shallow trays or one per pot.
- Water gently. Water lightly to settle the soil around the cutting.
The “Secret Sauce” (Pro Tips)
Here are a few little tricks I’ve learned over the years that really make a difference:
- The root of the matter: bottom heat. Especially for stem cuttings, providing gentle bottom heat from a seedling heat mat can really encourage root development. It mimics the warmth of the soil in their natural habitat. Don’t make it too hot, just a lovely, cozy warmth.
- Air circulation is key. While you want to keep the soil moist, not waterlogged, you also want good airflow around your cuttings and offsets. This helps prevent fungal issues and rot, which young plants are particularly susceptible to. If you’re using a dome, lift it daily for a good airing out.
- Patience with pups. When dividing offsets, remember that the smaller pups might take a little while to establish. Don’t be tempted to keep digging them up to check for roots! Trust that if you’ve provided the right conditions, they’ll get going.
Aftercare & Troubleshooting
Once your Zamia muricata cuttings or offsets show signs of rooting – that’s usually new leaf growth or resistance when you gently tug – it’s time for continued care.
- Gradual introduction to light. Slowly move your new plants into brighter conditions. Avoid harsh, direct sun right away.
- Watering routine. Keep the soil consistently moist but not soggy. Let the top inch of soil dry out between waterings. As they grow, they’ll need less frequent but deeper watering.
- Signs of trouble. The most common issue is rot, which often shows up as a mushy, dark base or stem. This is usually due to overwatering and poor drainage. If you see this, gently unpot the plant to assess the damage. You might be able to salvage a healthy part if the rot hasn’t spread too far. Yellowing leaves can also indicate too much or too little water, or insufficient light.
A Bit of Patience Goes a Long Way
Propagating Zamia muricata is a journey, not a race. Some cuttings might take weeks or even months to show signs of life. Don’t get discouraged if not every attempt is a roaring success. Observe your plants, learn from each experience, and celebrate every little bit of progress. The satisfaction of nurturing a new cycad from scratch is truly unparalleled. Happy growing!
Resource:
https://identify.plantnet.org/k-world-flora/species/Zamia%20muricata%20Willd./data