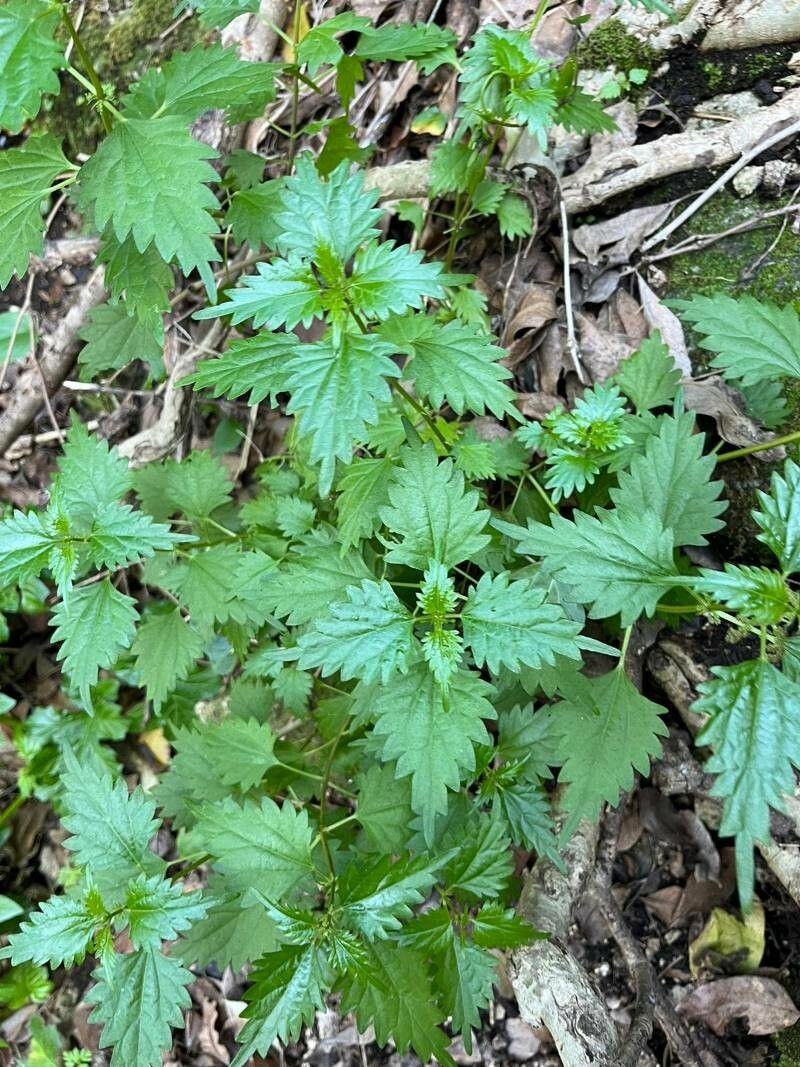
Oh, hello there! Pull up a chair and grab a mug. Today, we’re diving into something rather special: Urtica rupestris, also known as Rock Nettle. Now, I know the word “nettle” might bring to mind those pesky stinging beauties, but Urtica rupestris is a bit different. It’s a delightful Mediterranean native with a wonderfully architectural form and intriguing, dusky foliage that adds a sophisticated touch to any garden. Propagating it felt like a little secret I wanted to share with you. It’s not the absolute easiest plant for a complete novice, but with a little care and attention, you’ll find it quite manageable and incredibly rewarding.
The Best Time to Start
For the best chance of success with your Urtica rupestris cuttings, I find late spring to early summer is your golden window. That’s when the plant is actively growing and has plenty of energy to put into forming new roots. You’ll be taking cuttings from what we call “softwood” or “semi-hardwood” growth – the new shoots that are still flexible but have started to firm up a bit. Avoid taking cuttings when the plant is stressed, like during a heatwave or a dry spell.
Supplies You’ll Need
Here’s what I like to have on hand before I get started:
- Sharp Pruning Shears or a Craft Knife: Cleanliness is key for preventing disease.
- Rooting Hormone (Optional but Recommended): A powder or gel can give your cuttings a significant boost.
- Well-Draining Potting Mix: A good blend of perlite, coarse sand, and peat moss or coco coir works wonders to prevent waterlogging.
- Small Pots or Seed Trays: Clean pots, about 3-4 inches in diameter, are perfect. Make sure they have drainage holes!
- Labels: You’ll want to know what you’ve planted and when.
- Plastic Bags or a Propagator: To maintain humidity around the cuttings.
- Watering Can with a Fine Rose: For gentle watering.
Propagation Methods
I’ve had the most success with two main methods for Urtica rupestris: stem cuttings and, if you’re feeling ambitious, layering.
Stem Cuttings: This is my go-to.
- Take Your Cuttings: Using your sharp pruning shears, select a healthy stem from your Urtica rupestris. Look for a side shoot that’s about 4-6 inches long. Make a clean cut just below a leaf node (that little bump where a leaf grows from the stem).
- Prepare the Cuttings: Gently remove the lower leaves from the cutting, leaving just a couple of leaves at the top. This reduces water loss. If the remaining leaves are very large, you can snip them in half.
- Apply Rooting Hormone: Dip the cut end of the stem into your rooting hormone, tapping off any excess.
- Plant Your Cuttings: Fill your clean pots with your well-draining potting mix. Make a small hole in the center with a pencil or your finger. Insert the prepared cutting into the hole, ensuring the nodes where you removed the leaves are below the soil surface. Gently firm the soil around the base of the cutting.
- Water Gently: Water thoroughly but gently, so you don’t dislodge the cuttings.
- Create Humidity: Cover the pots with a clear plastic bag or place them in a propagator. Make sure the plastic doesn’t touch the leaves if possible. This creates a humid microclimate essential for root development.
Layering (Slightly More Effort, but Great for Lush Plants):
This is a fun one if you have a stem that’s growing close to the ground.
- Select a Stem: Choose a flexible, young stem that’s growing laterally.
- Girdle the Stem: About halfway along the stem, make a shallow cut on the underside, just deep enough to expose the inner tissue. You don’t need to cut all the way through.
- Apply Rooting Hormone (Optional): Apply a dab of rooting hormone to the cut area.
- Peg to the Ground: Bend the stem down and peg it firmly to the soil with a U-shaped wire or a stone, ensuring the wounded part is in contact with the soil. You can bury the wounded section slightly if you like.
- Keep Moist: Keep the soil around the layered stem consistently moist.
- Check for Roots: After a few months, you should see roots forming at the wound site. Once a good root system has developed, you can carefully cut the stem from the parent plant and pot it up.
The “Secret Sauce” (Pro Tips)
Here are a few little tricks I’ve picked up over the years that really make a difference:
- Bottom Heat is Your Friend: If you have the option, placing your pots on a heated propagator mat can dramatically speed up root formation. This is particularly helpful if your room temperatures fluctuate.
- Don’t Overwater – Ever! This is probably the most common pitfall. Soggy soil is the enemy of cuttings. Ensure your mix is airy, and only water when the top inch of soil feels dry to the touch. Good drainage is non-negotiable.
- Cleanliness is Paramount: I can’t stress this enough. Always use sterilized pots and tools. A quick wash in soapy water and a rinse with diluted bleach solution can work wonders in preventing fungal infections that can wipe out your precious new plants.
Aftercare & Troubleshooting
Once your cuttings have developed a good root system (you might see roots peeking out of the drainage holes, or gently tugging on a cutting reveals resistance), it’s time for them to start living their best independent lives.
- Acclimatize: Gradually reduce the humidity by opening the plastic bag or propagator vents a little each day over a week. This helps them adjust to drier air.
- Potting Up: Once they are sturdy, you can transplant them into slightly larger pots with your regular potting mix. Handle the young roots with care.
- Light: Keep them in bright, indirect light initially. Avoid direct, hot sun, which can scorch their tender new leaves.
- Watering: Water them as you would mature plants, but still err on the side of caution. Let the top soil dry out slightly between waterings.
Troubleshooting:
The most common issue is rotting. If your cuttings look limp, mushy, or have developed black spots, it’s likely due to overwatering and poor air circulation. Sadly, these are usually a lost cause. If you see mould on the soil surface, improve air circulation and be more judicious with watering. If you see no sign of rooting after many weeks, don’t despair! Some plants are just slower starters. Give it a bit more time, ensuring the conditions remain optimal.
A Little Patience, A Big Reward
So there you have it! Propagating Urtica rupestris is a lovely way to multiply your garden’s charm and share its beauty with others. Remember to be patient with your little green charges. They’re working hard to establish themselves, and with a bit of care and attention, you’ll soon have a whole new collection of these stunning plants. Happy propagating!
Resource:
https://identify.plantnet.org/k-world-flora/species/Urtica%20rupestris%20Guss./data