Oh, hello there! Grab your favorite mug and let’s chat about coaxing more of those delightful Stevia alpina plants into existence. I’ve been nurturing my own little patches of this sweet-leafed wonder for what feels like forever, and let me tell you, there’s a special kind of joy in creating more from what you already have.
Why Grow Stevia Alpina?
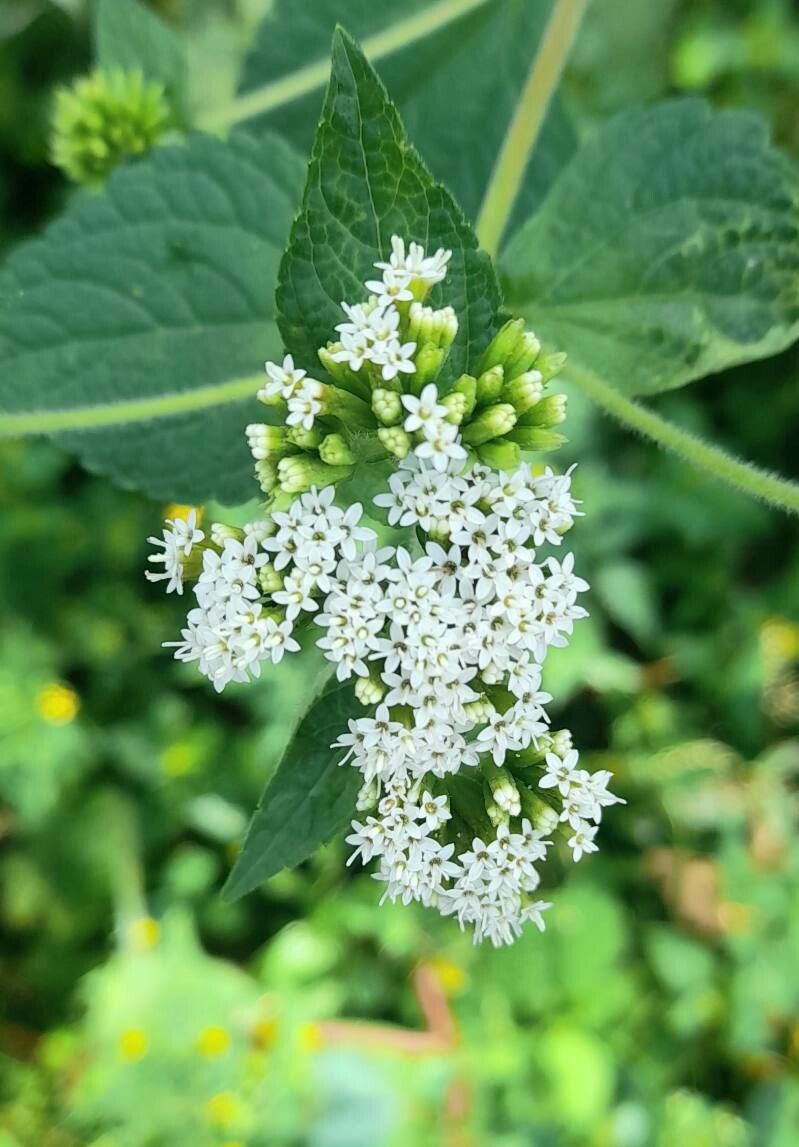
For those new to Stevia alpina, imagine a plant that offers natural sweetness without the need for sugar. It’s perfect for tea, coffee, or adding a little something-something to your baked goods. Beyond its delicious leaves, it’s a charming little plant with a tidy habit that looks lovely in pots or nestled in the garden. Best of all, propagating it yourself is a wonderfully rewarding way to expand your herb garden and share the sweetness with friends.
Now, is it a beginner-friendly plant to propagate? I’d say it’s moderately easy, especially if you follow a few key steps. You’ll get the hang of it in no time!
When’s the Sweet Spot for Starting?
The absolute best time to think about propagating Stevia alpina is in late spring or early summer. This is when the plant is actively growing, full of vigor, and producing nice, healthy stems. You want to catch it at its peak, before the intense heat of mid-summer or the cooler weather of fall sets in. Aim for stems that are still somewhat soft and flexible – not the old, woody bits they get later in the season.
What You’ll Need for Your Propagation Station
Gathering your supplies beforehand makes the whole process much smoother. Here’s a little checklist:
- Sharp Pruning Shears or a Craft Knife: Cleanliness is key here to prevent disease.
- Rooting Hormone (Optional but Recommended): This little magic powder or gel really encourages root development.
- Small Pots or Propagation Trays: With drainage holes, naturally!
- A Good Potting Mix: I like a blend of seedling starting mix and perlite. This ensures good drainage and aeration. Some folks swear by a mix with a bit of peat moss, too.
- Watering Can or Mister: Gentle watering is important.
- Plastic Bags or a Propagator Lid: To create a humid environment.
- A Bright, Indirect Light Location: No direct scorching sun for these little ones!
Let’s Get Rooting! My Favorite Methods
I find stem cuttings to be the most reliable and efficient way to make more Stevia alpina. Here’s how I do it:
Methods: Stem Cuttings
- Select Your Stems: Look for healthy, non-flowering stems that are about 4-6 inches long. Gently bend a stem; if it snaps cleanly, it’s a good candidate.
- Make the Cut: Using your clean shears, snip the stem just below a leaf node (that’s where a leaf attaches to the stem). This is where roots love to emerge.
- Prepare the Cutting: Carefully remove the lower leaves, leaving just a few at the very top. This prevents them from rotting in the soil.
- Dip in Rooting Hormone (if using): Lightly dip the cut end into the rooting hormone powder or gel. Tap off any excess.
- Plant Your Cuttings: Fill your small pots with your prepared potting mix. Gently make a hole in the center with a pencil or your finger and insert the prepared cutting. Firm the soil gently around the stem.
- Water Lightly: Give the soil a gentle watering to settle it around the cutting.
- Create Humidity: Cover the pot with a clear plastic bag (poke a few holes in it for ventilation) or place it inside a propagator with the lid on. This creates a mini-greenhouse effect.
- Find a Cozy Spot: Place your pots in a warm location with bright, indirect light. Avoid direct sun, which can scorch the tender cuttings.
Methods: Water Propagation (A Gentle Alternative)
While I lean towards soil, water propagation can be a fun way to watch roots develop.
- Prepare Cuttings: Follow steps 1-3 from the stem cutting method.
- Place in Water: Put the prepared cuttings into a small jar or glass of clean water. Make sure the leaf nodes that you removed the leaves from are submerged.
- Change Water Regularly: Change the water every few days to keep it fresh and prevent bacterial growth.
- Monitor for Roots: You should start to see tiny white roots emerge from the nodes in a few weeks.
- Pot Them Up: Once the roots are about an inch long, gently transplant them into pots filled with your potting mix, treating them like tiny seedlings.
The “Secret Sauce” – My Insider Tips
- Don’t let the leaves touch the water in water propagation! If you’re doing it the water way, make sure only the stem and nodes are submerged. Any leaves in the water will quickly rot and can kill your cutting.
- Bottom heat is your friend! If you can, place your pots on a gentle heat mat. This warmth from below really encourages those roots to get going. It mimics the warmth of the soil in summer and makes a noticeable difference.
- Don’t overcrowd your pots. Give each cutting a little space. Cramming too many together can lead to poor air circulation, which invites disease.
Babying Your New Stevia & What to Watch For
Once your cuttings have developed a good root system – you’ll know because they’ll feel resistant when you gently tug on them, or you might see roots peeking out of the drainage holes – it’s time to give them a little more room.
- Watering: Water them as you would a mature plant, allowing the top inch of soil to dry out slightly between waterings. Overwatering is the quickest way to invite rot.
- Light: Gradually introduce them to more light, but continue to avoid harsh, direct sun for the first few weeks.
- Fertilizing: Wait a few weeks after they’ve been potted up before giving them a very dilute liquid fertilizer. They’re still establishing themselves.
Troubleshooting: The most common issue you’ll face is rot. If a cutting looks sad, mushy, or black at the base, it’s likely succumbed to rot. This is usually due to too much moisture and not enough air circulation. Don’t be discouraged! Just discard the affected cutting and try again, making sure your soil drains well and you’re being careful with the watering.
Happy Growing!
Propagating Stevia alpina is such a satisfying journey. It’s a gentle process, and with a little patience and these tips, you’ll be well on your way to a garden full of sweet-leafed goodness. Enjoy the process, celebrate every little root, and don’t be afraid to experiment. Happy gardening!
Resource:
https://identify.plantnet.org/k-world-flora/species/Stevia%20alpina%20Griseb./data