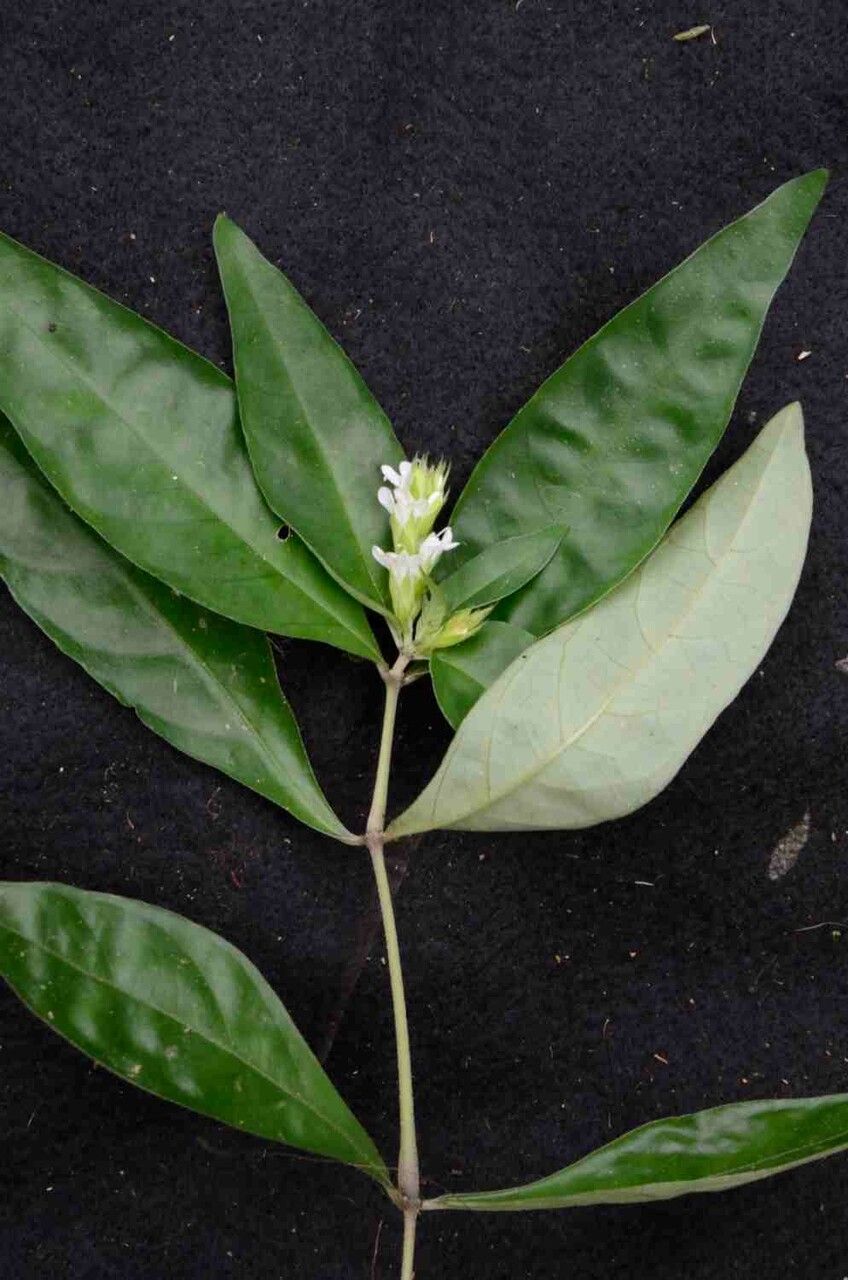
Oh, hi there! Come on in, grab a mug. It’s so great to see your interest in Staurogyne alba. This little aquatic marvel is just incredibly rewarding to grow. Its delicate, lacy foliage adds such a vibrant splash of green to any aquarium or paludarium setting. And the best part? Propagating it is a fantastic way to multiply that beauty without breaking the bank.
If you’re new to plant propagation, don’t you worry. Staurogyne alba is quite forgiving. I’d say it leans towards being beginner-friendly, which is always a win in my book. Getting more plants from the ones you already love is one of the most satisfying parts of this hobby, isn’t it?
The Best Time to Start
For Staurogyne alba, the absolute peak season for propagation is during its most vigorous growth phase. Think late spring through summer. When the days are longer and warmer, your plants will be producing plenty of healthy new shoots, which are perfect for cuttings. You can also propagate it outside of this window, but you’ll likely see faster results when the plant is actively growing.
Supplies You’ll Need
Gathering your tools before you start makes the whole process smoother. Here’s what I usually have on hand:
- Sharp Pruning Shears or Scissors: A clean cut is crucial!
- Rooting Hormone (Optional but Recommended): This really gives your cuttings a head start.
- Clean Water: For rinsing or for water propagation.
- Suitable Substrate: For planting your cuttings. This could be aquarium gravel, sand, or a mix. For emersed growth, a well-draining potting mix works wonders.
- Small Pots or Containers: For your new plants.
- A Spray Bottle: For misting.
Propagation Methods
Staurogyne alba is wonderfully versatile when it comes to making more of it. My favorite method is by stem cuttings. It’s simple and yields great results.
- Identify a Healthy Shoot: Look for a mature Staurogyne alba that has a good amount of growth. You want to find a stem that’s at least 4-6 inches long and has several sets of leaves.
- Make the Cut: Using your sharp pruning shears, make a clean cut just below a leaf node. A leaf node is where a leaf attaches to the stem. This is where new roots will typically emerge. You can take multiple cuttings from a single mother plant.
- Prepare the Cutting: Gently remove the lower leaves from the stem, leaving just a few at the very top. This prevents them from rotting in the water or substrate.
- Apply Rooting Hormone (Optional): If you’re using rooting hormone, dip the cut end of the stem into the powder or gel. Just a light coating is all you need.
- Planting Your Cuttings:
- For Aquariums: Simply push the cut end of the stem into your substrate. Make sure at least one leaf node is buried.
- For Water Propagation: Place the prepared cuttings in a glass or jar of clean water. Ensure that none of the leaves are submerged. Position the glass where it gets good indirect light.
- For Emersed Growth: You can plant them in a small pot with damp, well-draining potting mix, burying a leaf node just like you would for aquarium planting. Mist the leaves regularly.
The “Secret Sauce” (Pro Tips)
Over the years, I’ve picked up a few tricks that really seem to boost success.
- Don’t Let the Leaves Touch the Water: This is a big one if you’re water propagating. Submerged leaves will almost always rot, and that can take down your whole cutting. Keep them high and dry!
- Bottom Heat is Your Friend: If you’re struggling with rooting, especially in cooler months, consider adding a propagation mat or placing your pots on top of a warm aquarium filter. A little warmth encourages root development.
- Patience with Light: Once your cuttings are planted, they might look a bit sad for a day or two. This is normal! Don’t panic and move them around too much. Let them settle in. Good, indirect light is key. Too much direct sun can scorch delicate new growth.
Aftercare & Troubleshooting
Once you see signs of new growth – tiny roots emerging from the stem or new leaves unfurling – you’re well on your way!
For submerged cuttings, you can generally treat them like your established plants. Keep the water parameters stable and provide good lighting. For emersed cuttings, continue to mist them and ensure the soil stays consistently damp but not waterlogged.
The most common issue you’ll run into is rot. If you see a cutting turning mushy and brown, it’s likely rotted. This usually happens due to too much moisture on the leaves, the wrong substrate, or the leaves being submerged in water. Don’t be discouraged if a few fail. It happens to the best of us! Just remove the failed cutting and try again.
A Encouraging Closing
So there you have it! Propagating Staurogyne alba is a truly accessible and rewarding endeavor. Remember to be patient with your new little plants. They’re working hard to establish themselves. Enjoy the process, and before you know it, you’ll be sharing your lovely Staurogyne alba cuttings with friends! Happy planting!
Resource:
https://identify.plantnet.org/k-world-flora/species/Staurogyne%20alba%20Braz%20&%20R.Monteiro/data