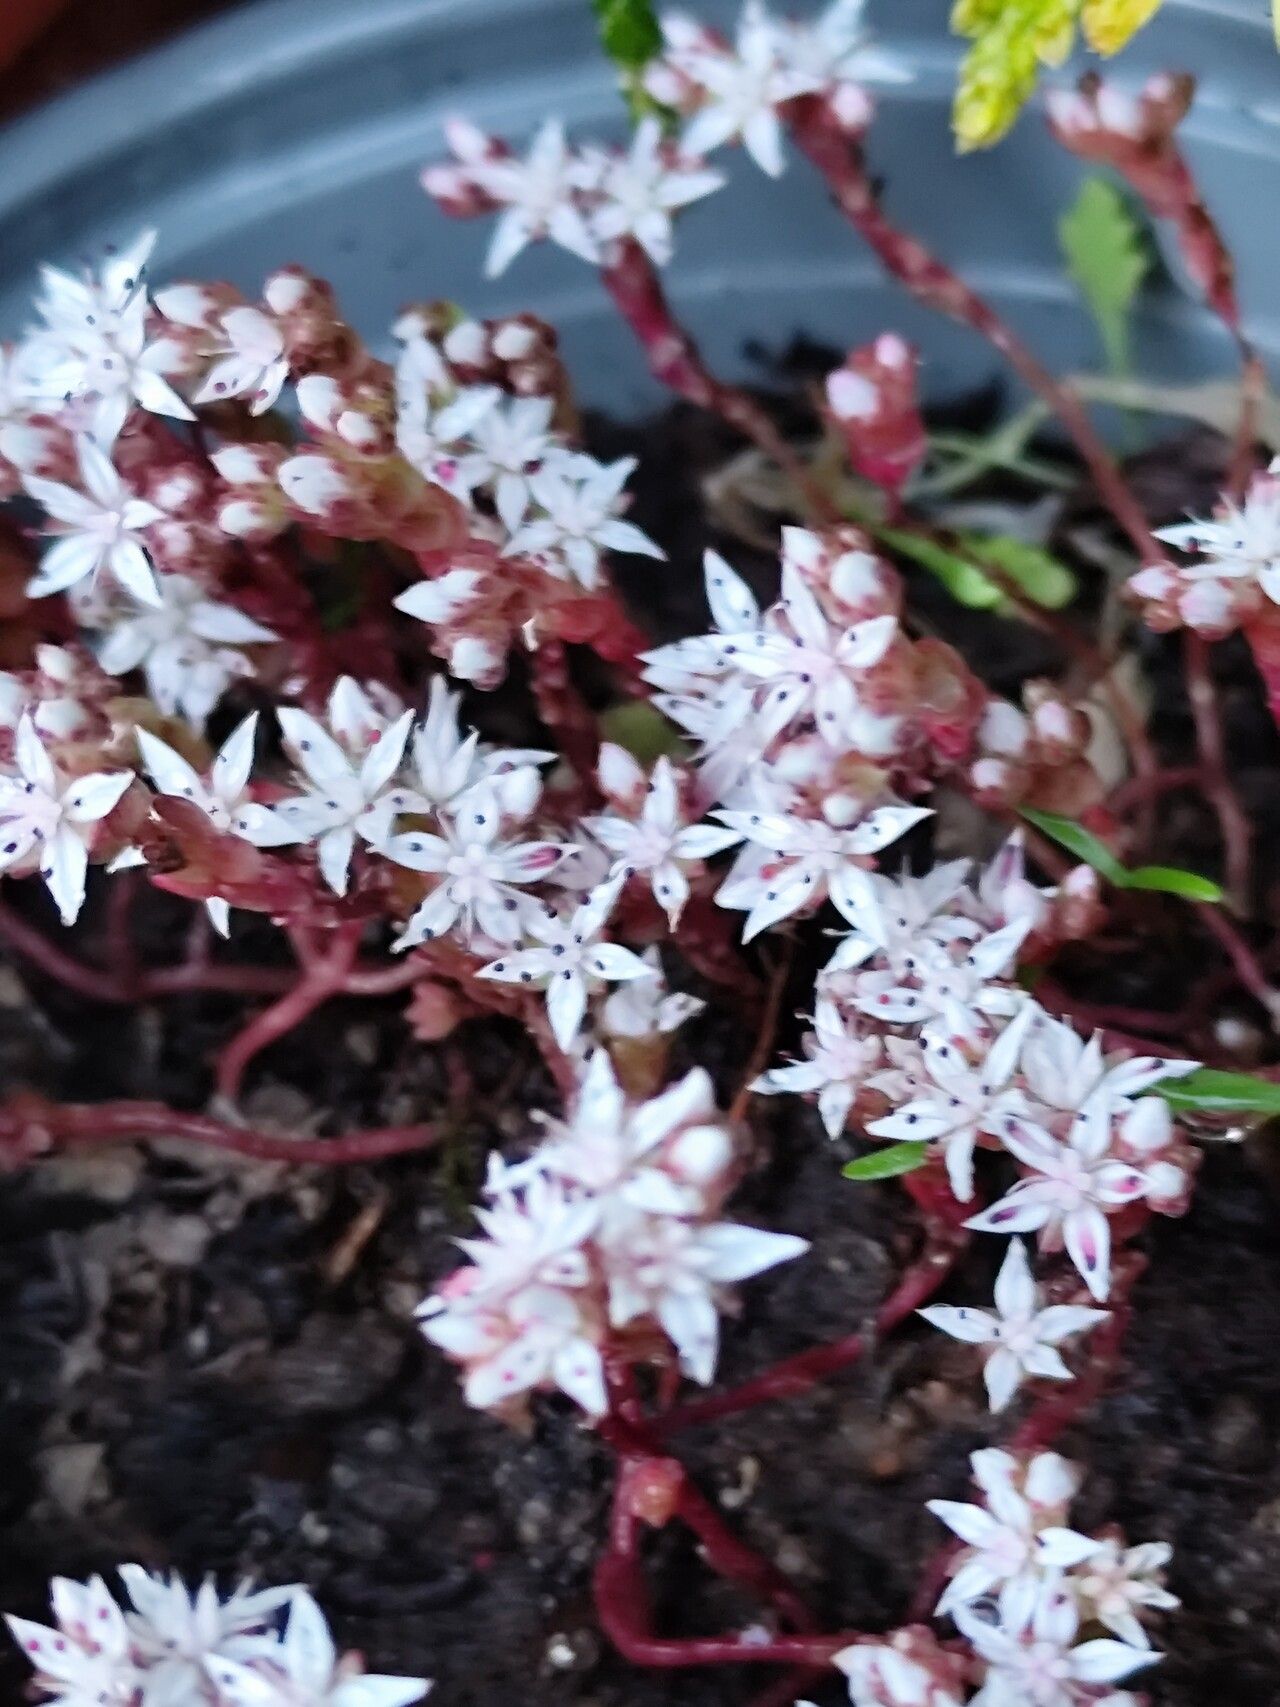
Well hello there, fellow plant lover! If you’ve ever admired those charming little rosettes of Sedum anglicum, with their delicate pinkish-white flowers blanketing the rocks in summer, then you’re in for a treat. Those pretty clusters are surprisingly easy to multiply, and I can tell you from my own overflowing pots, there’s a special kind of satisfaction in nurturing a new plant from a tiny piece of its parent. For beginners dipping their toes into the world of propagation, Sedum anglicum is practically a welcome mat. It’s forgiving, and the results are usually quite speedy.
The Best Time to Start
When it comes to getting these little guys going, I find late spring to early summer is your golden window. The plant is actively growing then, full of life and energy, which translates to better rooting success. You want to catch it before the intense heat of mid-summer sets in, but well after the last chance of frost.
Supplies You’ll Need
Don’t worry, this isn’t an exhaustive list of fancy gadgets. You probably have most of this already in your garden shed:
- Sterile Pruning Shears or a Sharp Knife: Clean tools are key to preventing disease.
- Well-Draining Potting Mix: Cactus and succulent mixes are perfect. You can also make your own by combining equal parts potting soil, perlite, and coarse sand.
- Small Pots or Seedling Trays: Anything that can hold your cuttings and allow for moisture.
- Rooting Hormone (Optional but helpful): I like to have a bit on hand.
- Watering Can with a Fine Rose or a Spray Bottle: For gentle watering.
- Labels and a Pen: For remembering what you’ve planted!
Propagation Methods
Here are a couple of ways I’ve had great luck with Sedum anglicum:
Stem Cuttings: My Go-To Method
This is likely the easiest and most straightforward way to get lots of new plants.
- Take Your Cuttings: Using those clean shears, snip off pieces of healthy stem that are about 2-4 inches long. Don’t be afraid to take a few – it’s always good to have spares!
- Let Them Callous: This is a crucial step! Lay your cuttings out on a dry paper towel or a clean surface in a bright spot, but out of direct sun, for 2-3 days. You’ll notice the cut end dries and forms a little protective scab. This prevents rot when you plant them.
- Prepare the Pots: Fill your small pots with your well-draining soil mix. Moisten it slightly – damp, not soggy.
- Plant the Cuttings: You can dip the calloused end of each cutting into a bit of rooting hormone if you’re using it. Then, simply make a small hole in the soil with your finger or a pencil and insert the cutting, about 1 inch deep. Gently firm the soil around it.
- Water Sparingly: Give them a very light watering. You want the soil to be just barely moist.
Water Propagation: For the Impatient
If you’re like me and like to see the roots forming, this is a fun one!
- Take and Prepare Cuttings: Follow steps 1 and 2 from the stem cutting method.
- Place in Water: Fill a small glass or jar with fresh, room-temperature water. Gently place the calloused cuttings into the water.
- The “Don’t Let Them Touch” Rule: This is vital! Ensure the leaves of your cuttings are NOT submerged in the water. They will rot quickly. Only the stem should be in the water.
- Change Water Regularly: Change the water every 2-3 days to keep it fresh and prevent bacterial growth.
- Watch and Wait: You should start to see tiny white roots emerging from the cut end within a week or two. Once the roots are about an inch long, it’s time to plant them in soil.
The “Secret Sauce” (Pro Tips)
Over the years, I’ve learned a few tricks that seem to give my propagations a little extra boost.
- Bottom Heat is Your Friend: Especially if you’re starting early in the season or your house is a bit on the cooler side, placing your pots on a heat mat designed for seedlings can significantly speed up root development. It’s like giving them a warm hug!
- Don’t Overcrowd: When planting your cuttings in a pot, give them a little breathing room. Overcrowding can lead to poor air circulation and encourage fungal issues. Half an inch between cuttings is usually plenty.
- Mimic Their Natural Habitat: Sedums love good air flow. Avoid covering your cuttings tightly with plastic domes once they’re planted in soil. Loose covers are okay for a day or two if humidity is really low, but generally, open air is best for preventing rot.
Aftercare & Troubleshooting
Once your cuttings have rooted (you’ll know when you gently tug on them and feel resistance, or can see roots poking out the bottom of the pot!), it’s time to treat them like the tiny, proud new plants they are.
- Gradual Acclimation: If you started them in water, gradually introduce them to soil. Plant them in a small pot with your succulent mix and water lightly. If you started them directly in soil, they should now be established.
- Watering: Water your new sedums only when the soil is completely dry. This is perhaps the most important rule for succulents. Overwatering is the quickest way to kill them. I usually stick my finger about an inch into the soil; if it feels dry, it’s time to water.
- Light: Provide bright, indirect light. Direct, scorching sun can be too much for very young plants. As they grow stronger, you can gradually introduce them to more sun.
What if things go wrong? The most common issue you’ll encounter is rot. If you notice your cuttings turning mushy or black, it’s usually a sign of too much moisture and not enough air flow. If you see this, discard any affected parts immediately and try to keep the remaining cuttings drier. Sometimes, a cutting just doesn’t take. Don’t beat yourself up! It happens to all of us. We just grab another cutting and try again.
So there you have it! Propagating Sedum anglicum is a delightful way to fill your garden or windowsills with these charming succulents. Be patient, have fun experimenting, and enjoy the simple joy of watching your efforts bloom. Happy gardening!
Resource:
https://identify.plantnet.org/k-world-flora/species/Sedum%20anglicum%20Huds./data