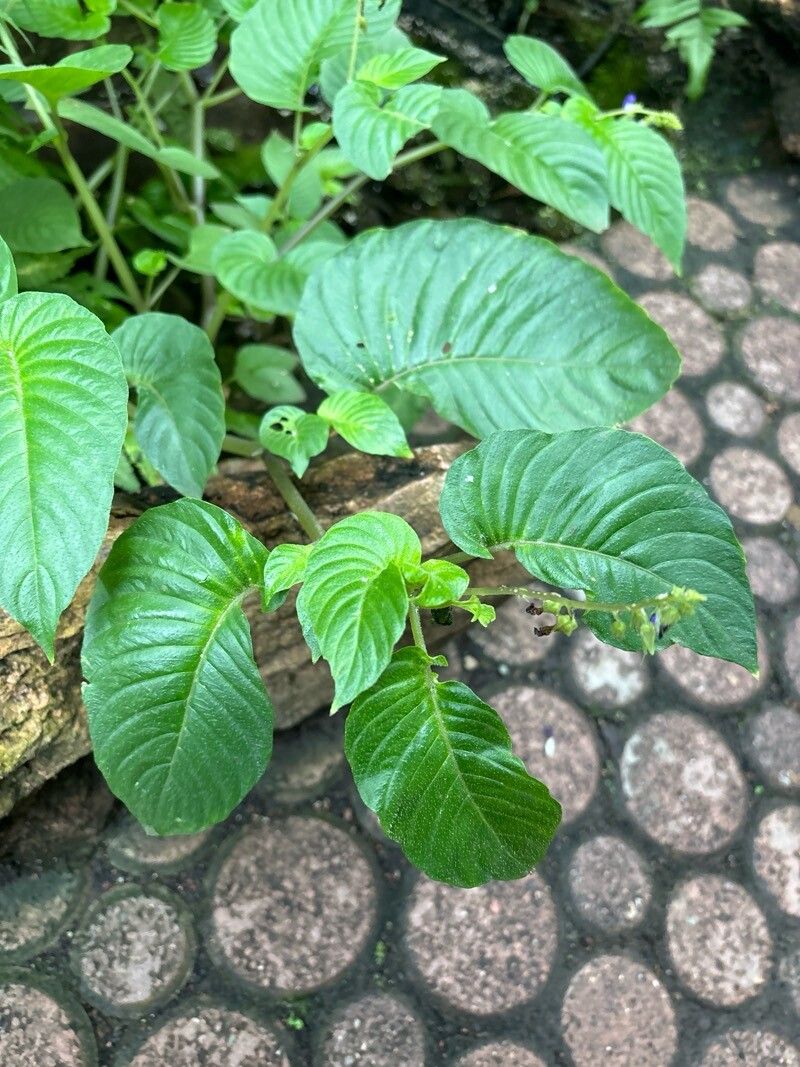
Oh, hello there! Pull up a chair and let’s chat about a truly delightful plant for any collector: Rhynchoglossum obliquum. If you haven’t seen this beauty before, imagine lush, velvety leaves with an almost iridescent sheen, often sporting deep, intriguing veins. It’s a gem that brings a touch of the exotic without being overly fussy. And the best part? Propagating it is surprisingly achievable and incredibly rewarding. While it’s not quite a “stick it in the ground and walk away” situation, with a little care, you’ll be creating baby Rhynchoglossum in no time. I’d say it’s a wonderfully satisfying project for most plant enthusiasts, even those newer to the propagation game.
The Best Time to Start
For the highest success rate with our Rhynchoglossum obliquum, I always lean towards the active growing season. Think late spring through summer. This is when the plant is naturally putting on new growth, and those cuttings have the most energy to develop roots. Starting them when the days are longer and warmer really gives them a strong start.
Supplies You’ll Need
Gathering your supplies beforehand makes the whole process much smoother. Here’s what I usually have on hand:
- Sharp Pruning Shears or a Clean Knife: For making clean cuts.
- Well-Draining Potting Mix: A mix formulated for aroids or a blend of peat, perlite, and a little bit of orchid bark works beautifully.
- Small Pots or Propagation Trays: About 3-4 inches is perfect for cuttings.
- Rooting Hormone (Optional but Recommended): Helps speed up root development.
- Clear Plastic Bags or a Small Greenhouse: To create a humid environment.
- Watering Can or Spray Bottle: For gentle watering.
- Small Plant Labels: To keep track of your propagated treasures!
Propagation Methods
There are a few ways to go about this, but my favorite for Rhynchoglossum obliquum is taking stem cuttings. It’s direct, efficient, and usually yields great results.
- Select Healthy Stems: Look for a mature, healthy Rhynchoglossum plant. Identify stems that have at least two to three leaf nodes. Nodes are the little bumps on the stem where leaves (or aerial roots) emerge. This is where new roots will form.
- Make Your Cut: Using your sharp shears or knife, make a clean cut just below a leaf node. It’s best to take cuttings that are at least 3-4 inches long. You can take multiple cuttings from a single vigorous plant.
- Prepare the Cutting: Gently remove the lower leaves from the cutting, leaving just the top one or two. This prevents them from rotting in the soil or water and focuses the plant’s energy on rooting.
- Apply Rooting Hormone (Optional): If you’re using rooting hormone, dip the cut end of the stem into the powder or gel. Tap off any excess.
- Plant Your Cuttings: Fill your small pots with your prepared potting mix. Make a small hole in the center of the soil with your finger or a pencil. Gently insert the cut end of the stem into the hole, ensuring at least one node is buried beneath the soil surface. Firm the soil gently around the stem.
- Water Gently: Water the soil thoroughly but gently. You want the soil to be moist, not soggy.
- Create a Humid Environment: Cover the pot loosely with a clear plastic bag or place it in a small greenhouse. This helps maintain high humidity, which is crucial for cuttings to survive until they develop roots. Make sure the leaves don’t touch the plastic if possible.
- Place in Bright, Indirect Light: Find a warm spot with bright, indirect light. Avoid direct sunlight, as this can scorch the delicate cuttings.
The “Secret Sauce” (Pro Tips)
Here are a couple of little tricks that have served me well over the years:
- Bottom Heat is Your Friend: Rhynchoglossum cuttings absolutely love a little warmth from below. Placing your pots on a heating mat designed for seedlings can dramatically speed up the rooting process. It mimics the warmth of spring and summer soil.
- Patience with Water: If you do decide to try water propagation (which I find slightly less reliable for this particular plant, but it can work, especially if you’re just experimenting), make sure no leaves are submerged in the water. Submerged leaves are a fast track to rot. Only the stem should be in contact with the water.
Aftercare & Troubleshooting
Once your cuttings have been happily sitting in their warm, humid environment for a few weeks, keep an eye out for signs of root development. You’ll know they’re rooting when you see new leaf growth, or if you gently tug on the cutting and feel resistance.
Once roots have formed (you might see them peeking out the drainage holes or notice substantial new growth), it’s time to gradually acclimate your new plant to normal humidity. Remove the plastic bag or greenhouse cover for a few hours each day, slowly increasing the time until it can be completely removed. Continue to water when the top inch of soil feels dry.
Now, what if things go wrong? The most common issue is rot. If your cutting turns black and mushy, it’s likely rotted. This is usually due to overwatering, poor drainage, or lack of air circulation. If you see this, unfortunately, that cutting is probably lost. My advice? Don’t get discouraged! It’s a learning process. Just grab another healthy stem and try again. Sometimes, a little tip rot can happen, and if the rest of the stem looks healthy, you can often nip off the bad section and try to re-root the healthy part.
A Little Green Encouragement
Propagating plants is such a joyous part of gardening. It connects you more deeply with your plants and allows you to share their beauty with others. Be patient with your Rhynchoglossum obliquum cuttings. They are living things, and sometimes they have their own timeline. Enjoy the process of watching them transform from a simple stem to a thriving new plant. Happy propagating!
Resource:
https://identify.plantnet.org/k-world-flora/species/Rhynchoglossum%20obliquum%20Blume/data