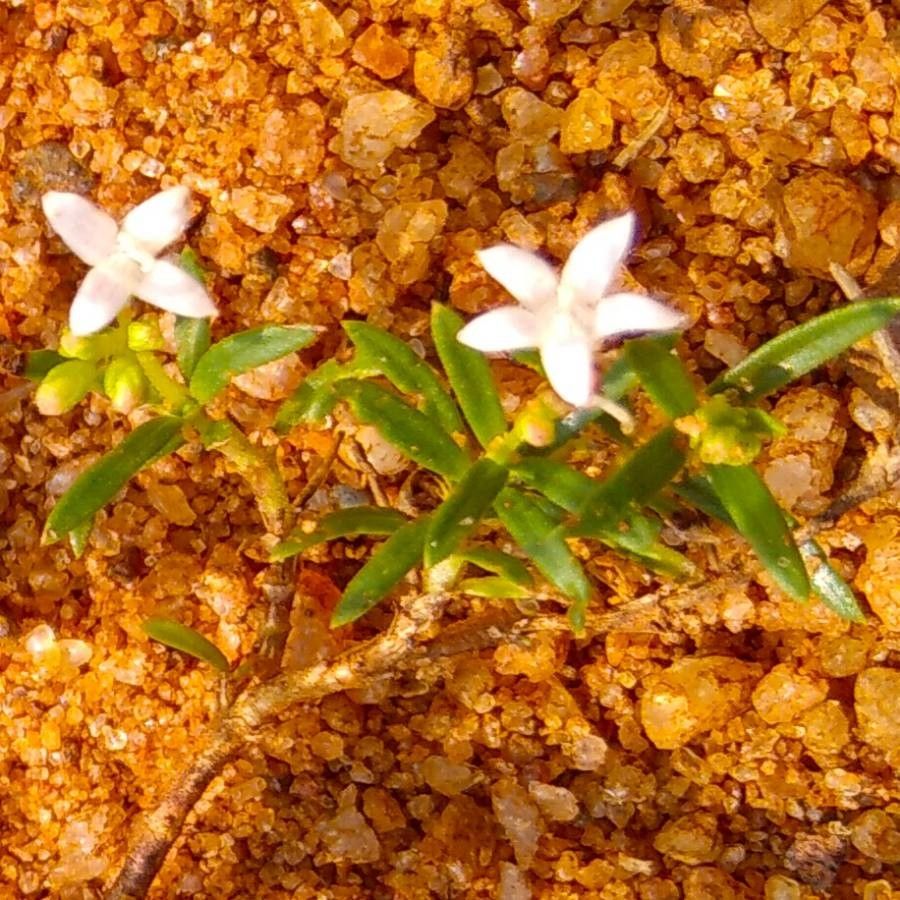
Hello fellow plant lovers! Today, we’re diving into something truly special: propagating Psychotria viridis. You know, this is the plant often associated with its vibrant green foliage and those intriguing, often red, berry-like fruits that a lot of folks find so captivating. It’s a bit of a stunner in the garden, and there’s a real thrill in watching a tiny cutting transform into a full-blown plant you nurtured yourself. If you’re new to plant propagation, I’d say Psychotria viridis can be a moderately challenging plant. It’s not as hands-off as spider plants, but with a little attention and care, you’ll find it very rewarding.
The Best Time to Start
For the best chance of success with your Psychotria viridis cuttings, aim for spring or early summer. This is when the plant is in its most vigorous growth phase. You’ll want to take cuttings from healthy, semi-hardwood stems – that’s wood that’s started to firm up but isn’t old and woody yet. Think of a stem that’s green and bendy, but also has a bit of resilience to it. Fresh, new growth that’s just starting to harden off is perfect.
Supplies You’ll Need
- Sharp Pruning Shears or a Clean Knife: Essential for making clean cuts and minimizing damage to the parent plant and your cuttings.
- Rooting Hormone (Optional but Recommended): This helps speed up root development. Look for one formulated for woody or semi-woody cuttings.
- Well-Draining Potting Mix: A common blend for this includes equal parts peat moss, perlite, and a bit of coarse sand. You want something that drains freely but also holds some moisture.
- Small Pots or Propagation Trays: Clean pots, at least 4-6 inches deep, are ideal.
- Clear Plastic Bag or Humidity Dome: To maintain high humidity around your cuttings.
- Watering Can with a Fine Rose or Spray Bottle: For gentle watering.
- Labels and a Permanent Marker: To keep track of what you’ve planted and when.
Propagation Methods
The most reliable way to propagate Psychotria viridis is through stem cuttings. Here’s how I like to do it:
- Taking the Cuttings: Select a healthy stem on your parent plant. Using your sharp shears, take a cutting that’s about 4 to 6 inches long. Make the cut just below a leaf node (where the leaves attach to the stem). This is where the magic happens for rooting. Remove the lower leaves, leaving only two to four at the top.
- Preparing the Cuttings: If you’re using rooting hormone, dip the cut end of the stem into the powder or gel. Give it a light tap to remove any excess.
- Planting the Cuttings: Fill your clean pots with your prepared potting mix. Gently make a hole in the center with your finger or a pencil, deep enough to accommodate about half of the cutting. Insert the cutting and firm the soil gently around it. Make sure no leaves are touching the soil surface.
- Creating the Humid Environment: Water the soil thoroughly but gently. Then, cover the pot with a clear plastic bag or place it under a humidity dome. This is crucial for keeping the cuttings from drying out. I usually secure the bag around the pot with a rubber band or string.
- Placement: Place the potted cuttings in a bright spot that receives indirect light. Avoid direct sun, as it can scorch and overheat the cuttings.
The “Secret Sauce” (Pro Tips)
Here are a couple of things I’ve learned over the years that can really make a difference:
- Bottom Heat is Your Friend: If you have a seedling heat mat, placing your pots on it can significantly speed up root formation. The warmth encourages root development from below. Just make sure the mat isn’t too hot – think lukewarm bathwater temperature.
- Mist, Don’t Drench: While you need humidity, avoid overwatering or letting the cuttings sit in water. I like to lightly mist the leaves of the cuttings every couple of days if the humidity seems to be dropping. You’ll know if it’s too wet if you start seeing mold or the cuttings look droopy and waterlogged.
Aftercare & Troubleshooting
Once you’ve got your cuttings planted, the waiting game begins! Check for roots in about 4-8 weeks. You can gently tug on a cutting; if there’s resistance, you likely have roots. Another sign is new leaf growth, which is always a good indicator!
As for troubleshooting, the most common problem is rot. This usually happens if the cuttings are kept too wet or in a poorly draining mix. If you see mushy, brown stems or the leaves turning yellow and falling off, it’s likely rot. Sadly, there’s not much you can do once rot sets in. Prevention is key: good drainage and not overwatering are your best defenses. If you see mold on the soil surface, increase ventilation slightly.
Happy Propagating!
Propagating plants, especially those as beautiful as Psychotria viridis, is a journey. Be patient with yourself and the process. It might take a few tries to get it just right, and that’s perfectly okay! Enjoy the marvel of creation happening right before your eyes. Happy gardening!
Resource:
https://identify.plantnet.org/k-world-flora/species/Psychotria%20deverdiana%20Guillaumin/data