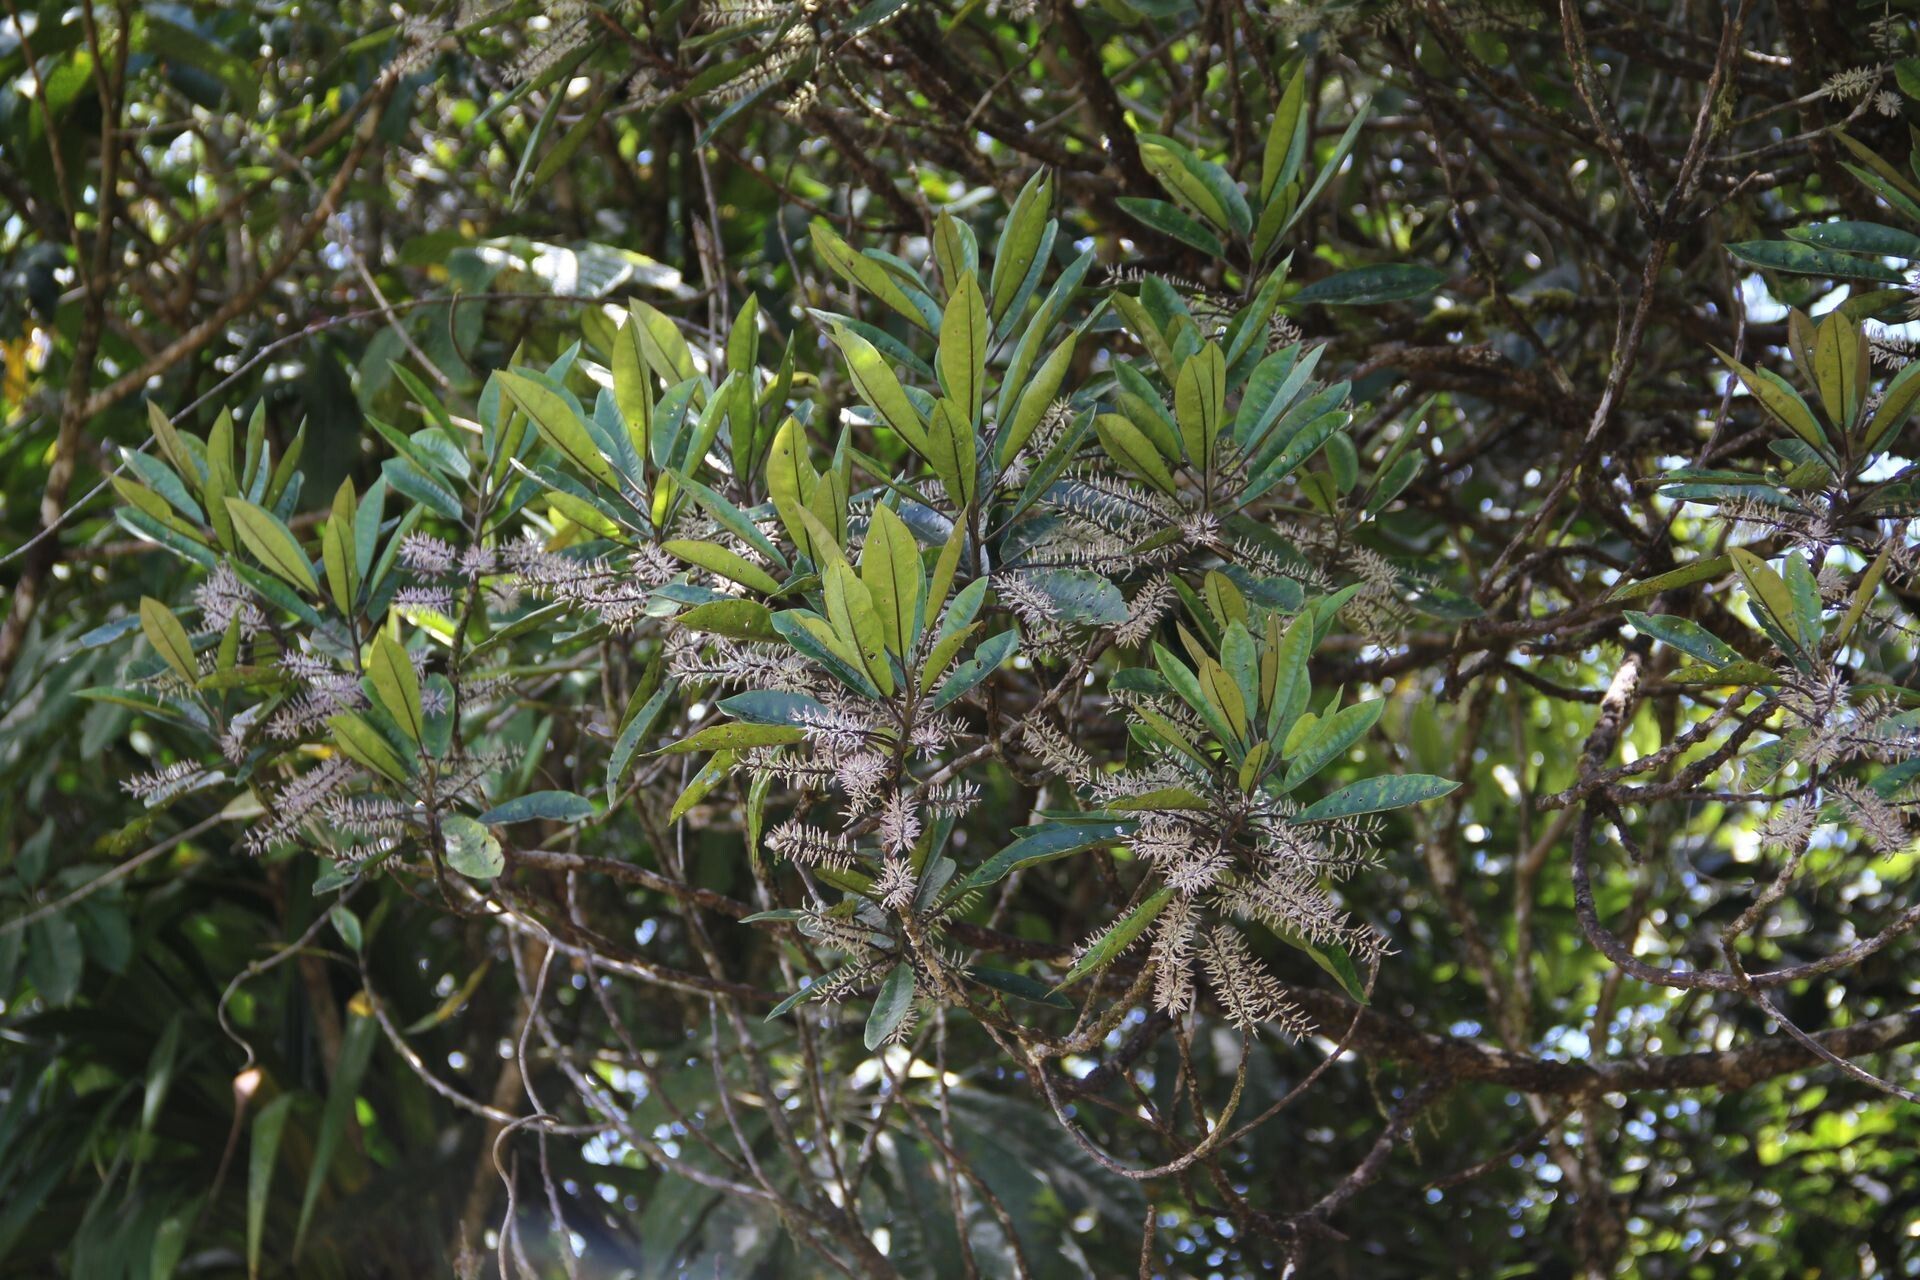
Oh, Polyosma leratii! What a beauty to have gracing our gardens. Those delicate, often fragrant flowers, and that lovely foliage… it’s truly a plant that brings a special kind of charm. Every time I see one in bloom, I feel a little spark of delight. And the best part? Sharing that joy by coaxing new life from existing plants. Propagating Polyosma leratii can be incredibly satisfying, and while it might not be the absolute easiest plant for a complete novice to start with, with a little care and attention, most of us can have great success.
The Best Time to Start
For Polyosma leratii, I’ve found that the late spring or early summer is truly your sweet spot. This is when the plant is in a vibrant growth phase, and its stems are often a bit softer and more pliable, which helps them root more readily. You want to be looking for new growth that’s not yet woody. Think of it as the plant’s prime time for making babies – it’s full of energy!
Supplies You’ll Need
Gathering your tools before you begin is half the battle, my friends. Here’s what I always have on hand:
- Sharp Pruning Shears or a Craft Knife: A clean cut is crucial to prevent disease.
- Rooting Hormone: A good quality rooting hormone (powder or gel) will give your cuttings a real boost.
- Well-Draining Potting Mix: I usually use a blend of equal parts perlite and peat moss, or a specialized seedling starter mix.
- Small Pots or Propagation Trays: Clean containers are a must! I prefer small cells or 3-4 inch pots.
- Clear Plastic Bag or Dome: This creates a mini-greenhouse effect.
- Watering Can with a Fine Rose: Gentle watering is key.
- Optional: Bottom Heat Mat: This can significantly speed up rooting, especially if your home is on the cooler side.
Propagation Methods: Stem Cuttings
This is hands-down my favorite and most reliable method for Polyosma leratii.
- Select Your Cuttings: On your healthy Polyosma leratii plant, look for semi-hardwood cuttings. These are stems that have grown this season but are starting to firm up just a little. They should snap rather than bend easily. Aim for cuttings that are about 4-6 inches long.
- Make the Cut: Using your sharp shears or knife, make a clean cut just below a leaf node (where a leaf emerges from the stem). This is where roots are most likely to form. Remove the lower leaves, leaving just 2-3 leaves at the top. If the remaining leaves are very large, you can cut them in half to reduce water loss.
- Apply Rooting Hormone: Dip the cut end of the stem into your rooting hormone, tapping off any excess. This step is quite important for encouraging robust root development.
- Pot Them Up: Fill your small pots with your well-draining potting mix. Make a small hole in the center of the soil with your finger or a pencil. Carefully insert the cut end of your Polyosma leratii cutting into the hole, ensuring the nodes where you removed leaves are below the soil surface. Gently firm the soil around the cutting.
- Water Gently: Water the pot thoroughly but carefully, using your fine-rose watering can so you don’t dislodge the cuttings. You want the soil to be moist, not waterlogged.
- Create the Greenhouse: Place a clear plastic bag over the pot, securing it with a rubber band, or cover it with a clear propagation dome. This traps humidity, which is vital for cuttings to root. Pop it in a bright spot, but out of direct sunlight.
The “Secret Sauce” (Pro Tips)
Now, here are a couple of my go-to tricks that I’ve picked up over the years:
- Don’t Drown Your Leaves: If you’re using a tray with multiple cuttings, make sure the leaves from one cutting don’t touch the soil or water of another cutting. This can encourage mold and rot, which is the enemy of happy cuttings. It’s better to have a little less foliage than to risk disease.
- Embrace the Warmth: If you’re struggling with rooting speed or have a cooler house, pop those pots on a bottom heat mat. The gentle warmth from below really encourages root formation. It’s like giving your little cuttings a cozy heated bed!
Aftercare & Troubleshooting
Once your Polyosma leratii cuttings have started to root – you’ll usually see new growth and they will resist a gentle tug – it’s time to transition them.
- Acclimate Gradually: Start by removing the plastic bag or dome for a few hours each day, slowly increasing the amount of time they are exposed to normal air. This helps them adjust to lower humidity.
- Potting Up: Once they have a good root system, you can transplant them into slightly larger pots with a good quality potting mix.
- Signs of Trouble: The most common issue you’ll see is rot. This usually happens if the soil is too wet and there isn’t enough air circulation. Mushy stems or leaves turning yellow and falling off are often indicators. If you see this, act quickly! You might be able to salvage a cutting by taking a fresh, healthy piece and starting again with less water and better air flow. Yellowing leaves can also sometimes mean they are just thirsty, so give them a gentle poke to check soil moisture.
A Encouraging Closing
Propagating plants is a journey of patience and observation. There will be times when things don’t go as planned, and that’s perfectly okay. Don’t get discouraged! Each attempt teaches you something new. Enjoy the process, celebrate every tiny root that appears, and soon enough, you’ll have a whole new batch of beautiful Polyosma leratii to enjoy or share. Happy gardening!
Resource:
https://identify.plantnet.org/k-world-flora/species/Polyosma%20leratii%20Guillaumin/data