Hey there, fellow plant lovers! It’s so good to chat with you today. I’ve been digging in the dirt for two decades now, and let me tell you, there’s a special kind of joy in coaxing new life from a beloved plant. Today, we’re diving into the wonderful world of Obetia ficifolia, also known as the “Painted Leaf” or “Fiddle Leaf Euphorbia.”
Why You’ll Love Propagating Obetia ficifolia
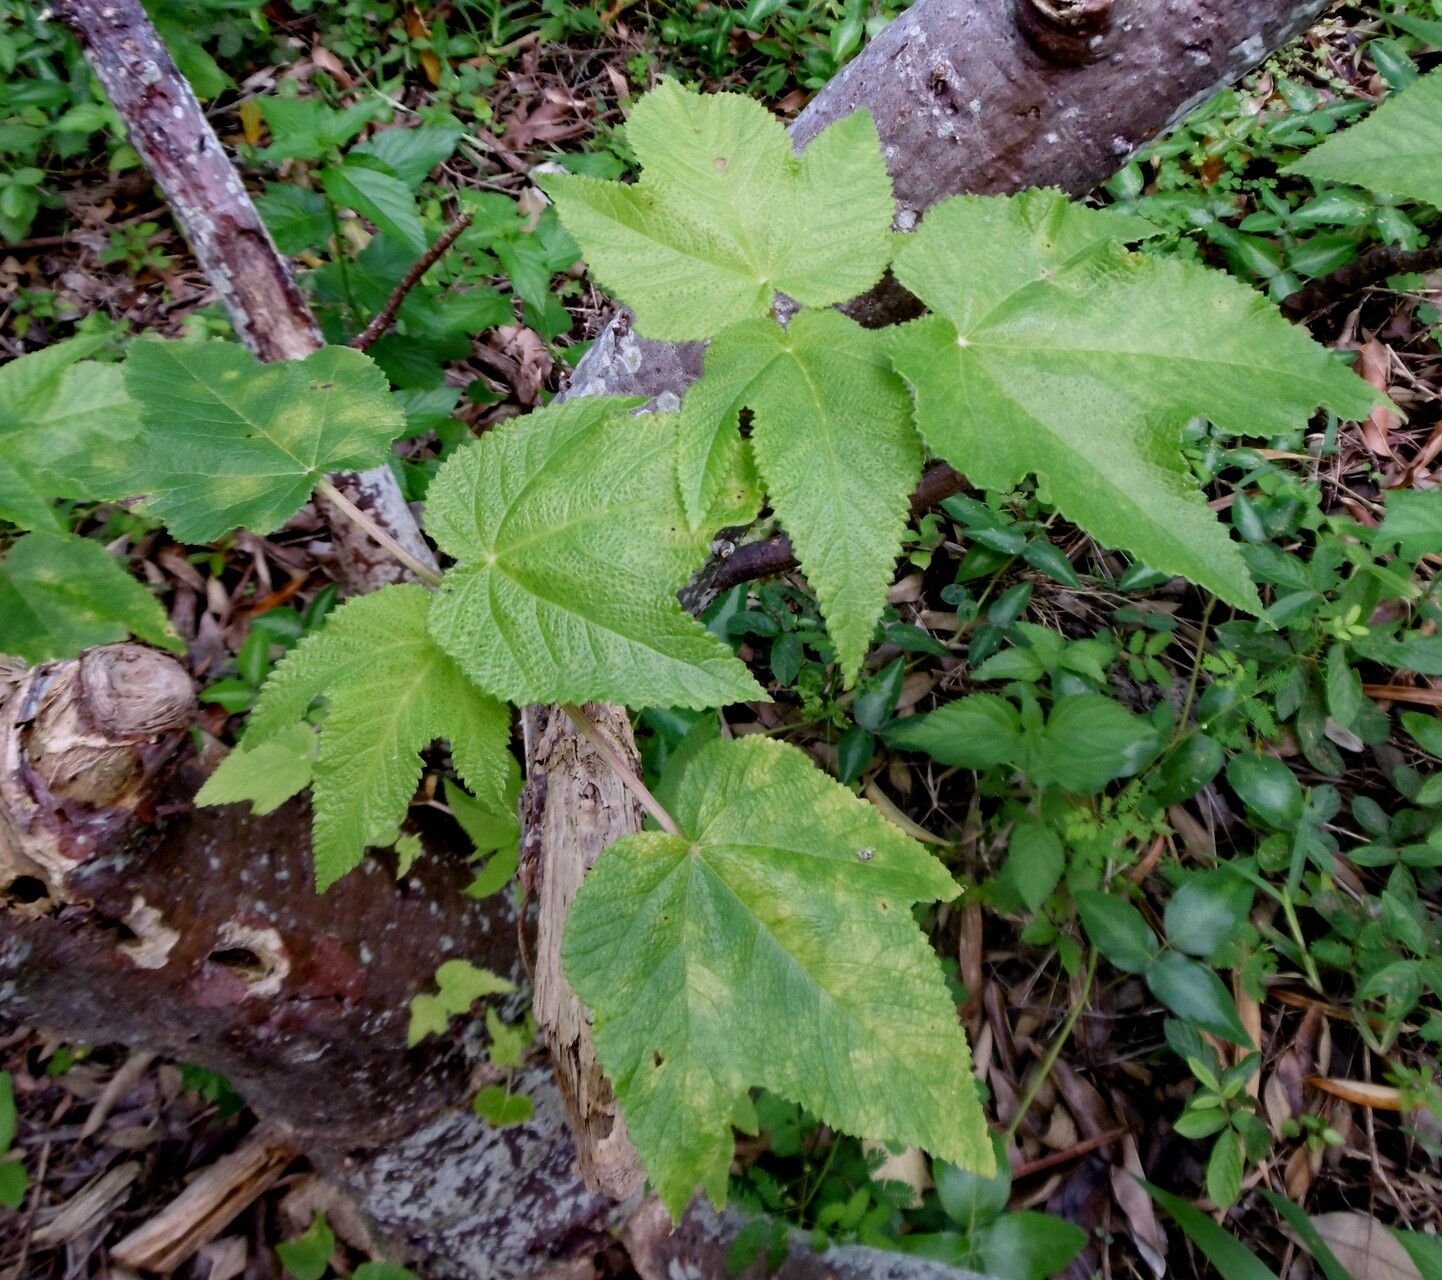
This plant is a real stunner. With its striking, patterned leaves, it brings a touch of the tropics right into our homes. And the best part? Propagating it is remarkably straightforward. Even if you’re just starting out with houseplants, you’ll likely find success with Obetia. It’s a fantastic way to share the beauty with friends or simply expand your own collection without breaking the bank.
The Best Time to Start
For Obetia ficifolia, the sweet spot for propagation is during its active growing season. That means spring and summer are your prime times. You’ll see the most vigorous growth then, giving your cuttings the best chance to root quickly and healthily. Aim for healthy, mature stems, not brand new, super-soft growth.
Supplies You’ll Need
Gathering your tools before you begin makes the whole process so much smoother. Here’s what I always have on hand:
- Sharp Pruning Shears or a Clean Knife: For making clean cuts.
- Rooting Hormone (Optional, but Recommended): A powdered form helps speed things up.
- Well-Draining Potting Mix: A cactus/succulent mix is usually perfect, or you can create your own with potting soil, perlite, and coarse sand.
- Small Pots or Trays: Clean containers are essential to prevent disease.
- Gloves: Obetia can have a milky sap that can be irritating, so gloves are a good idea.
- Watering Can with a Fine Rose: For gentle watering.
Methods for More Obetia
Obetia ficifolia is a trooper, and it’s pretty forgiving. The most reliable methods for me have been stem cuttings and water propagation.
Stem Cuttings: My Go-To Method
- Select Your Stem: Look for a healthy, semi-woody stem. Avoid anything too soft or too old and woody. Aim for a cutting around 4-6 inches long.
- Make the Cut: Using your clean shears or knife, make a clean, angled cut just below a leaf node (where a leaf attaches to the stem).
- Let it Callus (Crucial Step!): This is key for Obetia. The milky sap will ooze out. Don’t rush this! Let the cut end dry and callus over for a day or two in a dry, shaded spot. This prevents rot when you plant it. You want to see a dry, hardened surface.
- Apply Rooting Hormone (If Using): Once callused, dip the cut end into your rooting hormone powder. Tap off any excess.
- Planting Time: Fill your small pot with your well-draining mix. Make a small hole in the center with your finger or a pencil.
- Insert the Cutting: Gently place the callused end of the cutting into the hole. Firm the soil gently around it.
- Water Sparingly: Water the soil lightly, just enough to settle it around the cutting. You don’t want it soggy.
Water Propagation: A Visual Treat
- Prepare Your Cutting: Follow steps 1 and 2 from the stem cutting method. You don’t need to let this one callus.
- Remove Lower Leaves: Gently peel off any leaves from the bottom half of the cutting. This keeps them from rotting in the water.
- Place in Water: Find a clean jar or glass. Fill it with room-temperature water. Place the cutting in the water, ensuring that no leaves are submerged. The leaf nodes where you removed leaves are where roots will emerge.
- Find a Bright Spot: Place the jar in a location with bright, indirect light.
- Change Water Regularly: Refresh the water every few days or whenever it starts to look cloudy. This is important for oxygenation and preventing bacterial growth.
The “Secret Sauce” (My Pro Tips!)
After countless hours with my plants, I’ve picked up a few tricks that make a world of difference.
- Bottom Heat is Your Friend: For stem cuttings, especially if your environment is a bit cooler, placing the pot on a gentle heat mat can significantly speed up root development. Roots love warmth!
- Don’t Drown Your Cuttings: It’s tempting to keep them constantly moist, but overwatering is the quickest way to invite rot. Let the potting mix dry out slightly between waterings for stem cuttings. For water propagation, as I mentioned, fresh water is key.
- Patience with Sap: That milky sap is a defense mechanism. Letting it dry is crucial. Don’t be tempted to wash it off; just let it air out.
Aftercare & Troubleshooting
Once you see signs of life – either new leaf growth or the appearance of roots peeking out of the drainage holes – you’re on the right track!
- For Stem Cuttings: If you’ve potted yours, continue to water sparingly when the top inch of soil feels dry. Once roots are well-established (you can gently tug on the cutting and feel resistance), you can treat it like a mature Obetia. Transplant it into a slightly larger pot if needed.
- For Water Cuttings: Once you see a good root system developing (at least an inch or two long), it’s time to plant it in soil. Follow the steps for potting stem cuttings. The transition from water to soil can be a bit stressful for the plant, so give it a bit of extra care initially.
Signs of Trouble: The most common issue you’ll encounter is rot. If your cutting turns black and mushy, or if the leaves start to yellow and drop off rapidly, it’s likely rot. This is usually due to too much moisture. If you catch it early with stem cuttings, you might be able to cut off the rotted section and try again, making sure to let the new cut callus properly.
Keep Planting, Keep Growing!
Watching a new Obetia ficifolia unfurl its first leaves is incredibly rewarding. Remember, gardening is a journey, and sometimes things don’t work out on the first try. That’s okay! Be patient with your cuttings and with yourself. Enjoy the process of nurturing new life, and soon you’ll be surrounded by even more of these beautiful plants. Happy propagating!
Resource:
https://identify.plantnet.org/k-world-flora/species/Obetia%20ficifolia%20(Savigny)%20Gaudich./data