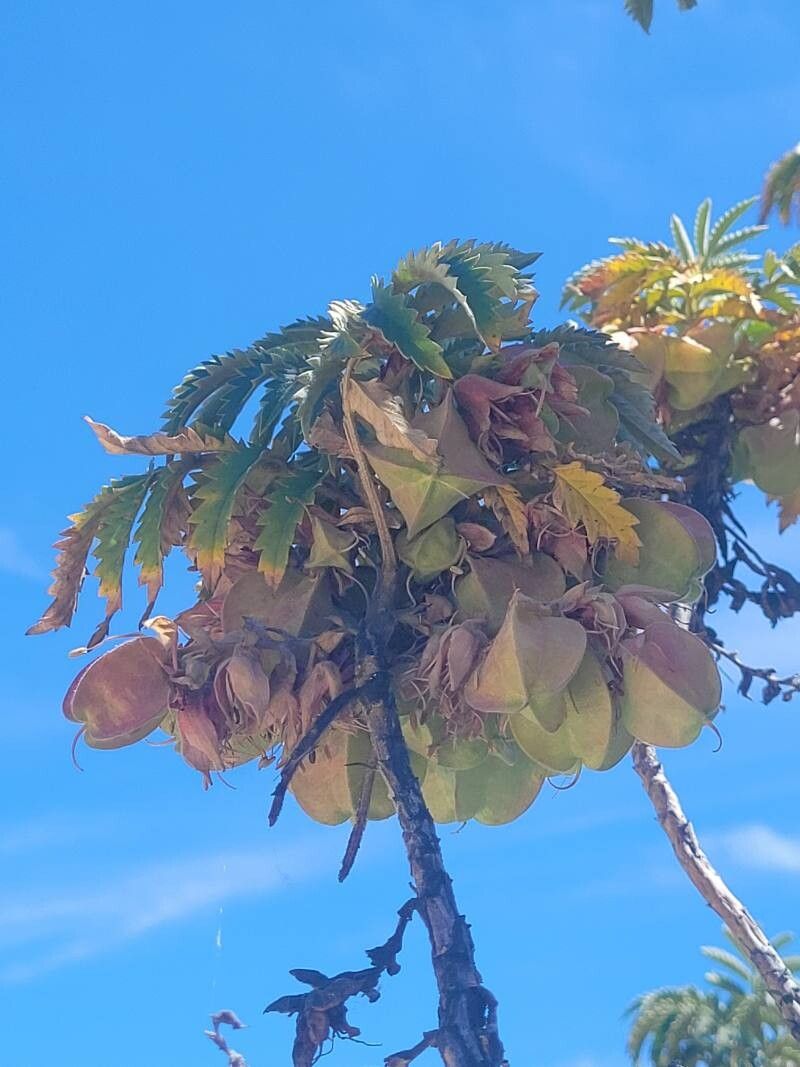
Oh, hello there! I’m so glad you’ve come to chat about Melianthus villosus. If you’re looking for a plant that adds a touch of the wild and wonderful to your garden, with its fuzzy, soft leaves and intriguing form, you’re in for a treat. Knowing how to propagate it yourself is a truly rewarding experience. It’s a bit like creating little green babies of your own! Personally, I find Melianthus villosus to be quite forgiving, making it a delightful prospect even if you’re just starting to dip your toes into the world of plant propagation.
The Best Time to Start
For the highest success rate with Melianthus villosus, I always aim to take cuttings in late spring or early summer. Our plants are bursting with new growth then, and these vibrant stems have a fantastic energy for rooting. You want to catch them when they’re actively growing but not yet woody. Think of it as grabbing those juicy, new shoots – they’re the most eager to take hold.
Supplies You’ll Need
Here’s a little collection of things that will make your propagation journey smoother:
- Sharp pruning shears or a clean knife: For making clean cuts.
- Rooting hormone (optional but recommended): A little boost for your cuttings.
- Small pots or seed trays: With drainage holes, of course!
- A well-draining potting mix: I usually blend equal parts perlite, peat moss, and compost. Some people swear by a sand-based mix too.
- A watering can with a fine rose: For gentle watering.
- A plastic bag or propagator lid: To create a humid environment.
- Labels and a pen: For remembering which cutting is which!
Propagation Methods
Let’s get our hands dirty! The most reliable way to propagate Melianthus villosus is by stem cuttings.
- Select Your Cuttings: Gently examine your established Melianthus villosus. Look for healthy, non-flowering shoots that are about 4-6 inches long. You want a stem that’s still a bit flexible, not stiff and woody.
- Make the Cut: Using your sharp shears or knife, make a clean cut just below a leaf node (the little bump where a leaf attaches to the stem). This is where the magic of rooting often happens.
- Prepare the Cutting: Carefully remove the lower leaves from the stem, leaving just a few at the very top. If you’re using a leaf that’s quite large, you can even snip it in half to reduce water loss.
- Apply Rooting Hormone (if using): Dip the cut end of the stem into your rooting hormone, tapping off any excess.
- Pot Them Up: Fill your small pots with your prepared potting mix. Make a small hole with your finger or a pencil, and gently insert the cutting. Firm the soil gently around the base.
- Water and Cover: Water the potting mix thoroughly but gently. Then, cover the pot with a plastic bag or a propagator lid to maintain humidity. This is crucial!
The “Secret Sauce” (Pro Tips)
Here are a few little tricks I’ve picked up over the years that can really make a difference:
- Don’t let the leaves touch the water (if water propagating): Even though stem cuttings typically go into soil, if you ever try water propagation, make sure those lower leaves are above the water line. They’ll just rot if submerged, and that’s not the start we want for our new plants.
- Bottom heat is your friend: While not strictly essential for Melianthus villosus, placing your pots on a heated propagator mat can significantly speed up root development. It mimics the warmth of spring and gives those roots an extra nudge.
- Give them a gentle tug: After a few weeks, and with a very light touch, you can gently tug on a cutting. If you feel resistance, you know roots are forming. Don’t be too rough, though!
Aftercare & Troubleshooting
Once your cuttings have rooted – and you’ll start to see new leaf growth – it’s time to ease them into their new lives.
Gradually remove the plastic cover over a few days to acclimate them to drier air. Continue to water them regularly, keeping the soil consistently moist but not waterlogged. Once they’ve developed a good root system and are showing vigorous new growth, you can transplant them into slightly larger pots.
The most common sign of trouble is rot. If your cutting looks mushy or black at the base, it’s likely succumbed to rot. This usually happens due to overwatering or poor drainage. Ensure your potting mix is airy and allow the surface to dry slightly between waterings. Don’t be discouraged if a few don’t make it; it’s all part of the learning curve!
A Encouraging Closing
So there you have it! Propagating Melianthus villosus is a wonderfully tactile and achievable project. Be patient with your little cuttings. Gardening is a journey, and nurturing new life from a simple piece of stem is one of the most fulfilling parts of it. Enjoy the process, and imagine how lovely your garden will look with these new additions! Happy propagating!
Resource:
https://identify.plantnet.org/k-world-flora/species/Melianthus%20villosus%20Bolus/data