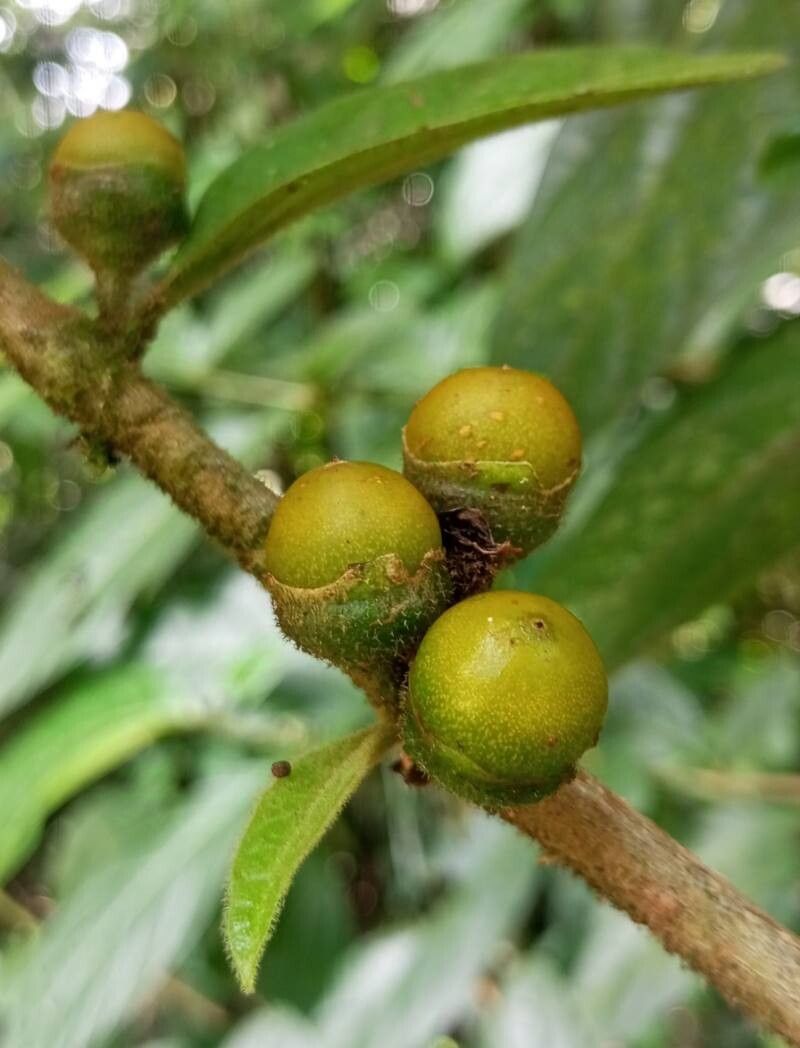
Oh, hello there! It’s so good to have you pull up a chair to my virtual garden bench. Today, we’re diving into a little gem that I’ve grown to absolutely adore: Lycianthes sanctaeclarae. If you haven’t met this beauty before, imagine cascades of delicate, star-shaped flowers, often with a lovely deep purple center, followed by surprisingly charming berries. It’s a plant that brings a touch of the exotic without demanding an overly fussy nature. And the best part? It’s a dream to propagate, which means more of these beauties for your garden, or perhaps to share with fellow plant enthusiasts. Don’t worry if you’re new to this; Lycianthes sanctaeclarae is quite forgiving, making it a wonderful plant for beginners looking to try their hand at propagation.
The Best Time to Start
For the biggest cheer of success, I always turn to late spring or early summer. This is when your Lycianthes sanctaeclarae is in full swing, growing vigorously after the chill of winter has well and truly passed. New, tender growth is your best friend here. It’s full of life and hormones that are simply buzzing with the potential to root. Trying to propagate from older, woody stems just doesn’t have the same enthusiasm.
Supplies You’ll Need
Gathering your tools beforehand makes the whole process so much smoother. Here’s what I like to have on hand:
- Sharp Pruning Shears or a Craft Knife: Clean cuts are crucial to prevent disease.
- Rooting Hormone Powder (optional but recommended): Especially for stem cuttings, this really gives them a boost.
- A Well-Draining Potting Mix: I often use a blend of peat moss, perlite, and a bit of coir. You want it light and airy.
- Small Pots or Seed Trays: Clean ones are a must!
- Plastic Bags or a Propagator Lid: To create a humid environment.
- Watering Can with a Fine Rose: For gentle watering.
- A Sunny, Warm Location: But out of direct midday sun.
Propagation Methods
Lycianthes sanctaeclarae is wonderfully versatile, and I’ve had great luck with a couple of methods.
Stem Cuttings
This is my go-to for multiplying these lovely plants.
- Take Your Cuttings: Look for healthy, non-flowering shoots that are about 4-6 inches long. Using your sharp shears, make a clean cut just below a leaf node (where the leaf attaches to the stem). Remove the lower leaves, leaving just a couple at the top.
- Apply Rooting Hormone (if using): Dip the cut end into your rooting hormone powder, tapping off any excess.
- Plant the Cuttings: Fill your small pots with your prepared well-draining mix. Make a hole in the center with a pencil or your finger. Gently insert the cutting, ensuring the leaf nodes are below the soil surface. Firm the soil gently around the stem.
- Water and Cover: Water thoroughly until it drains from the bottom. Then, cover the pot with a clear plastic bag or propagator lid to maintain humidity. You can secure it with a rubber band.
- Place and Wait: Position the pots in a bright spot with indirect light. Keep the soil consistently moist but not waterlogged.
Water Propagation
This method can be quite satisfying as you can actually see the roots developing!
- Prepare the Cuttings: Similar to stem cuttings, take 4-6 inch cuttings from healthy, non-flowering shoots. Remove all but the top few leaves.
- Place in Water: Fill a clean jar or glass with room-temperature water. Place the cuttings in the water, ensuring the leaf nodes are submerged but no leaves are touching the water. If leaves are submerged, they’ll likely rot.
- Change Water Regularly: Change the water every 2-3 days to keep it fresh and prevent bacterial growth.
- Find a Suitable Spot: Place the jar in a bright location, away from direct sunlight.
- Transplant When Ready: Once you see a good network of roots, about 1-2 inches long, they are ready to be potted into your well-draining mix. Be gentle with those new roots!
The “Secret Sauce” (Pro Tips)
After years of playing in the soil, a few little tricks always make a difference.
- Bottom Heat is Your Friend: If you can, place your pots on a heated propagator mat. This gentle warmth from below encourages root development like nothing else, especially during cooler periods.
- Don’t Be Afraid to Sterilize: Make sure your pots and tools are spotlessly clean. A quick soak in diluted bleach or even just a good scrub with dish soap can prevent fungal diseases that can quickly undo your hard work.
- The “Jiggle Test”: After a few weeks, when you think roots might be forming, give a cutting a very gentle tug. If there’s resistance, you’ve got roots! If it comes out easily, it’s likely not ready.
Aftercare & Troubleshooting
Once those adorable little roots have formed and you’ve potted up your new plants, the real nurturing begins.
- Gradual Acclimation: If you used a plastic bag or propagator, gradually introduce your new plants to normal air by opening the bag or lid a little more each day over a week. This prevents shock.
- Consistent Moisture: Keep the soil consistently moist, but not soggy. You can check by sticking your finger about an inch into the soil. If it feels dry, it’s time to water.
- Bright, Indirect Light: Continue to provide bright, indirect light. Avoid harsh, direct sun, which can scorch young leaves.
Now, for the less fun part: spotting problems. The most common culprit is rot. If your cuttings look mushy, black, or are wilting dramatically despite moist soil, it’s usually a sign of too much moisture and not enough air circulation. If you suspect rot, it’s best to discard the affected cutting to prevent it from spreading. Sometimes, cuttings simply don’t root. This can happen if the conditions weren’t quite right, or the cutting just wasn’t vigorous enough. Don’t get discouraged; just try again with fresh material!
A Warm Welcome to Your New Plants
See? It’s not so daunting, is it? Propagating plants like Lycianthes sanctaeclarae is such a rewarding way to connect with nature and expand your garden. Be patient with your little cuttings, give them a bit of warmth and light, and trust the process. Before you know it, you’ll have a whole new generation of these lovely plants to enjoy. Happy propagating!
Resource: