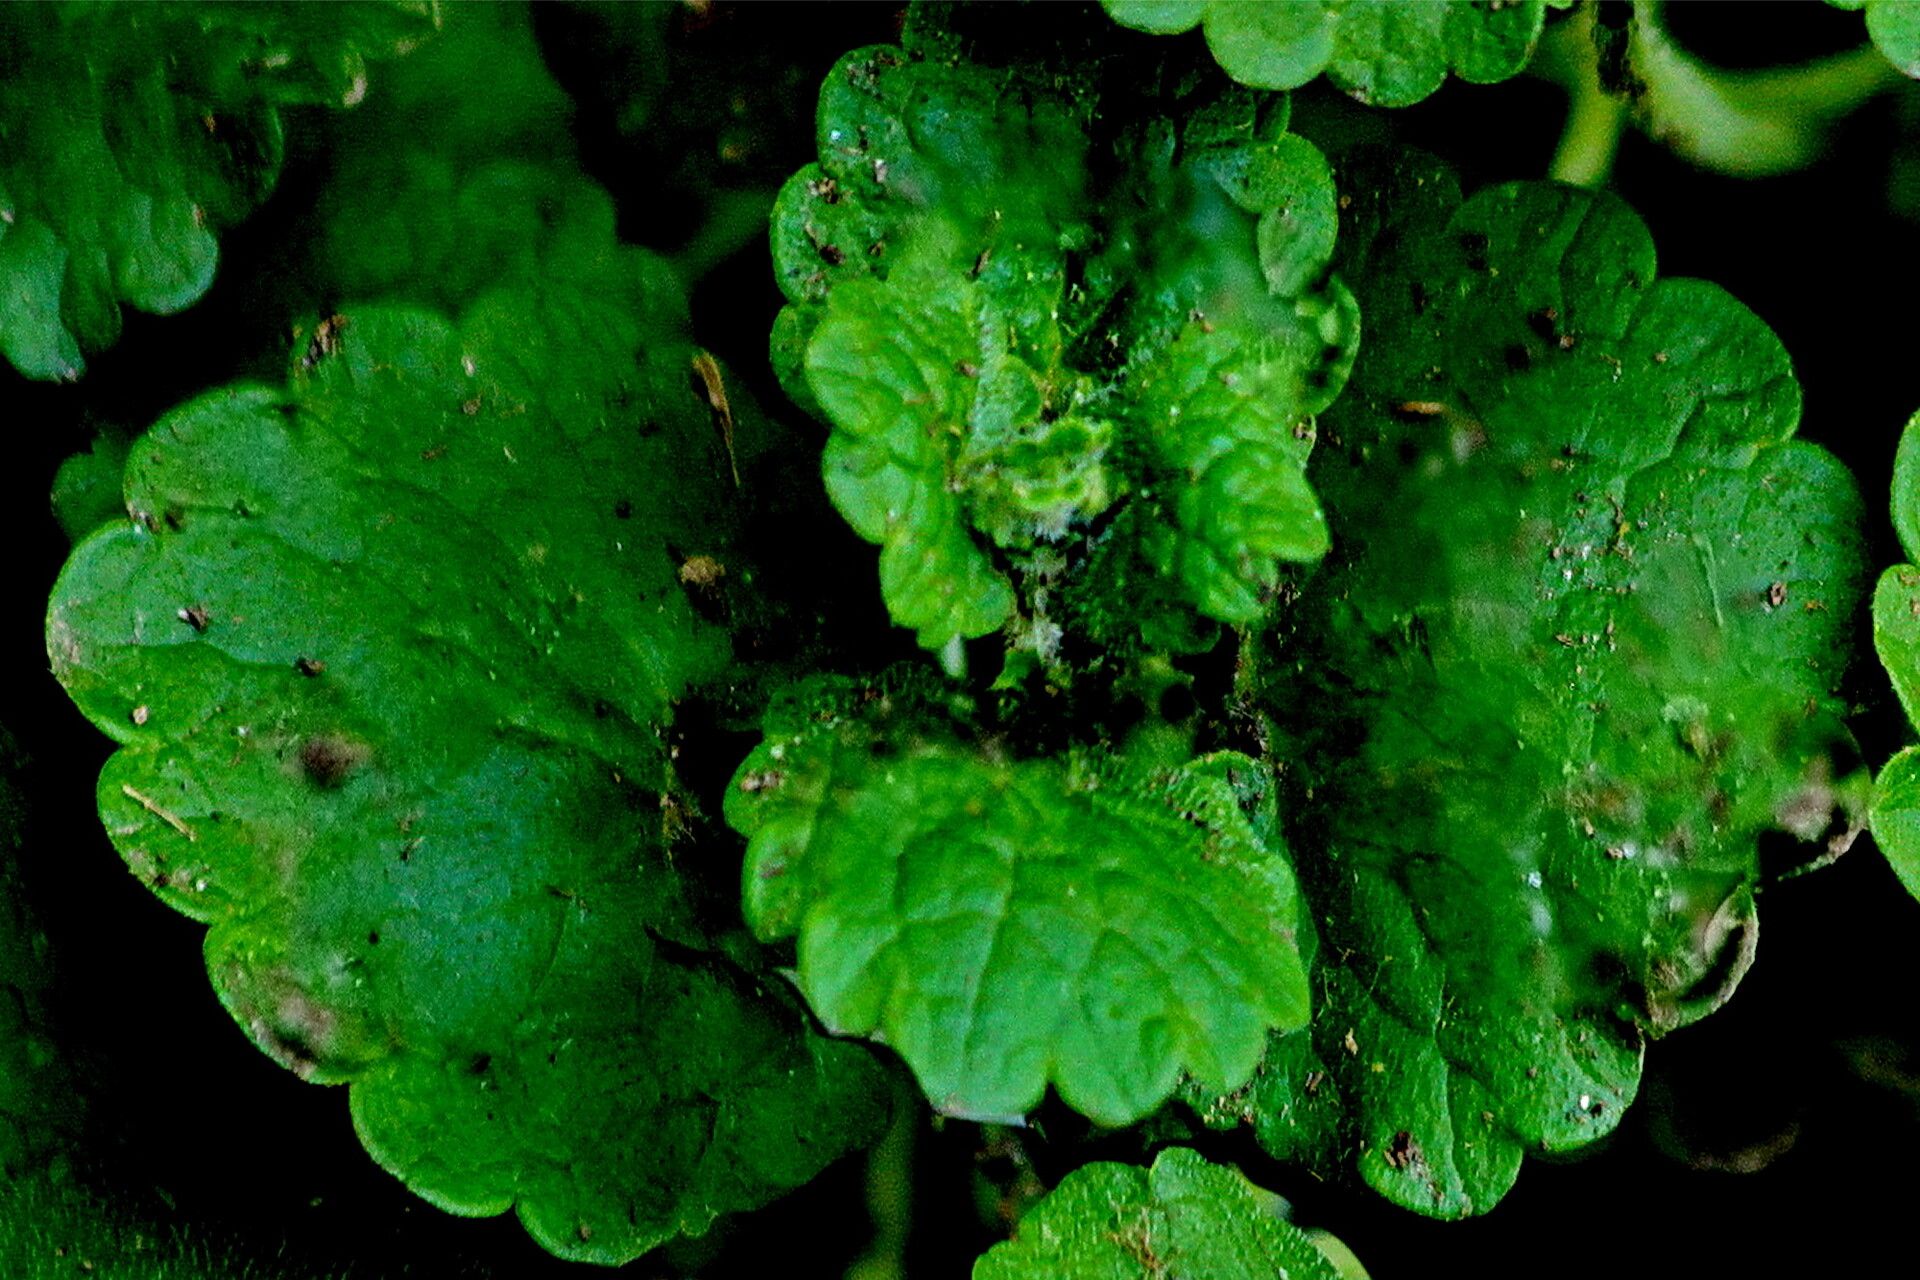
Hello fellow plant lovers! Today, we’re diving into the wonderful world of Glechoma sardoa. You know, that delightful creeping plant with its charming, scalloped leaves? It’s a joy to have in any garden, whether it’s tumbling over the sides of a pot or forming a lovely groundcover. And the best part? It’s incredibly easy to propagate. If you’re new to gardening, this is a fantastic plant to start with. Honestly, it’s almost hard to go wrong!
The Best Time to Start
For Glechoma sardoa, the sweet spot for propagation is definitely spring and early summer. This is when the plant is actively growing and has plenty of energy to put into developing new roots. You’ll find the stems are flexible and readily take to rooting during this time. Waiting until the plant is robust and showing vigorous new growth is key.
Supplies You’ll Need
Gathering your supplies is part of the fun! Here’s what I find most helpful:
- Sharp pruning shears or scissors: Clean cuts are essential.
- Rooting hormone (optional, but helpful): This really gives your cuttings a boost.
- Small pots or containers: About 3-4 inches across are perfect. Make sure they have drainage holes!
- Well-draining potting mix: A mix designed for succulents or cacti often works beautifully, or you can make your own by combining equal parts peat moss, perlite, and coarse sand.
- Watering can or spray bottle: For gentle watering.
- Plastic bag or humidity dome (optional): To create a mini-greenhouse effect.
Propagation Methods
Glechoma sardoa is wonderfully versatile. Here are my two favorite ways to make more of this beauty:
1. Stem Cuttings: The Classic Approach
This is my go-to method, and it’s incredibly effective.
- Select healthy stems: Look for stems that are about 4-6 inches long. Avoid any that are woody or look weak.
- Make clean cuts: Use your sharp shears to take cuttings just below a leaf node (that little bump where a leaf meets the stem). This is where roots tend to form.
- Remove lower leaves: Gently strip off the leaves from the bottom half of the cutting. This prevents them from rotting in the soil and encourages rooting above the soil line.
- Dip in rooting hormone (optional): If you’re using it, dip the cut end into the rooting hormone powder, tapping off any excess.
- Insert into moist soil: Fill your small pots with your well-draining potting mix and moisten it thoroughly. Make a small hole with your finger or a pencil and gently insert the cutting, ensuring at least one leaf node is buried. Firm the soil around it.
- Provide a good environment: Mist the cuttings lightly and cover the pot with a plastic bag or humidity dome to keep the humidity high. Place them in a bright spot out of direct sunlight.
2. Water Propagation: The See-It-Grow Method
This method is so satisfying because you can actually watch the roots develop!
- Take cuttings as described above.
- Remove all but the top few leaves.
- Place the cuttings in a jar or glass of water: Make sure the water covers the leaf nodes where you removed the lower leaves.
- Change the water regularly: Every few days, refresh the water to keep it clean and oxygenated.
- Watch for roots: You should start to see tiny white roots emerging within a couple of weeks.
- Pot up once rooted: Once the roots are about an inch long, they are ready to be transplanted into pots filled with your well-draining potting mix.
The “Secret Sauce” (Pro Tips)
Here are a couple of things I’ve learned over the years that really up your propagation game:
- Don’t pack the cuttings too tightly: Give them a bit of breathing room in their pots. Overcrowding can lead to poor air circulation and increase the risk of rot.
- Bottom heat is your friend: If you’re struggling with rooting, especially in cooler conditions, consider placing your pots on a seedling heat mat set to a low temperature. This warmth encourages root development from below.
Aftercare & Troubleshooting
Once your cuttings have developed a good root system – you’ll see new leaf growth appearing, which is a great sign! – it’s time to treat them like a mature plant.
- Gradually acclimate them: If you used a humidity dome, start by taking it off for a few hours a day, then remove it completely over a week.
- Water when the top inch of soil is dry: Avoid overwatering, as this is the quickest way to invite rot.
- Keep them in bright, indirect light.
- Watch out for rot: If your cuttings turn mushy or develop black spots at the soil line, it’s usually a sign of too much moisture or poor air circulation. Unfortunately, once rot sets in, it’s hard to save them. Don’t be discouraged; just try again with fresh cuttings!
Growing your own plants from cuttings is such a rewarding experience. It’s a testament to nature’s resilience and your own gardening journey. Be patient with your little ones, celebrate each new leaf and new root, and before you know it, you’ll have an abundance of Glechoma sardoa to enjoy! Happy propagating!
Resource:
https://identify.plantnet.org/k-world-flora/species/Glechoma%20sardoa%20(Bég.)%20Bég./data