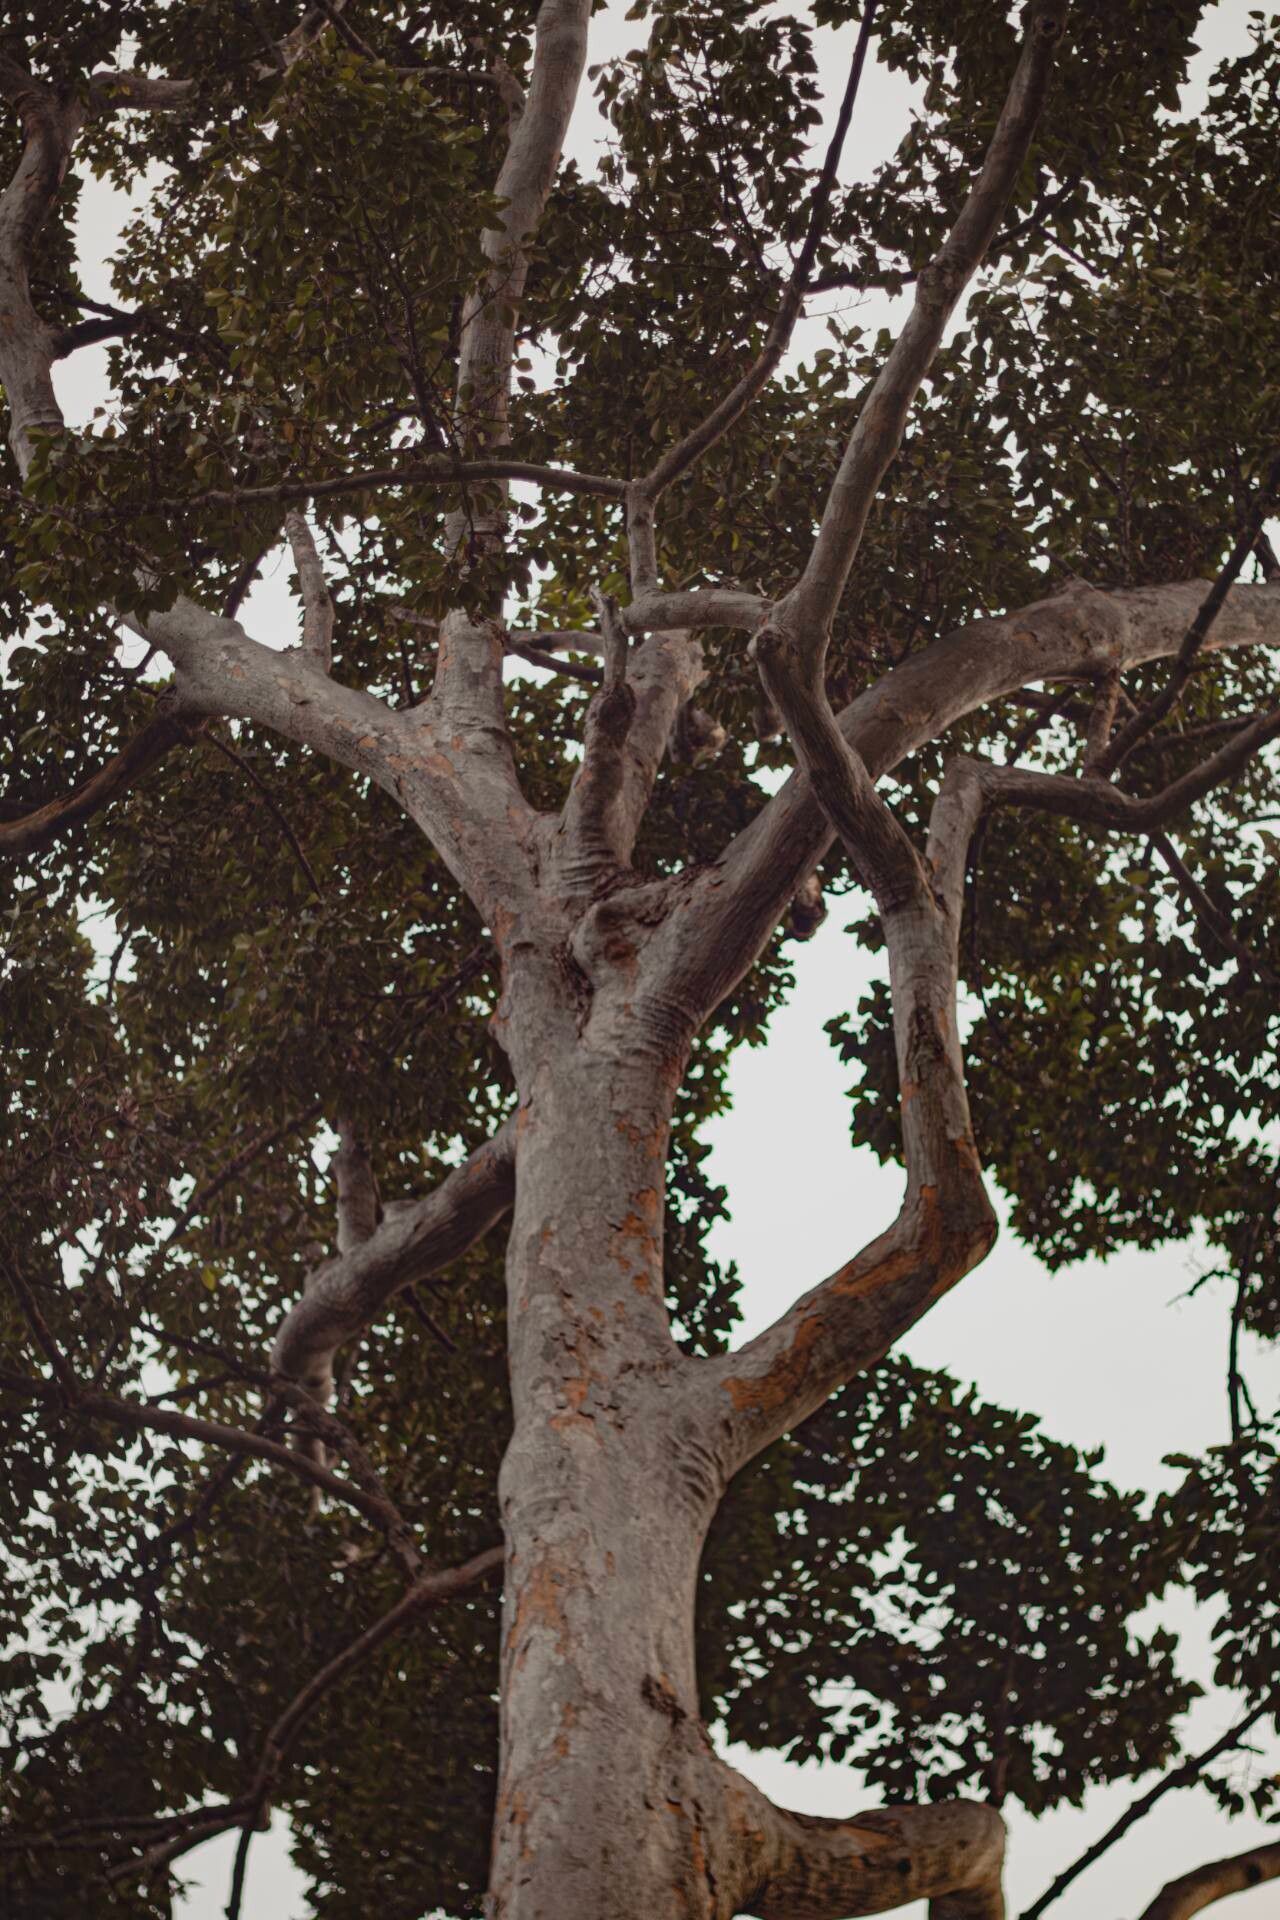
Oh, Dalbergia cochinchinensis! What a beauty. I’ve always been drawn to its elegant presence in the garden. The way its delicate leaves catch the light, and the promise of perhaps even a lovely fragrance later on – it’s truly special. Propagating it, while not a walk in the park for absolute beginners, is incredibly rewarding. Seeing a tiny twig transform into a thriving plant under your care? Pure magic.
The Best Time to Start
I’ve found that for Dalbergia cochinchinensis, spring is your best bet. After the last frost, when the plant is really starting to push out new growth, is when it’s most vigorous and ready to put its energy into rooting. You want to catch it at this active growth phase.
Supplies You’ll Need
Here’s what you’ll want to have on hand before you dive in:
- Sharp pruning shears or a clean, sharp knife: For making clean cuts.
- Rooting hormone powder or gel: This is a big help in encouraging those roots to form.
- Well-draining potting mix: A good mix is crucial. I usually combine equal parts peat moss, perlite, and a bit of coarse sand. You can also find pre-made succulent or cactus mixes that work wonderfully.
- Small pots or seed trays: Clean ones, of course!
- Plastic bags or a clear dome: To create a humid environment.
- Watering can with a fine rose: For gentle watering.
- Labels and a pen: So you don’t forget what you’ve planted!
Propagation Methods
I’ve had the most success with stem cuttings for Dalbergia cochinchinensis. It’s generally a straightforward process once you get the hang of it.
- Take Cuttings: In spring, select healthy, semi-hardwood stems that are about 4-6 inches long. They should be firm but not woody. Using your sharp shears or knife, make a clean cut just below a leaf node (where a leaf attaches to the stem).
- Prepare the Cuttings: Gently remove the lower leaves from the cutting. You want to leave just a few leaves at the top to help with photosynthesis. Dip the cut end into your rooting hormone, tapping off any excess.
- Plant Your Cuttings: Fill your pots with your prepared potting mix. Make a small hole in the center with your finger or a pencil. Insert the cut end of the stem into the hole, ensuring the rooting hormone stays intact. Gently firm the soil around the cutting.
- Create Humidity: Water the soil gently until it’s moist but not waterlogged. Then, cover the pot loosely with a plastic bag or a clear dome. This traps moisture and creates the humid microclimate cuttings need.
The “Secret Sauce” (Pro Tips)
Here are a few things I’ve learned over the years that really make a difference:
- Don’t Let Leaves Touch the Water: If you were to try water propagation (which I find less reliable for this specific plant), it’s vital that no leaves are submerged. Rot sets in so quickly when that happens. Stick to soil for Dalbergia cochinchinensis.
- Bottom Heat is Your Friend: If you have a heat mat designed for seedlings, use it! Consistent warmth from below really encourages root development. It mimics the natural warmth of the soil after a spring rain.
- Give Them a Gentle Tug (After a Few Weeks!): Resist the urge to dig them up too early. After about 4-6 weeks, you can very gently tug on a cutting. If you feel slight resistance, it means roots have started to form.
Aftercare & Troubleshooting
Once you see new leaf growth, that’s a great sign roots are developing! Gradually acclimate your cuttings to the open air by removing the plastic bag or dome for longer periods each day over a week or two. Continue to keep the soil consistently moist but not soggy.
The biggest issue you might encounter is rot. This usually happens if the soil is too wet and the cuttings aren’t getting enough air circulation. If you see a cutting turn black and mushy, unfortunately, it’s best to discard it and try again. Make sure your soil mix is airy from the start!
A Little Patience Goes a Long Way
There you have it! Propagating Dalbergia cochinchinensis takes a bit of patience and attention, but it’s so worth it. Don’t get discouraged if your first few attempts aren’t perfect. Gardening is a journey, and every cutting you try is a lesson learned. Enjoy the process, and happy growing!
Resource:
https://identify.plantnet.org/k-world-flora/species/Dalbergia%20cochinchinensis%20Pierre/data