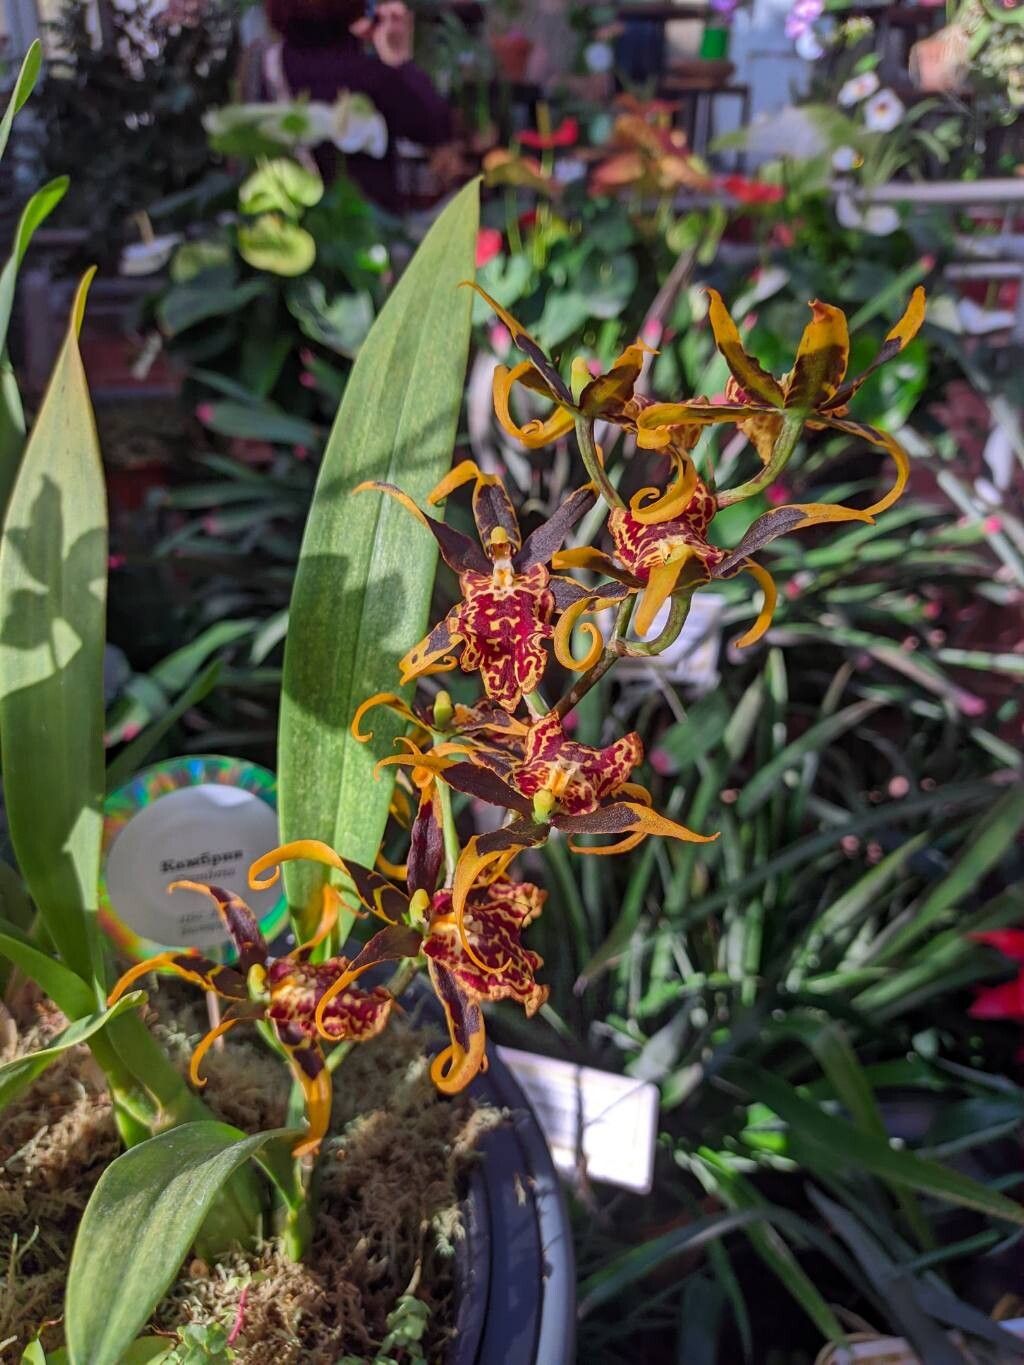
Oh, hello there, fellow plant enthusiast! I’m so delighted you’re curious about propagating Brassia arachnoidea, that wonderfully dramatic spider orchid. If you’ve ever admired its long, spidery petals, you know just how much joy it can bring to a collection. And the best part? You can share that joy by creating new plants of your own!
Now, if you’re wondering if this is a good plant for beginners to tackle, I’d say it’s moderately easy. It’s not quite as foolproof as a pothos, but with a little attention and understanding, you’ll be rewarded with successful new plants. It’s a wonderfully satisfying journey, seeing a tiny bit of your beloved orchid sprout into a whole new life.
The Best Time to Start
For Brassia arachnoidea, the absolute sweet spot for propagation is spring or early summer. This is when the plant is actively growing after its natural rest period and has the most energy to put into developing new roots. You’ll often see new pseudobulbs (those bulb-like structures at the base) forming, and this is the perfect time to gently divide or take cuttings.
Supplies You’ll Need
Before we get our hands dirty, let’s make sure we have everything we need for success:
- Sharp, clean pruning shears or a sterile knife: Crucial for making clean cuts to prevent disease.
- Orchid bark mix or a well-draining potting mix: Something airy like a bark-based orchid mix is ideal. You want excellent drainage!
- Rooting hormone (optional but recommended): A little dab can really give new cuttings a boost.
- Small pots or trays: Bare-root orchids might need a bit of time to establish in just bark, so small pots are great.
- Spray bottle: For misting.
- A bit of healthy, mature Brassia arachnoidea: The source of your new green babies!
Propagation Methods
Brassia arachnoidea is best propagated through division. This means separating sections of the mother plant that already have roots and at least a couple of pseudobulbs.
Step-by-Step Division:
- Gently remove the mother plant from its pot. If it’s slightly root-bound, a little squeeze around the edges of the pot can help loosen it.
- Carefully tease away the old potting medium with your fingers or a chopstick. You want to get a good look at the root system.
- Identify a healthy section of the plant that has at least two or three pseudobulbs and a good cluster of roots.
- Using your clean shears or knife, carefully cut between the pseudobulbs to separate the sections. Make the cut cleanly. If there are a lot of tangled roots, you might need to gently untangle them as you cut.
- If using rooting hormone, dip the cut end of the new division into it. Gently tap off any excess.
- Pot each division in its own small pot. Use your well-draining orchid mix. Position the pseudobulbs so they are sitting at the surface of the mix, not buried too deep.
- Water lightly to settle the mix.
The “Secret Sauce” (Pro Tips)
Here are a couple of things I’ve learned over the years that make a real difference:
- Let the cuts heal: After dividing, I always let the cut surfaces and root ends air dry for a day or two before potting. This helps to callus over any wounds and reduces the risk of rot, especially if the plant was a little damp when you divided it.
- Provide humidity, not soggy feet: Newly divided orchids are vulnerable. They don’t have a massive root system to absorb water quickly. So keeping them in a well-ventilated area with consistent, high humidity (think a mini greenhouse or a tray with pebbles and water) is key. Just make sure the potting mix itself isn’t waterlogged.
Aftercare & Troubleshooting
Once your new Brassia arachnoidea divisions are potted, give them consistent, bright, indirect light. Water when the potting mix is almost dry to the touch. Mist the leaves daily to keep humidity up, but avoid letting water sit in the crown of the pseudobulbs.
The most common sign of trouble is rot. If you see pseudobulbs starting to soften and turn mushy, or leaves yellowing and dropping rapidly, it’s often a sign of overwatering or poor air circulation. If you suspect rot, gently remove the affected plant from its pot, trim away any mushy parts with your sterile tool, and let it air dry thoroughly before repotting in fresh, dry medium. It is a bit of a setback, but sometimes they can recover from a bit of a scare.
A Bit of Patience, A Lot of Joy
Propagating any plant is an act of hope and patience. Don’t get discouraged if your first attempt doesn’t produce a robust new plant overnight. Every gardener has had their share of wilted leaves and stubborn roots! Celebrate the small wins – a new leaf unfurling, a tiny root peeking out. Enjoy the process of nurturing new life, and soon you’ll have a beautiful Brassia arachnoidea to admire and share. Happy growing!
Resource:
https://identify.plantnet.org/k-world-flora/species/Brassia%20arachnoidea%20Barb.Rodr./data