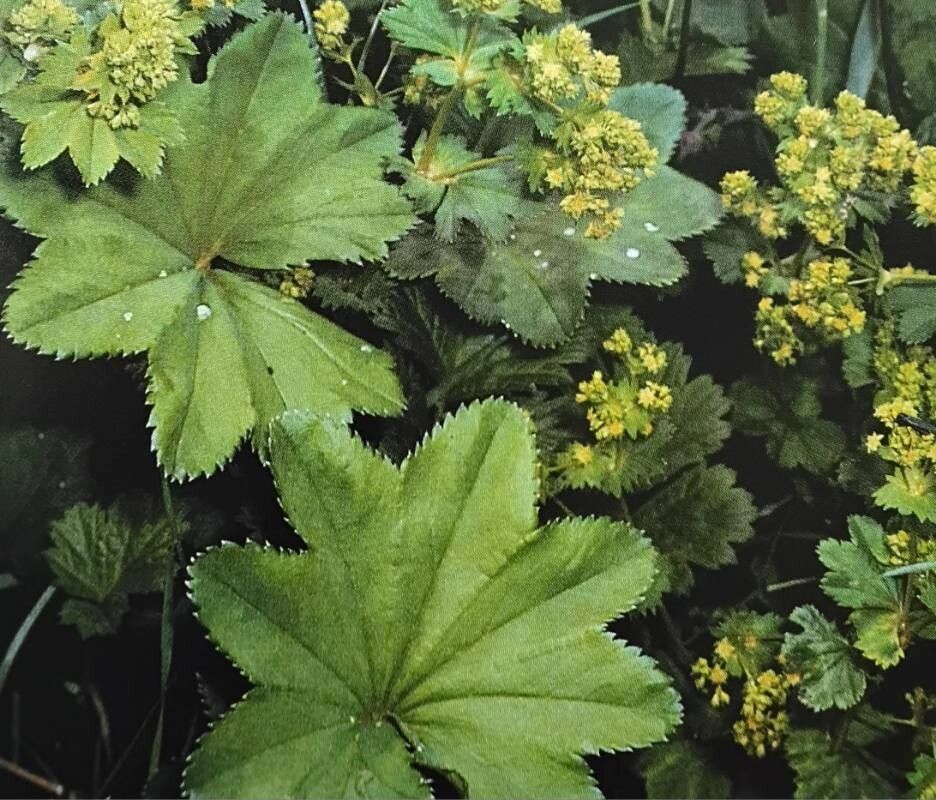
Oh, Alchemilla glabra! If you’ve ever admired those lovely, frothy clusters of chartreuse flowers and those beautiful fan-shaped leaves collecting dew like tiny jewels, then you’re already in love with Lady’s Mantle. It’s such a delightful plant to have in the garden, adding a soft texture and a cheerful splash of green. And the best part? Propagating it is surprisingly straightforward, even for folks just starting out with their gardening journey. It’s one of those plants that feels incredibly rewarding to share, too.
The Best Time to Start
Honestly, you’ve got a couple of great windows for propagating Alchemilla glabra. My absolute favorite time is early spring, just as the plant is waking up from winter. The new growth is vigorous and ready to go. You can also have good luck in early fall, before the chill really sets in. The key is to catch the plant when it’s actively growing, not stressed by heat or drought.
Supplies You’ll Need
Here’s a little list of what I usually have on hand when I’m propagating:
- Sharp pruning shears or a clean knife: For making neat cuts.
- Small pots or seed trays: Make sure they have drainage holes.
- A good quality potting mix: I like a mix that’s light and airy. A blend of peat moss and perlite works beautifully. Some gardeners prefer a seed-starting mix, which is also a great choice.
- Rooting hormone (optional but helpful): Especially for stem cuttings.
- A watering can with a fine rose: For gentle watering.
- A plastic bag or propagation dome: To create a humid environment.
Propagation Methods
Alchemilla glabra is quite generous and can be propagated in a few ways. The easiest for most people, I find, is through division, but stem cuttings work wonderfully too.
Division
This is my go-to method for Alchemilla glabra. It’s like giving your established plant a haircut and getting new plants in the process!
- Dig it up: In early spring or fall, carefully dig up your established Alchemilla glabra. You want to lift the entire root ball.
- Loosen the soil: Gently shake off excess soil so you can see the crowns and roots.
- Divide the plant: Look for natural breaks in the root system. You can often pull the plant apart with your hands. If it’s a bit stubborn, use your spade or a knife to cut through the roots and crowns, making sure each section has a good amount of roots and at least one healthy shoot or bud.
- Replant: Replant the divisions immediately into their new spots in the garden or into prepared pots with fresh potting mix. Water them in well.
Stem Cuttings
This method is also quite successful, especially with that fresh spring growth.
- Take cuttings: In early spring, select healthy, non-flowering stems. Using your sharp shears, cut stems that are about 4-6 inches long. Make your cut just below a leaf node.
- Prepare the cuttings: Gently remove the lower leaves from the cutting, leaving just a couple of leaves at the top. If you’re using rooting hormone, dip the cut end into it now.
- Plant the cuttings: Fill your small pots with your prepared potting mix. Make a small hole with your finger or a pencil and insert the cutting, ensuring the leaf nodes are below the soil surface. Gently firm the soil around the stem.
- Create humidity: Water the soil lightly. Then, cover the pots with a plastic bag or a propagation dome to keep the humidity high. You can prop the bag up with stakes so it doesn’t touch the leaves.
- Place them: Put the pots in a bright spot, but out of direct, harsh sunlight. A greenhouse or a bright windowsill is perfect.
The “Secret Sauce” (Pro Tips)
Here are a few little tricks that have helped me achieve even better success:
- Don’t overcrowd your pots: Give those new pieces of Alchemilla glabra a little space to breathe. Overcrowding can lead to fungal issues.
- Bottom heat works wonders for cuttings: If you’re doing stem cuttings, placing the pots on a gentle seedling heat mat can significantly speed up root development. It mimics the warmth of spring soil.
- Water from the bottom (for cuttings): Once your cuttings are planted and covered, I like to water them by setting the pots in a tray of water. This allows the soil to soak up moisture without disturbing the fragile cuttings.
Aftercare & Troubleshooting
Once your divisions are replanted or your cuttings have started to root, the real fun begins.
- Rooted cuttings: You’ll know they’ve rooted when you see new growth at the top or feel a slight resistance when you gently tug on the stem. At this point, you can gradually acclimate them to normal conditions. Start by removing the plastic cover for a few hours each day, slowly increasing the time until they’re fully uncovered. Keep the soil consistently moist but not waterlogged.
- Watering: All new propagations need consistent moisture. Avoid letting them dry out completely. As they establish, you can slowly decrease the frequency of watering, but always keep an eye on the soil.
- Troubleshooting: The most common issue you might face is rot. This usually happens when the soil is too wet and there isn’t enough air circulation. If you see your cuttings wilting and turning mushy, or if your divisions look like they’re dying, it’s often a sign of overwatering or poor drainage. Make sure you’re using well-draining soil and pots with good drainage holes.
A Encouraging Closing
Propagating Alchemilla glabra is such a joyful activity. It’s a chance to connect with your plants on a deeper level and to expand your garden’s beauty, all while getting more of that lovely Lady’s Mantle you adore. Be patient, enjoy the process, and don’t be afraid to experiment. You’ve got this!
Resource:
https://identify.plantnet.org/k-world-flora/species/Alchemilla%20glabra%20Neygenf./data