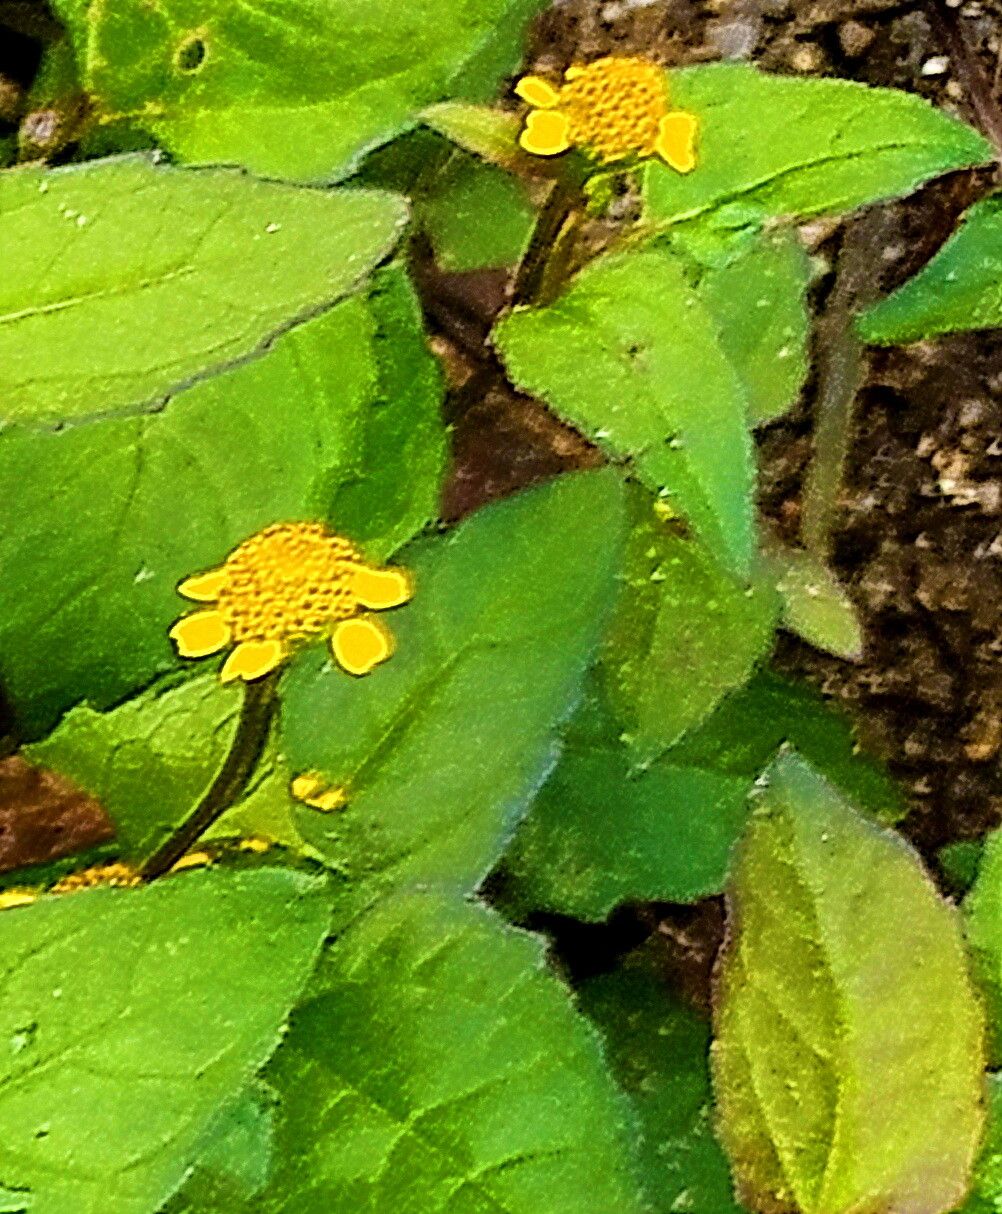
Oh, hello there! Come on in, grab a mug of something warm. We’re going to chat about Acmella ciliata today, also known fondly by some as “Toothache Plant” or “Electric Daisy.” Isn’t this plant just a marvel? Those little buzzy flowers create such a unique, almost effervescent sensation when you chew on them. Plus, the foliage adds a wonderful texture to the garden.
If you’ve fallen in love with this intriguing plant, you’ll be pleased to know that propagating Acmella ciliata is quite rewarding, and thankfully, it’s not an overly fussy plant to start with. It’s a fantastic choice for those newer to plant propagation, so don’t you worry!
The Best Time to Start
For the highest success rate, I always reach for my pruning shears in the spring or early summer. This is when the plant is in its most vigorous growth phase. The days are getting longer, the sun is warm, and the plant has all the energy it needs to put into sending out new roots. It’s like the planet is just bursting with life, and your little cuttings will happily join in.
Supplies You’ll Need
Gathering your tools beforehand makes the whole process so much smoother. Here’s what I usually have on hand:
- Sharp pruning shears or a clean, sharp knife: We want clean cuts to minimize damage and disease.
- Well-draining potting mix: A good mix would be about 50% peat moss or coco coir and 50% perlite or coarse sand.
- Small pots or rooting trays: Clean, with drainage holes, of course!
- Rooting hormone (optional but helpful): A powder or gel to encourage faster and stronger root development.
- Watering can or spray bottle: For gentle watering.
- Plastic bag or propagation dome: To create a humid environment.
- Labeling stakes and a pen: To keep track of what you’ve planted and when.
Propagation Methods
There are a couple of straightforward ways to get more Acmella ciliata plants. I find stem cuttings to be my go-to method.
Stem Cuttings
This is my favorite and easiest approach.
- Select a healthy stem: Look for a non-flowering stem that is at least 4-6 inches long. Gently bend it – if it snaps easily, it’s likely a good choice. Avoid anything too woody or too soft and leafy.
- Take the cutting: Using your sharp pruning shears or knife, make a clean cut just below a leaf node (where a leaf attaches to the stem). This is where those magical rooting hormones are waiting to be awakened.
- Prepare the cutting: Carefully remove the lower leaves from the bottom half of the cutting. You want to expose the leaf nodes, as this is where roots will emerge. Leave just a couple of leaves at the top to help the plant photosynthesize. If the remaining leaves are very large, you can cut them in half to reduce water loss.
- Apply rooting hormone (optional): Dip the cut end of the stem into rooting hormone, tapping off any excess.
- Plant the cutting: Fill your small pots with your prepared potting mix. Make a hole in the center with your finger or a pencil. Gently insert the cut end of the stem into the hole, ensuring the leaf nodes are below the surface of the soil. Firm the soil gently around the stem.
- Water and cover: Water the soil lightly until it’s moist but not waterlogged. Then, cover the pot with a plastic bag or place it under a propagation dome to create a mini-greenhouse effect. This humidity is key!
The “Secret Sauce” (Pro Tips)
Now, let me share a couple of things I’ve learned over the years that really make propagation sing.
- Bottom heat is golden: If you can, place your pots on a seedling heat mat. This gentle warmth from below signals to the cutting that it’s time to get down to business and start rooting. It makes a remarkable difference, especially if your room temperature is a bit cooler.
- Keep it humid, but not soggy: While humidity is crucial, I always make sure there are a few small holes in the plastic bag or dome or lift it daily for a few minutes to allow for some air circulation. This prevents that dreaded fungal rot from setting in. We want happy roots, not mushy stems!
- Don’t rush the “pull test”: When you think your cuttings might have rooted, resist the urge to yank them out to check. Instead, give them a very gentle tug. If you feel any resistance, that’s a good sign roots are forming.
Aftercare & Troubleshooting
Once you start seeing new growth peeking out, or when your gentle “pull test” reveals resistance, it’s time to ease those babies into the real world.
Gradually acclimate them to lower humidity by slowly increasing the time you leave the bag or dome off. Once they look robust and are clearly growing, you can remove the cover entirely. Continue to keep the soil consistently moist but never waterlogged. Think of them as delicate seedlings; they need consistent care.
Now, what if things don’t go as planned? The most common issue is rot. If your stem turns black and mushy, it’s usually a sign of too much moisture and not enough air circulation. If this happens, unfortunately, that particular cutting is a goner. Don’t get discouraged! Just adjust your watering and air flow for the next batch. Sometimes, leaves may droop initially; that’s often just the plant adjusting but keep an eye out for wilting combined with mushy stems, which is rot.
A Encouraging Closing
Propagating plants is like planting little seeds of joy, and Acmella ciliata is a particularly delightful one to nurture. Be patient with your cuttings. Some will take off faster than others, and that’s all part of the gardening dance. Enjoy the process, learn from each little venture, and soon you’ll have a whole garden full of these wonderfully unique plants. Happy growing!
Resource:
https://identify.plantnet.org/k-world-flora/species/Acmella%20ciliata%20(Kunth)%20Cass./data