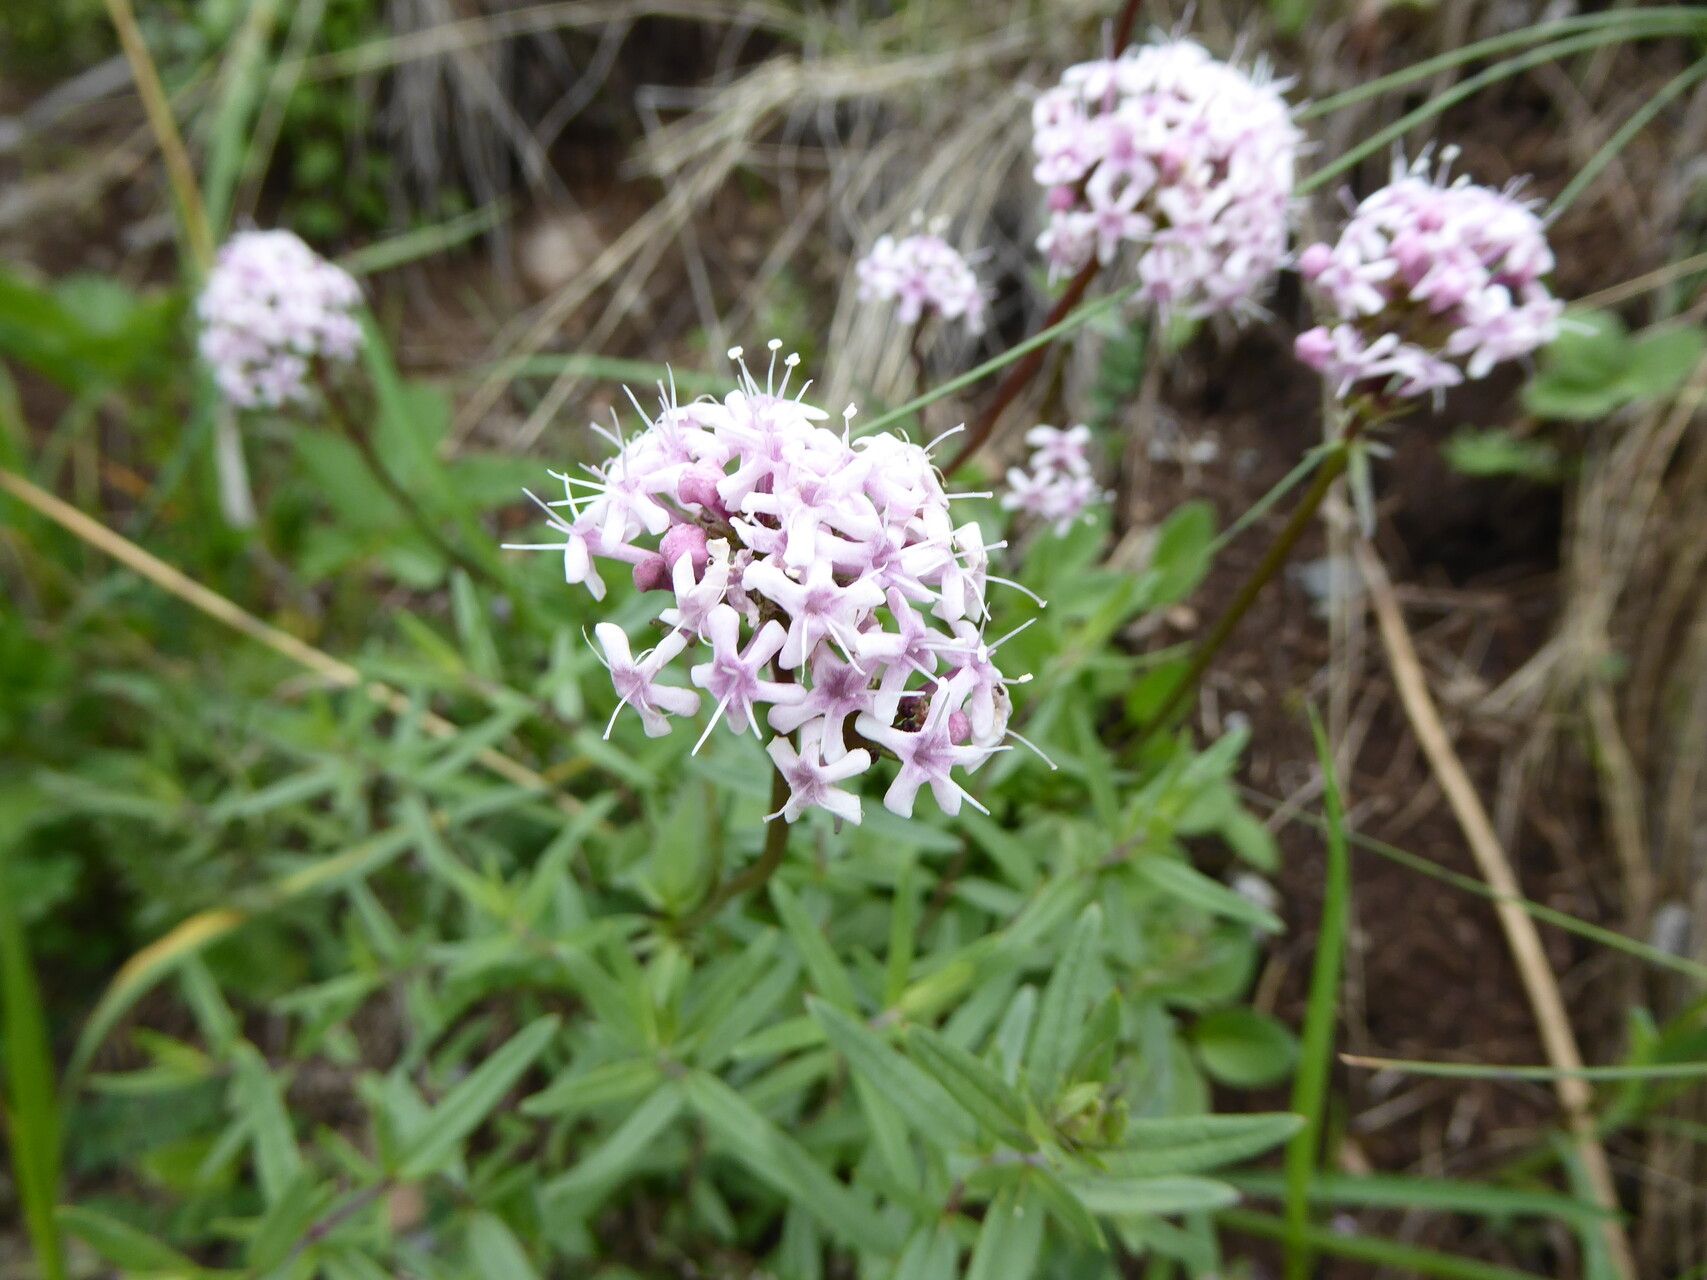
Hello fellow garden enthusiasts! Today, I want to talk about a plant that brings a touch of delicate charm to any space: Valeriana fedtschenkoi. If you haven’t met her yet, imagine feathery, fragrant foliage topped with lovely sprays of tiny white flowers that just seem to float. She’s got this subtle elegance that I just adore.
Now, if you’re thinking about adding more of these beauties to your collection, you’re in for a treat. Propagating Valeriana fedtschenkoi is a wonderfully rewarding process. For beginners? I’d say she’s moderately easy. It’s not quite as foolproof as a succulent, but with a little attention and patience, most of you will have success.
The Best Time to Start
My favorite time to get started with Valeriana fedtschenkoi propagation is late spring or early summer. This is when the plant is actively growing, bursting with energy, and usually has plenty of healthy stems to work with. You want to catch her in that vigorous growth phase.
Supplies You’ll Need
Before we dive in, let’s gather our tools and materials:
- Sharp pruning shears or a clean knife: For making precise cuts.
- Potting mix: A well-draining mix is key. I often use a blend of equal parts peat moss or coco coir, perlite, and a bit of compost.
- Small pots or trays: Clean containers with drainage holes are essential.
- Rooting hormone (optional but helpful): A powdered or liquid hormone can speed things up.
- Watering can or spray bottle: For gentle watering.
- Plastic bags or a propagation dome: To maintain humidity.
- A dibber or pencil: For making planting holes.
Propagation Methods
Let’s get our hands dirty! We’ll focus on the most straightforward methods for Valeriana fedtschenkoi.
Stem Cuttings
This is usually my go-to for Valeriana fedtschenkoi.
- Take your cuttings: Select healthy, non-flowering stems. Using your clean shears, cut lengths of about 4-6 inches. Make the cut just below a leaf node (that little bump where a leaf grows from the stem).
- Prepare the cuttings: Gently remove the lower leaves from the cutting, leaving just a couple of sets at the top. This prevents them from rotting once planted.
- Dip in rooting hormone (optional): If you’re using rooting hormone, dip the cut end into the powder or liquid, tapping off any excess.
- Plant the cuttings: Make a small hole in your prepared potting mix with your dibber or pencil. Insert the cut end of the stem into the hole, firming the soil gently around it.
- Water and cover: Water thoroughly but gently. Then, cover the pot or tray with a plastic bag or a propagation dome to keep the humidity high.
Division
If you have a mature Valeriana fedtschenkoi plant that’s looking a little crowded, division is a fantastic way to multiply.
- Gently remove the plant: Carefully dig up the entire plant, trying to disturb the roots as little as possible.
- Inspect and divide: Gently shake off excess soil. You’ll likely see that the plant naturally wants to divide. Using your hands or a clean knife, separate the root ball into smaller sections. Each section should have at least a few healthy roots and some leafy growth.
- Replant: Pot each divided section into its own container with fresh, well-draining potting mix. Water well.
The “Secret Sauce” (Pro Tips)
Here are a few little tricks I’ve picked up over the years that can really boost your success rates:
- Don’t overcrowd: When planting cuttings or divisions, give them a little breathing room. Too much crowding can lead to fungal issues and competition for resources.
- Bottom heat is your friend: For stem cuttings, placing the pots on a heat mat set to a gentle warmth (around 70-75°F or 21-24°C) can significantly speed up root development. It mimics that lovely warmth of spring soil.
- Keep it humid, but not soggy: The plastic bag or dome is crucial for humidity, but make sure there’s some airflow. I sometimes slightly prop open the bag for an hour a day. You want that steamy environment, but not a swamp.
Aftercare & Troubleshooting
Once your cuttings have rooted (you’ll know because you’ll see new growth and they’ll resist a gentle tug), you can begin to acclimate them to normal conditions. Gradually remove the plastic bag over a week or so. Continue to water them when the top inch of soil feels dry. Keep them in bright, indirect light.
The most common issue I see is rot. If your cuttings turn mushy or black, it’s usually a sign of too much moisture or poor drainage. If you see signs of rot, it’s best to remove the affected cuttings and try to improve the conditions for the others. Good air circulation and a well-draining mix are your best defense.
A Encouraging Closing
Propagating Valeriana fedtschenkoi is a journey, not a race. Be patient, observe your little plant babies, and enjoy the process of creating new life. You’re nurturing something beautiful, and that’s always a good thing. Happy gardening!
Resource:
https://identify.plantnet.org/k-world-flora/species/Valeriana%20fedtschenkoi%20Coincy/data