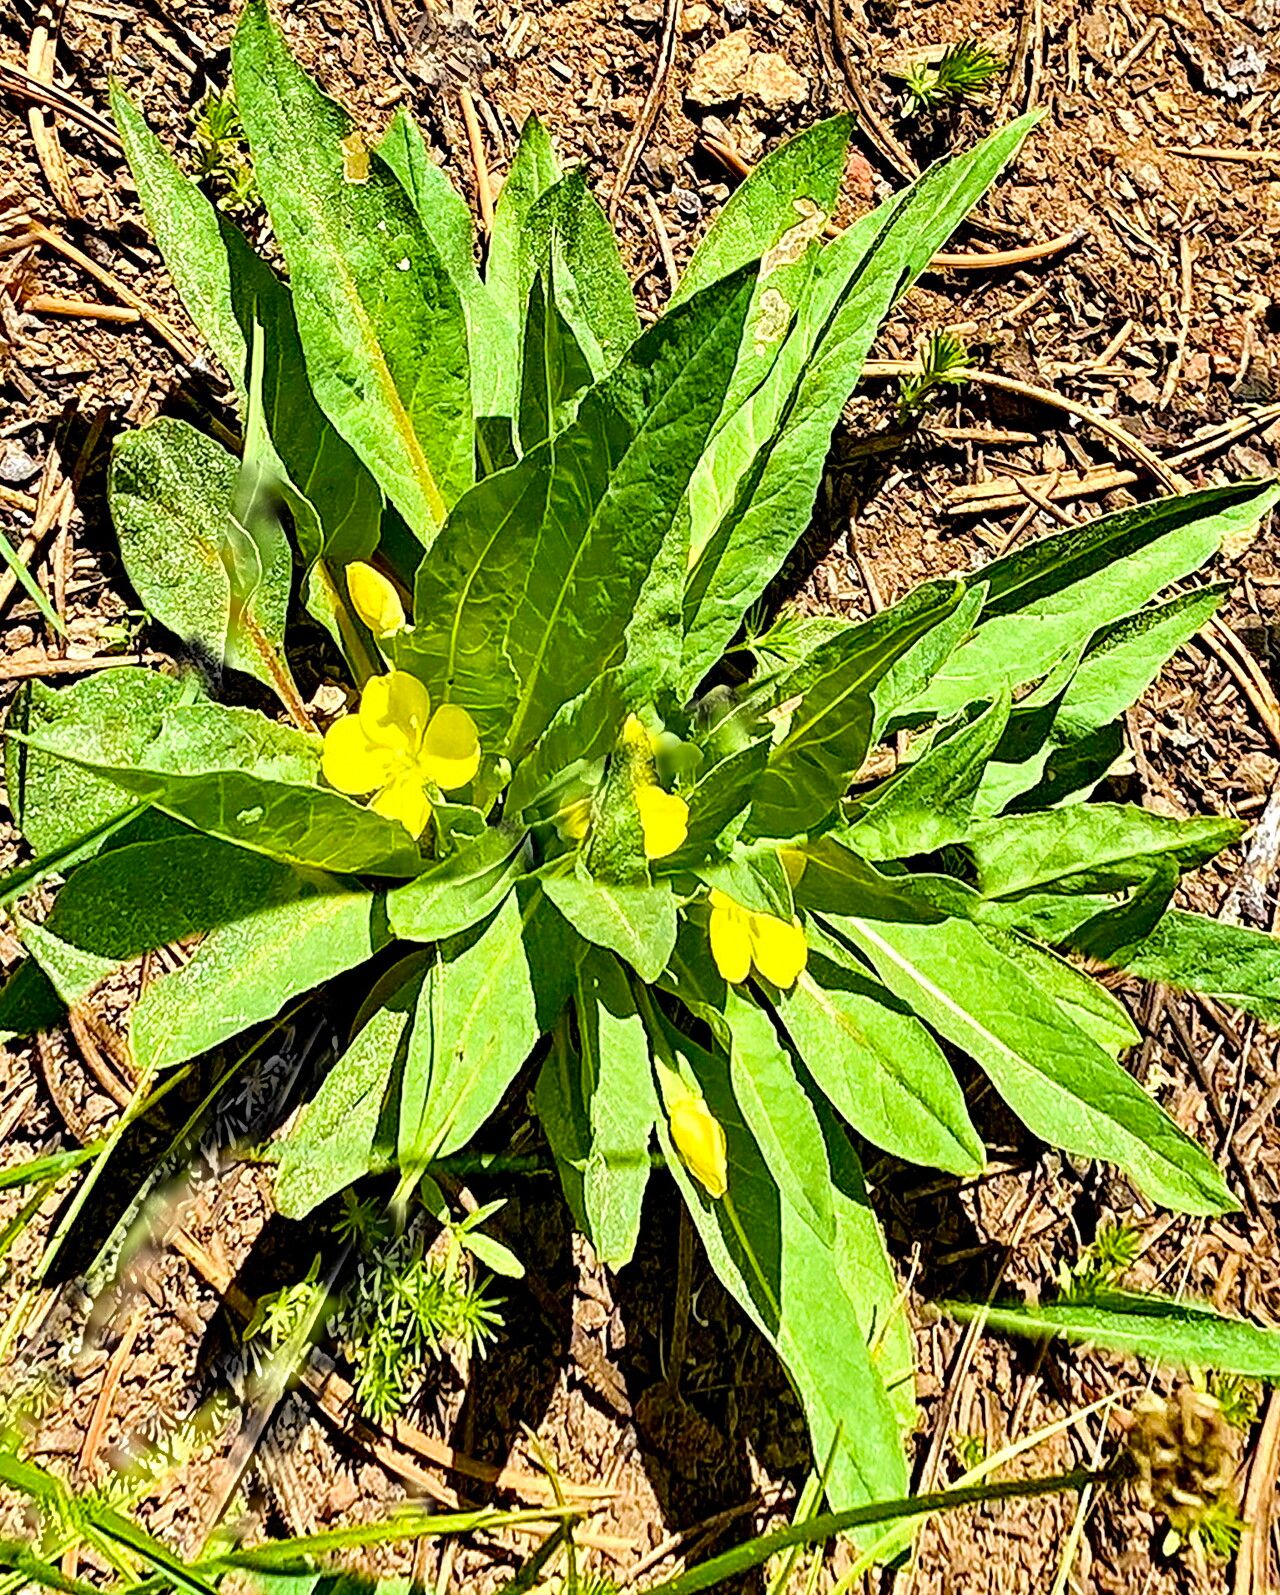
Hey there, fellow garden enthusiasts! Today, we’re diving into the delightful world of Taraxia subacaulis, a gem of a plant that’s sure to bring a smile to your face come bloom time. This charming little fellow, with its delicate, star-shaped flowers, is a joy to behold. And the best part? Propagating it yourself is incredibly rewarding, a true testament to your green thumb’s growing power. Now, I won’t lie, it can be a tiny bit tricky for a complete beginner, but with a little patience and this guide, you’ll be well on your way.
The Best Time to Start
For Taraxia subacaulis, spring is your golden ticket. When the days start to warm up, and your established plants are getting ready to put on a show, that’s your cue. This is when they’re bursting with energy, making them prime candidates for propagation. You want to catch them at this active growth phase for the best results.
Supplies You’ll Need
- Sharp, clean pruning shears or a sharp knife: Essential for making clean cuts.
- Rooting hormone (optional but recommended): Gives your cuttings an extra boost.
- Well-draining potting mix: A mix of equal parts peat moss, perlite, and a touch of sand works wonders. You can also buy specialized succulent or cacti mixes.
- Small pots or seed trays: Clean pots are key to preventing disease.
- Plastic bags or a propagator lid: To create that all-important humid environment.
- Watering can with a fine rose: For gentle watering.
Propagation Methods
The most reliable way to get more Taraxia subacaulis from your existing plants is through division. It’s straightforward and very effective.
Division Method:
- Gently excavate: In spring, when you see new growth emerging, carefully dig up your Taraxia subacaulis plant. You want to disturb the roots as little as possible.
- Locate the divisions: You’ll notice that the main plant often forms clumps made up of several smaller crowns or shoots, each with its own root system.
- Make the split: Using your hands or a clean, sharp tool, gently separate these divisions. Aim to get at least one good root and a few healthy shoots on each new plant. If it’s a bit stubborn, your clean pruning shears can help ease the separation.
- Potting up: Pot each division into its own small pot filled with your well-draining potting mix. Make sure the crown of the plant is just at the soil surface.
- Water lightly: Give them a gentle watering to settle the soil around the roots.
While division is my go-to for Taraxia subacaulis, you might be able to propagate from stem cuttings depending on the specific variety and your conditions. If you want to experiment with stem cuttings:
- Select a healthy stem: Choose a healthy, non-flowering stem that’s about 3-4 inches long.
- Make the cut: Using your sterilized pruning shears, make a clean cut just below a leaf node.
- Remove lower leaves: Strip off the lower leaves, leaving just a few at the top.
- Apply rooting hormone: Dip the cut end into rooting hormone, tapping off any excess.
- Plant the cutting: Insert the cut end into your pre-moistened, well-draining potting mix.
- Create humidity: Cover the pot with a plastic bag or propagator lid.
The “Secret Sauce” (Pro Tips)
Here are a couple of tricks I’ve picked up over the years that make a big difference:
- Don’t overwater divisions initially: While they need moisture to establish, soggy soil is the enemy of new divisions. Let the soil dry out slightly between waterings. Think of it as encouraging them to reach for water rather than having it all readily available.
- Patience is key with cuttings: If you attempt stem cuttings, be incredibly patient. They can take weeks, sometimes even months, to root. Resist the urge to keep pulling them out to check for roots! A gentle tug is usually enough to tell if they’ve settled in.
Aftercare & Troubleshooting
Once your divisions are potted up, keep them in a bright, indirect light location. Avoid harsh direct sun, which can scorch their delicate new growth. Water them only when the top inch of soil feels dry to the touch.
If you’ve tried stem cuttings, maintain that consistent humidity. You’ll know they’re rooting when you see new leaf growth or resistance when you give them a very gentle tug.
The biggest culprit for failure with any propagation is rot. If your cuttings turn mushy and black, or your divisions start to look limp and discolored, it’s likely due to overwatering or poor drainage. Ensure good air circulation around your new plants to help prevent this. Sometimes, even with the best care, a cutting just won’t take. Don’t be discouraged; it happens to the best of us!
A Encouraging Closing
Propagating Taraxia subacaulis is a wonderful way to expand your garden and share these beautiful blooms. Remember to be patient with the process, observe your plants, and learn from each attempt. Happy gardening, and may your propagation adventures be fruitful!
Resource:
https://identify.plantnet.org/k-world-flora/species/Taraxia%20subacaulis%20(Pursh)%20Rydb./data