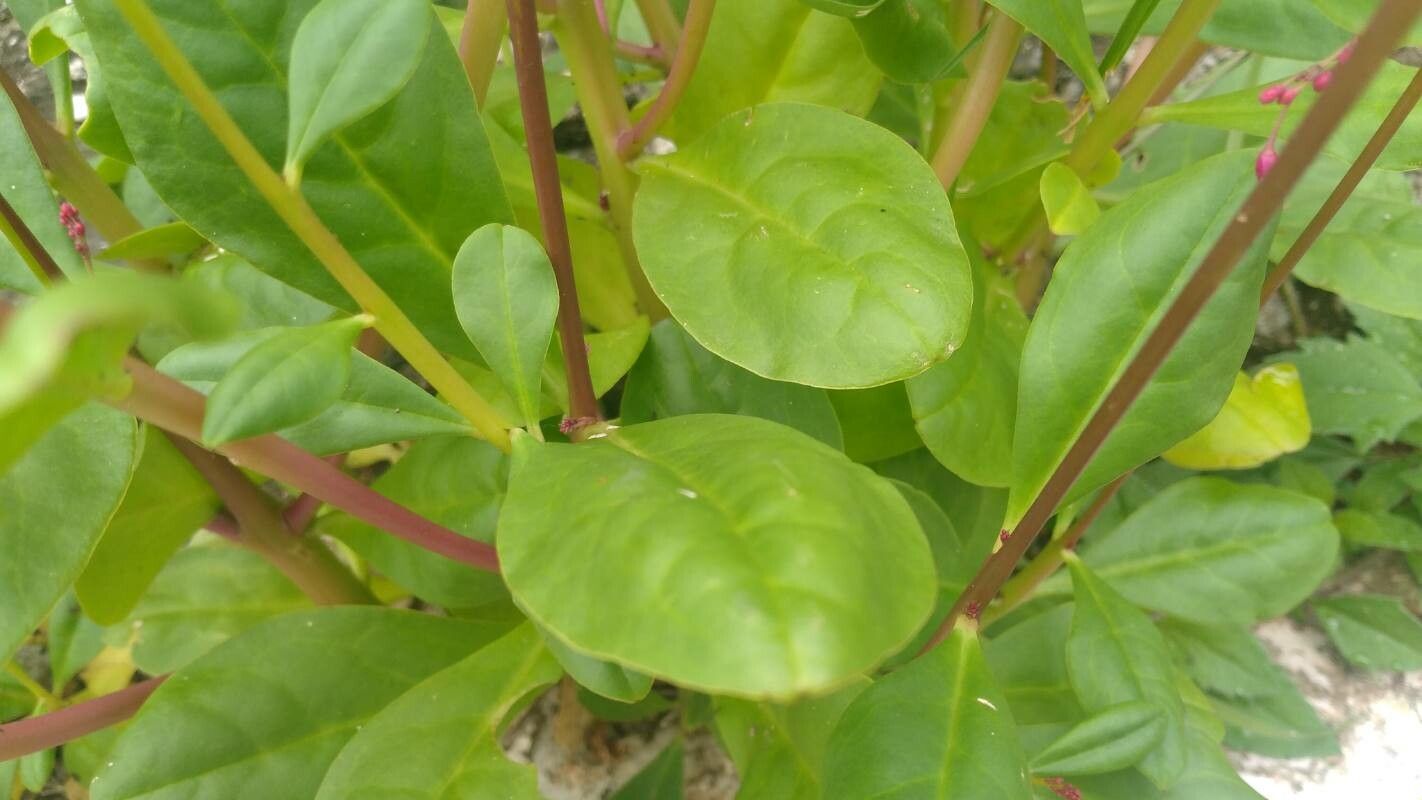
Hello, fellow garden enthusiasts! Today, I want to share a little secret with you: how to multiply one of my absolute favorite plants, Talinum paniculatum, also known as Jewels of Opar or Pink Baby’s Breath. I’ve been growing and propagating this beauty for years, and trust me, it’s a genuinely rewarding experience. Its delicate, airy pink flowers and succulent-like leaves bring such a lovely, almost ethereal quality to any garden or container.
What’s even better? Talinum paniculatum is incredibly easy to propagate! If you’re just starting your journey into the world of plant propagation, this is a fantastic one to begin with. You’ll be sharing little bits of your own sunny garden with friends in no time.
The Best Time to Start
For the absolute highest success rate, I always recommend starting your propagation efforts in late spring or early summer. The plant is usually in full swing of its growth at this time, meaning it’s actively producing plenty of healthy stems and leaves. This vibrant energy translates directly into successful rooting for your new babies.
Supplies You’ll Need
Here’s a quick rundown of what you’ll want to have on hand:
- Sharp Pruning Shears or Scissors: Clean, sharp tools are essential for making clean cuts that heal well.
- Potting Mix: A well-draining potting mix is key. I often use a blend of equal parts peat moss, perlite, and coarse sand. You can also find specific succulent or cactus mixes that work beautifully.
- Small Pots or Trays: Seedling pots, small nursery pots, or even recycled containers with drainage holes will do.
- Rooting Hormone (Optional but Recommended): A powder or liquid rooting hormone can give your cuttings a little extra kickstart.
- Watering Can or Spray Bottle: For gently watering your new propagations.
- Plastic Bags or Humidity Domes: To create a humid environment for your cuttings.
Propagation Methods
Talinum paniculatum is wonderfully versatile, and you can propagate it using a few different methods. My favorite is stem cuttings, but division is also a breeze.
Stem Cuttings
This is my go-to method. It’s simple, effective, and I can get many new plants from a single mature specimen.
- Select Healthy Stems: Look for a healthy, vigorous stem on your Talinum paniculatum. You want a stem that’s not too woody but also not overly soft and new. Aim for stems about 4-6 inches long.
- Make the Cut: Using your sharp pruning shears, make a clean cut just below a leaf node. A leaf node is where a leaf or branch attaches to the stem. This is where roots are most likely to emerge.
- Prepare the Cutting: Gently remove the lower leaves from the stem, leaving just a couple of leaves at the very top. This prevents the submerged leaves from rotting.
- Apply Rooting Hormone (Optional): If you’re using rooting hormone, dip the cut end of the stem into the powder or liquid. Tap off any excess.
- Plant the Cutting: Fill your small pots or trays with your well-draining potting mix. Make a small hole in the center of the soil with your finger or a pencil. Insert the cut end of the stem into the hole, making sure at least one leaf node is buried in the soil. Gently firm the soil around the stem.
- Water Gently: Water the soil lightly. You want it to be moist but not soggy.
- Create a Humid Environment: This is crucial! Cover the pot or tray with a clear plastic bag, ensuring the bag doesn’t touch the leaves too much, or use a humidity dome. Place it in a bright location out of direct harsh sunlight.
Division
If your Talinum paniculatum has become a bit of a clump, division is a fantastic way to get new plants, and it’s super fast!
- Gently Remove from Pot: Carefully take your plant out of its pot.
- Loosen the Root Ball: Gently tease apart the root ball with your fingers. You’ll notice the plant naturally wants to separate into smaller sections, each with its own roots and stems.
- Separate the Divisions: Pull the plant apart into smaller sections. Try to ensure each division has at least a few stems and a good chunk of roots. If it’s a bit stubborn, you can use a clean knife or trowel to help separate them.
- Replant: Pot up each division into its own container with fresh, well-draining potting mix. Water them in well.
The “Secret Sauce” (Pro Tips)
Over the years, I’ve learned a few tricks that seem to make a difference.
- Bottom Heat is Your Friend: For stem cuttings, placing the pots on a propagation mat on a low setting can significantly speed up root development. It mimics the warmth of spring soil and encourages those roots to form faster.
- Don’t Overcrowd: When planting multiple cuttings in a tray, give them a little breathing room. Overcrowding can lead to increased humidity and a higher chance of fungal issues like rot.
- Watch for Wilting (But Don’t Panic!): Sometimes, cuttings can look a little sad or wilted as they adjust. This is often normal, especially in the first week. As long as the stem itself feels firm and isn’t mushy, give it time. If the leaves start to turn yellow or crispy, that’s a different story, but a bit of temporary wilting is rarely a death sentence.
Aftercare & Troubleshooting
Once you start seeing new growth or feel a little resistance when you gently tug on a cutting, that’s a good sign roots are forming!
- Acclimate Gradually: Once your cuttings have a good root system, it’s time to slowly remove the plastic bag or humidity dome. Do this over a few days, gradually increasing the time the cuttings are exposed to normal air. This helps them adjust to lower humidity.
- Watering: Continue to water when the top inch of soil feels dry. For divisions, treat them like mature plants, watering thoroughly. Talinum paniculatum prefers to dry out a bit between waterings, so avoid keeping the soil constantly wet.
- Sunlight: Once rooted, your new plants will appreciate bright, indirect sunlight. They can tolerate some direct sun, especially in the morning, but avoid intense afternoon rays, which can scorch their leaves.
The most common problem you might encounter is rot. This usually happens when the cuttings are kept too wet or don’t have enough air circulation. If you see a stem turning black and mushy, unfortunately, that cutting is likely lost. Remove it immediately to prevent it from spreading. This is why that good drainage and avoiding overwatering are so important.
Happy Propagating!
Watching a tiny cutting transform into a thriving new plant is one of the most satisfying parts of gardening. Talinum paniculatum makes this process incredibly accessible, so don’t be afraid to give it a go. Be patient, observe your little greenery, and enjoy the journey. Happy gardening, everyone!
Resource:
https://identify.plantnet.org/k-world-flora/species/Talinum%20paniculatum%20(Jacq.)%20Gaertn./data