Hello fellow garden lovers!
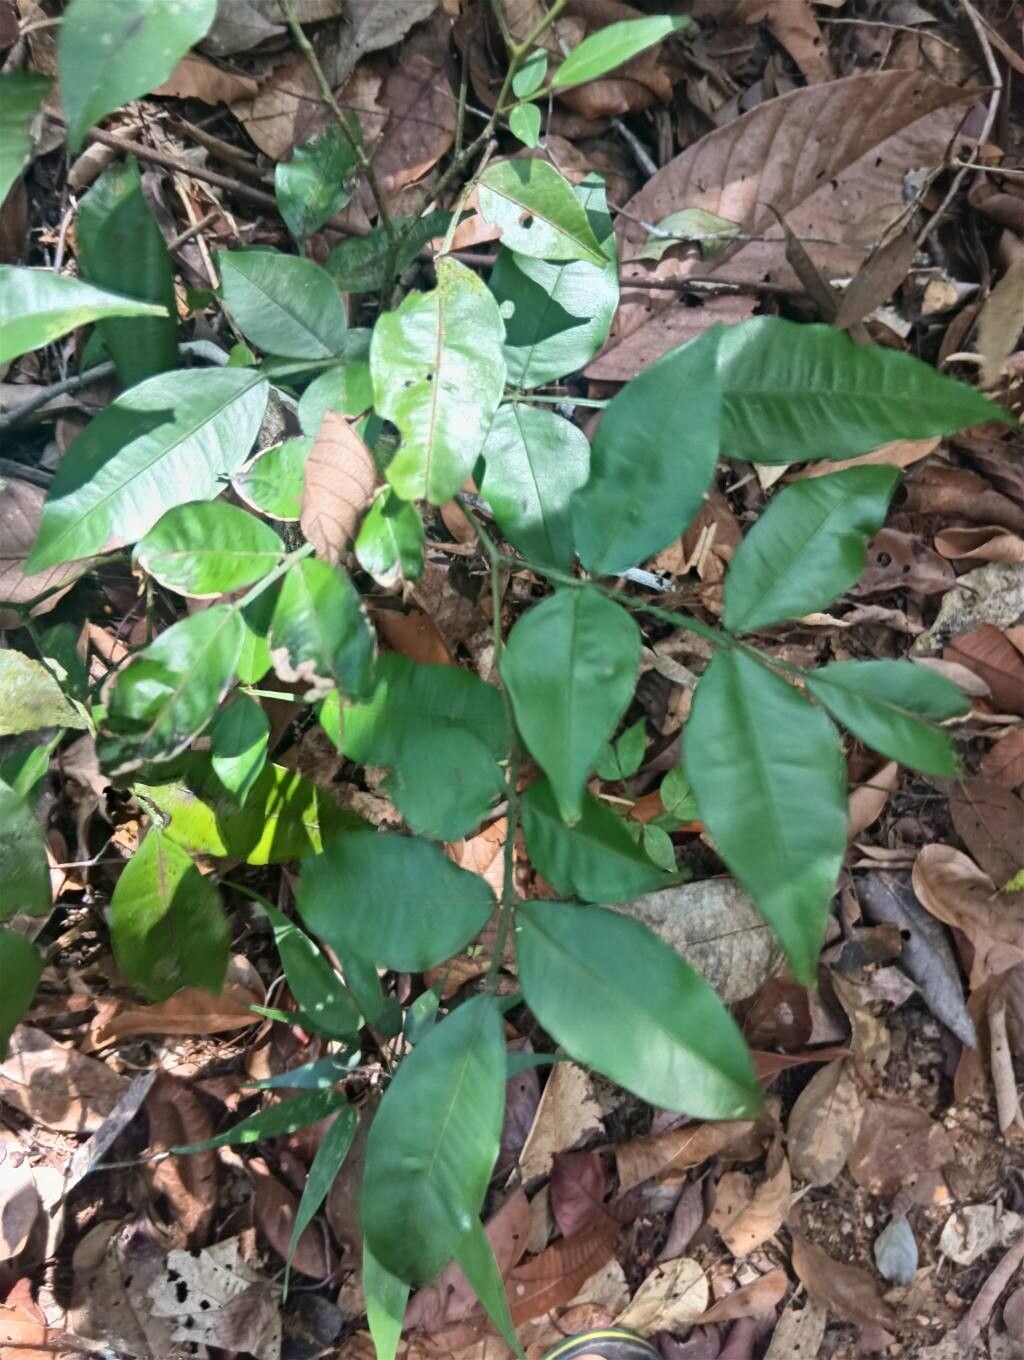
Today, we’re diving into the world of Swartzia arborescens. If you’re looking for a gorgeous, tropical-looking plant to add a touch of the exotic to your home or garden, this might just be your next favorite. Its delicate, almost feathery foliage and beautiful blooms make it a real showstopper. And the best part? Propagating it yourself is incredibly rewarding. While it’s not the absolute easiest plant for a brand-spanking-new gardener, with a little patience and these tips, you’ll be well on your way to success.
The Best Time to Start
For Swartzia arborescens, the absolute sweet spot for propagation is during its active growing season. Think late spring through summer. This is when the plant has plenty of energy to put into developing new roots. Starting with healthy, vigorous shoots will give you the best chance of success. Avoid trying to propagate from plants that are stressed or haven’t been looking their best.
Supplies You’ll Need
Gathering your tools beforehand makes the whole process much smoother. Here’s what I usually have on hand:
- Sharp pruning shears or a clean knife: For taking clean cuttings.
- Well-draining potting mix: A 50/50 blend of perlite and peat moss or coco coir is excellent.
- Rooting hormone (optional but recommended): A powder or gel can significantly boost root development.
- Small pots or seed trays: With drainage holes, of course!
- Plastic bags or a propagator: To create a humid environment.
- Water: For misting and watering.
- Labeling tags: To keep track of your projects!
Propagation Methods
Swartzia arborescens is quite amenable to stem cuttings, which is usually my go-to method.
- Stem Cuttings:
- Select a healthy, non-flowering shoot from your mature plant. Look for sections that are about 4-6 inches long and have at least two sets of leaves.
- Using your sharp shears or knife, make a clean cut just below a leaf node (where a leaf attaches to the stem). This is a prime spot for root initiation.
- Gently remove the lower leaves from your cutting, leaving just a couple of leaves at the top. This prevents leaves from rotting in the soil and allows the plant to focus its energy on rooting.
- If you’re using rooting hormone, dip the cut end of the stem into it. Tap off any excess.
- Insert the prepared cutting into your moist potting mix. Make a pilot hole with a pencil or stick to avoid rubbing off the rooting hormone. Ensure the bottom leaf node is buried in the soil.
- Water gently to settle the soil around the cutting.
- Create a humid environment. You can cover the pot with a clear plastic bag, using stakes to keep it from touching the leaves, or place it in a propagator. Make sure to open the bag or propagator for ventilation for about 10-15 minutes each day to prevent fungal issues.
The “Secret Sauce” (Pro Tips)
Here are a couple of things I’ve learned over the years that make a big difference:
- Bottom Heat is Your Friend: While not strictly essential, placing your potted cuttings on a gentle heat mat can dramatically speed up root formation. It mimics the warmth of spring soil. Just make sure the heat isn’t too intense – lukewarm is perfect.
- Don’t Over-Water, But Keep it Consistent: It’s a delicate balance. You want the soil to be consistently moist, but never soggy. Soggy conditions are a fast track to rot. I often find myself giving my cuttings a light misting with water every couple of days, in addition to the initial watering, especially if the humidity domes are on.
Aftercare & Troubleshooting
Once you see new leaf growth, that’s a great sign that roots have formed! It can take anywhere from 4 to 8 weeks, sometimes longer.
- Gradual Acclimation: Once roots are established, begin to gradually reduce the humidity. Open the plastic bag for longer periods each day, or remove the propagator lid for more extended intervals, over about a week.
- Moving Up: Once your new plant is happy out of its humid dome, you can consider repotting it into a slightly larger container with fresh potting mix.
- Watch for Rot: The most common sign of failure is mushy, black stems, often at the soil line. This is usually a clear indicator of overwatering and poor drainage. If you catch it early, you can try unpotting, trimming away any rotted sections, and repotting in fresh, dry soil. Sometimes, sadly, it’s just too far gone. Don’t let it discourage you!
A Little Patience Goes A Long Way
Propagating plants is a journey, and Swartzia arborescens is no different. There will be times when a cutting doesn’t take for reasons we might not always understand. That’s just part of the gardening dance! The key is to be patient, observe your cuttings carefully, and enjoy the process of nurturing new life. Happy propagating!
Resource:
https://identify.plantnet.org/k-world-flora/species/Swartzia%20arborescens%20(Aubl.)%20Pittier/data