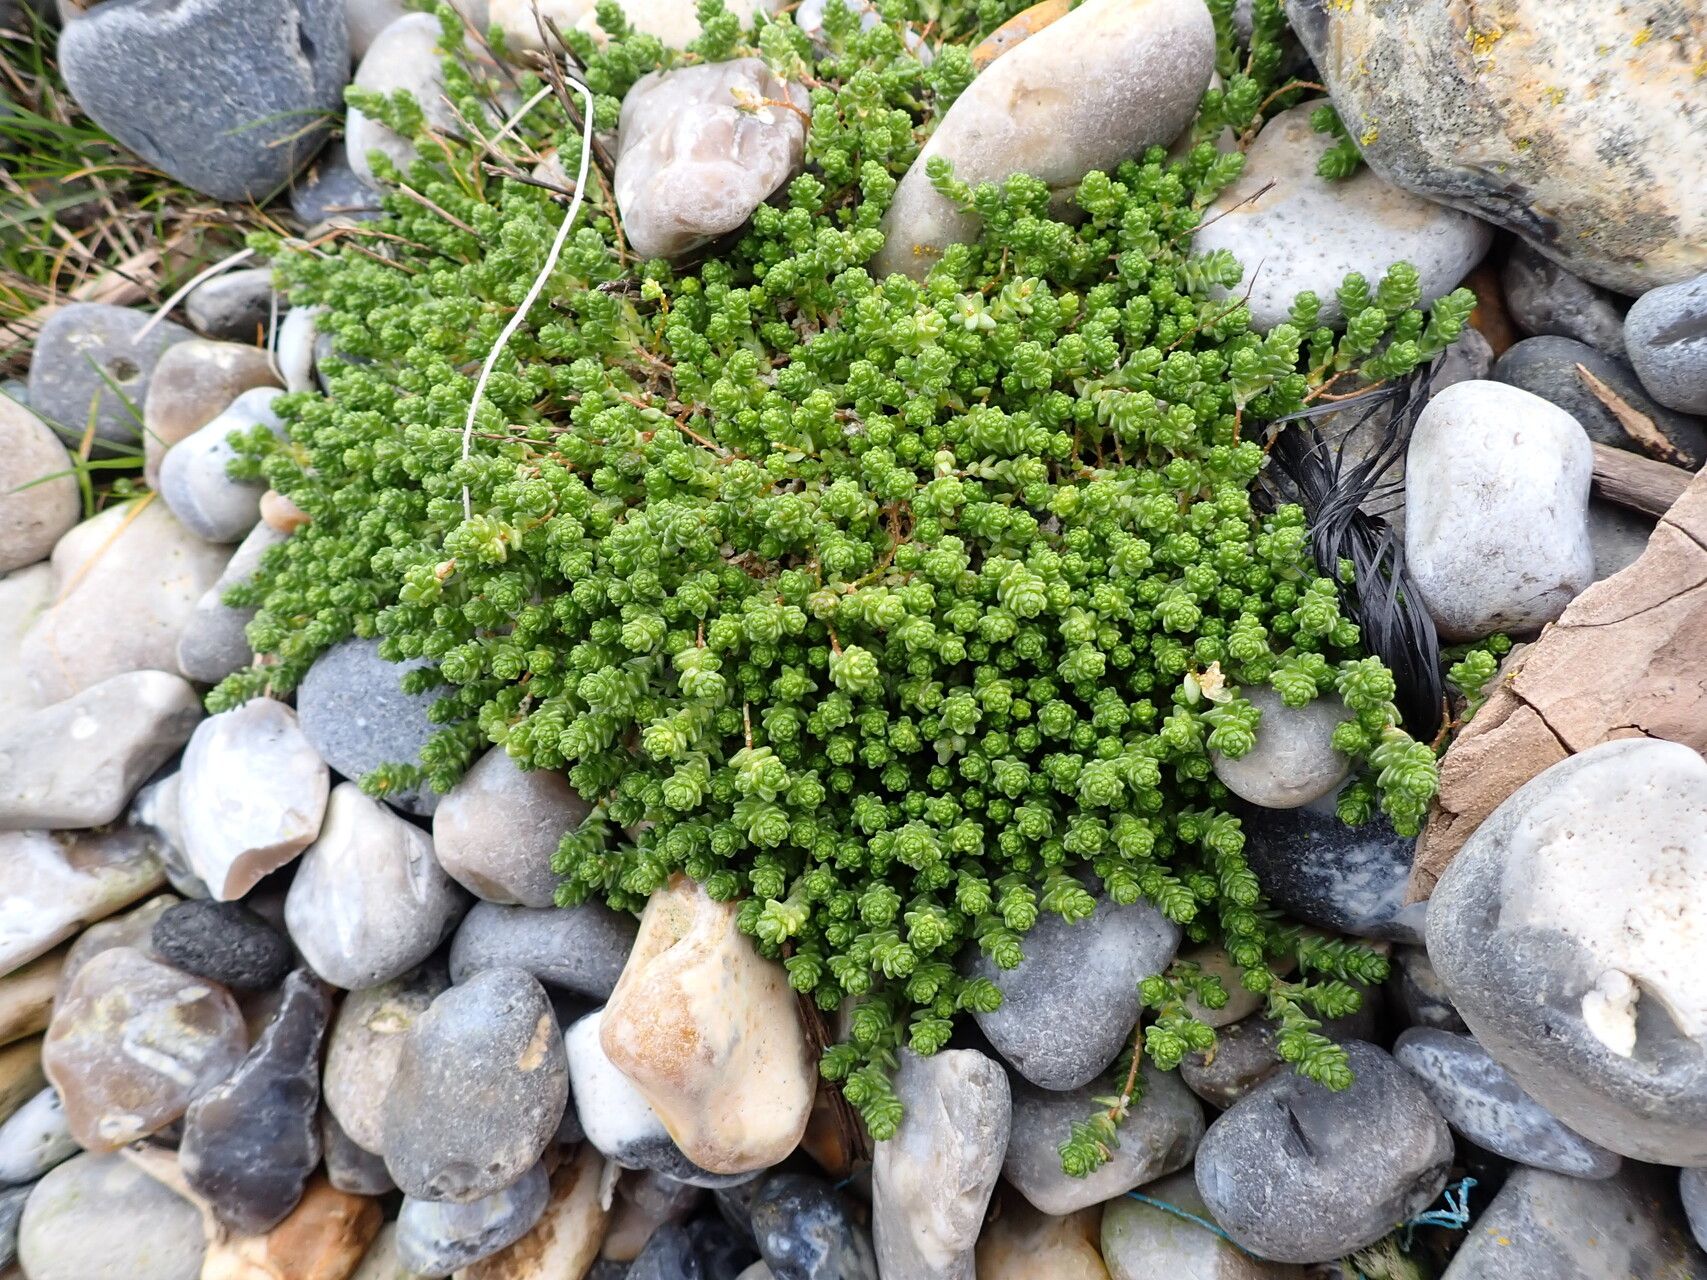
Oh, hello there! I’m so glad you’ve stopped by. Today, we’re diving into the wonderful world of propagating Sedum compactum. If you’ve ever admired those delightful, compact rosettes of Sedum, often resembling little green jewels, you’re in for a treat. Getting more of them to grow is surprisingly simple, and honestly, one of the most rewarding parts of gardening for me. It’s like sharing a little bit of that joy you feel for your own plants with future versions of them. And for beginners? Absolutely, this is a fantastic plant to start your propagation journey with.
The Best Time to Start
When it comes to Sedum compactum, the sweet spot for propagation is definitely during its active growing season. Think late spring through summer. This is when the plant is full of vigor, putting out new growth, and has the energy to establish itself quickly. Trying to propagate while it’s dormant or stressed usually leads to much slower results, or sadly, no results at all.
Supplies You’ll Need
Gathering your supplies makes the whole process smooth sailing. Here’s what I usually have on hand:
- Sharp Pruning Shears or a Knife: For clean cuts. A well-maintained tool is key to avoiding disease.
- Well-Draining Potting Mix: A cactus and succulent mix is ideal. You can also make your own by combining potting soil with perlite or pumice. I aim for about a 50/50 ratio.
- Small Pots or Seedling Trays: Something with drainage holes is a must.
- Rooting Hormone (Optional but Recommended): This really gives your cuttings a boost. Look for one for succulents.
- A Spray Bottle: For misting.
- A Pen or Marker: To label your pots! Trust me, you’ll thank me later.
Propagation Methods
Sedum compactum is wonderfully forgiving, and there are a couple of very straightforward ways to get more plants.
Stem Cuttings
This is my go-to method and usually the most successful for Sedum compactum.
- Take Your Cuttings: Find healthy, vigorous stems on your mature plant. Using clean pruning shears or a sharp knife, make a cut just below a leaf node. Aim for stem pieces that are about 2-4 inches long.
- Allow to Callus: This is a crucial step! Gently remove any lower leaves from the stem. Then, let the cuttings sit in a dry, airy spot for a day or two, or even up to a week. You’ll see the cut end dry and form a protective scab, or callus. This prevents rot when you plant them.
- Prepare the Potting Mix: Fill your pots or trays with the well-draining succulent mix.
- Plant the Cuttings: If you’re using rooting hormone, dip the callused end of the cutting into it. Then, gently insert the callused end into the potting mix, about an inch deep. Make sure the leaves aren’t buried.
- Water Lightly: Give the soil a light watering with your spray bottle. You want it moist, not soggy.
- Find a Sunny Spot: Place the pots in a bright location with indirect sunlight. Direct sun can scorch the newly planted cuttings.
Division (Less Common for Compactum, but possible)
While Sedum compactum typically grows as a tight rosette, if your mature plant has started to produce multiple offsets from the base, you can carefully divide it.
- Gently Remove from Pot: Carefully take the mother plant out of its pot.
- Separate Offsets: Inspect the base of the plant. You’re looking for offsets that have started to form their own roots. Using a clean knife or even just your fingers, gently tease apart the offsets from the main root ball.
- Repot: If the separated offsets have decent roots, they can be planted directly into their own pots with well-draining soil. If they don’t have many roots yet, treat them like stem cuttings and let them callus for a day before planting.
The “Secret Sauce” (Pro Tips)
Over the years, I’ve learned a few little tricks that seem to make all the difference.
- Don’t Be Afraid of a Little Dryness: While you want your cuttings to callus, once they’re planted, let the soil dry out slightly between waterings. Overwatering at this stage is the quickest way to invite rot. It’s easier to revive a slightly dry cutting than a rotted one.
- Bottom Heat is Your Friend: If you can, placing your pots on a propagation mat or in a warm spot (like on top of a refrigerator) can really encourage root development. Sedums love a bit of warmth to get going.
- Patience is Key (And Observation!): Don’t get discouraged if you don’t see new growth immediately. It can take several weeks for roots to form. Gently tug on a cutting after a few weeks – if you feel resistance, you’ve got roots!
Aftercare & Troubleshooting
Once your Sedum compactum cuttings have developed healthy roots (you’ll see new growth and feel resistance when you gently pull), it’s time to treat them a bit more like a mature plant.
Continue to water when the soil is dry to the touch. You can slowly introduce them to brighter light, gradually acclimating them to more direct sun if they are established.
The most common issue you’ll encounter is rot. This usually happens if the cuttings haven’t callused properly, or if the soil stays too wet. If you see a cutting becoming mushy, brown, or developing black spots, sadly, it’s likely beyond saving. Remove it immediately to prevent it from affecting other cuttings. Sometimes, a cutting might just shrivel up and fail to root. Don’t beat yourself up; it happens! Learn from it and try again. Just ensure your soil is well-draining and you’re not overwatering.
A Encouraging Closing
See? Not too complicated, is it? Propagating Sedum compactum is a beautiful dance with nature, and every little success is a joy. Be patient with your new little plants, celebrate each new rosette or bit of growth, and don’t be afraid to experiment. Happy propagating, and may your collection of little Sedum jewels continue to grow!
Resource:
https://identify.plantnet.org/k-world-flora/species/Sedum%20compactum%20Rose/data