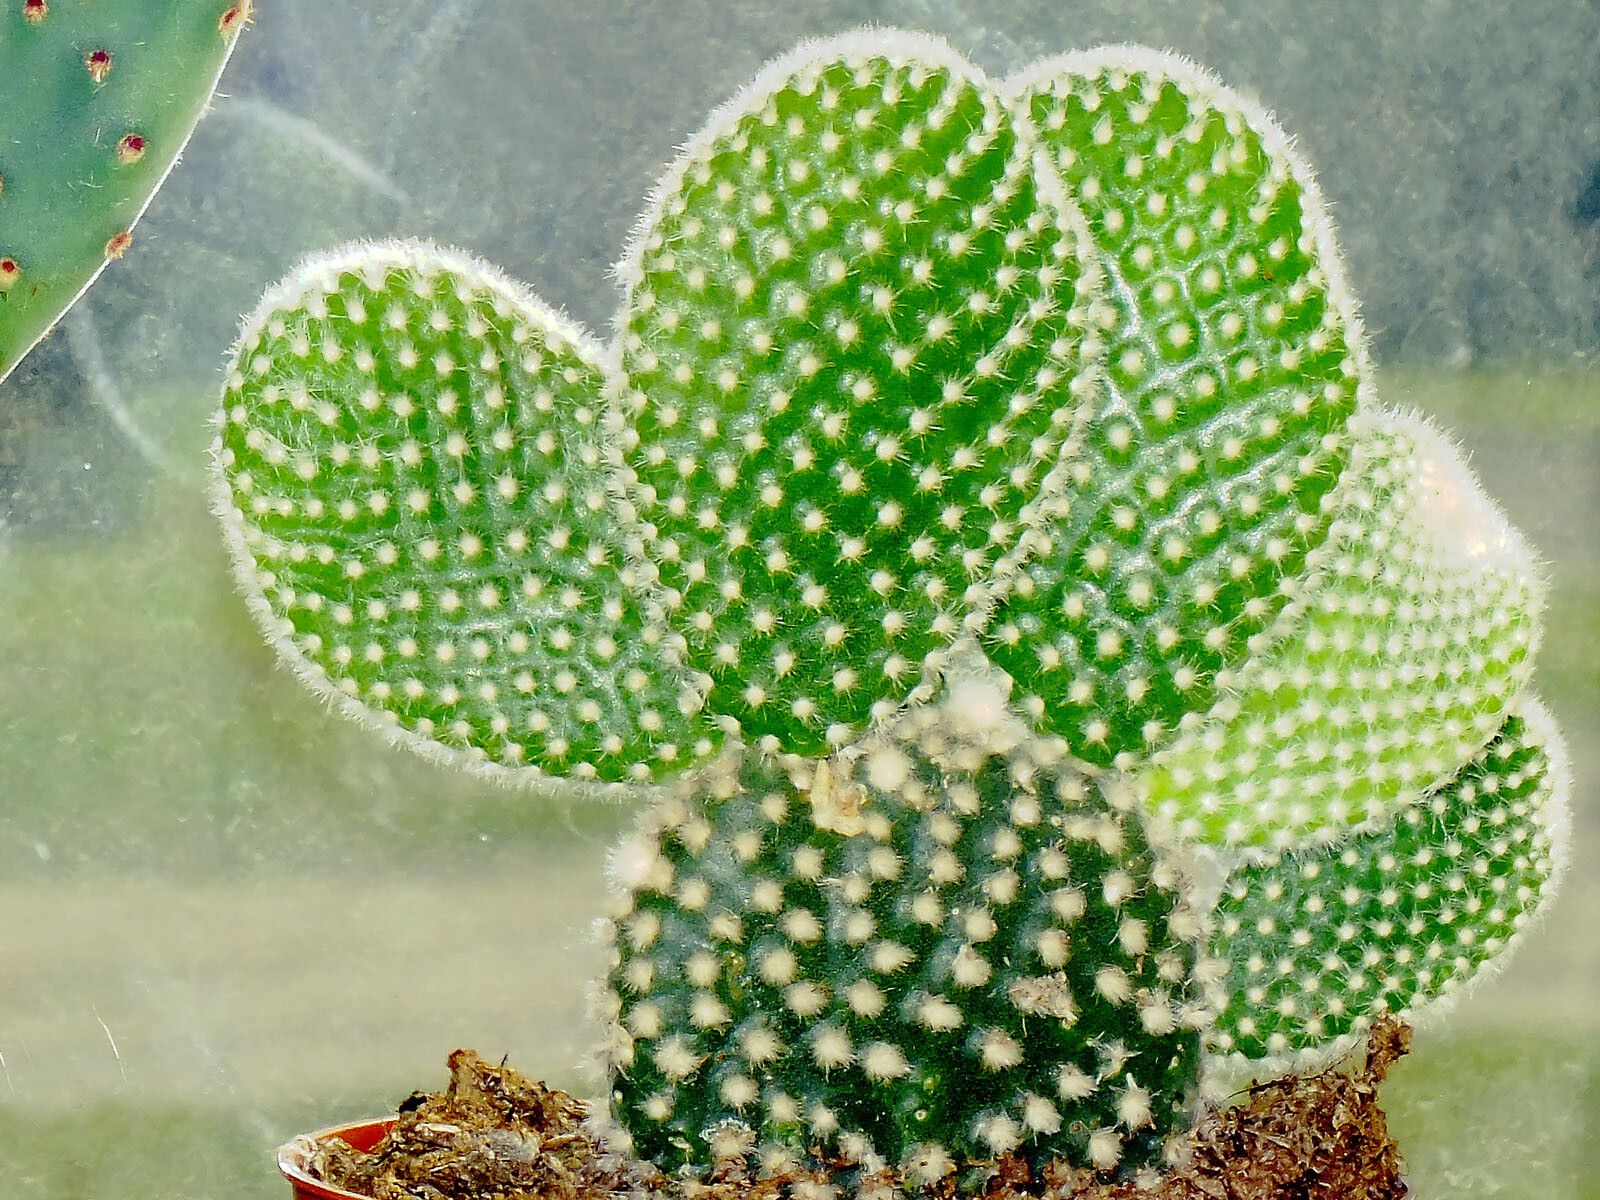
Oh, hello there! Grab your mug, settle in, and let’s chat about one of my absolute favorite cacti: Opuntia microdasys, often called Bunny Ears or Polka Dot Cactus. You know, the one with those adorable little glochids that look like fluffy pom-poms instead of sharp spines? It’s just charming, isn’t it? And the best part? Propagating these beauties is wonderfully rewarding. Don’t be intimidated; I think you’ll find it surprisingly easy!
The Best Time to Start
For the highest success, I always recommend propagating Opuntia microdasys during its active growing season, which is typically late spring through summer. This is when the plant has the most energy to dedicate to rooting and will bounce back from taking cuttings much more readily. You’ll be able to easily spot new growth during this time, which is a great indicator.
Supplies You’ll Need
You really don’t need a whole lot to get started. Here’s what I keep on hand:
- Sharp, clean pruning shears or a serrated knife: For making clean cuts. Sterilize them with rubbing alcohol before you start, please!
- A well-draining potting mix: Cacti and succulents need a mix that lets water escape quickly. I often use a pre-made cactus mix, or I’ll mix potting soil with perlite or pumice in a 1:1 ratio.
- Gloves and tweezers or tongs: Those tiny glochids can be a real nuisance if they get on your skin or in your clothes. Having something to handle the cactus pads with is a lifesaver.
- A shallow tray or pot: For planting your new cuttings. Don’t choose something too deep – cacti don’t need much root space initially.
- Rooting hormone (optional but recommended): It’s not strictly necessary, but it can give your cuttings a little boost and speed up rooting.
- Newspaper or a dry, protected surface: To let your cuttings air dry.
Propagation Methods
The most common and successful way to propagate Opuntia microdasys is through stem cuttings, meaning you’ll be taking segments of the cactus pads.
- Take Your Cuttings: Gently twist or cut a healthy “pad” or segment from the main plant. It’s best to choose a segment that looks firm and mature. Make a clean cut at the joint where it attaches to the parent pad.
- Allow Them to Callus: This is a crucial step! You absolutely must let the cut end dry and form a callous. Place your cuttings on a dry surface, out of direct sunlight, for several days to a couple of weeks. The cut end will start to look dry and healed over. This prevents rot from setting in when you plant them.
- Planting: Once calloused, you can plant your cuttings. You have a couple of options:
- Directly in Soil: Fill your shallow tray or pot with your well-draining potting mix. Insert the calloused end of the cutting about an inch or so into the soil. You don’t need to plant them deeply; just enough to keep them upright.
- Water Propagation (with caution!): Some people have success with water propagation, but I’m a bit more cautious with cacti. If you go this route, ensure only the very bottom edge of the cutting touches the water. Do NOT submerge the whole pad. Change the water every few days. I generally prefer soil because it’s less prone to rot for these guys.
- Initial Watering: After planting in soil, wait at least a week before watering. Let the plant settle in and encourage it to seek moisture from its dry environment. When you do water, water thoroughly until it drains out the bottom.
The “Secret Sauce” (Pro Tips)
Here are a couple of tricks I’ve learned over the years:
- The “Desert Air” Method: Once your cuttings are calloused, I love to give them a little “dry spell” before they even go into soil. You can place them on a screen or even a paper towel in a bright spot, but with no soil, for another week or two. This really mimics their natural arid environment and helps them develop a super tough base before hitting moisture.
- Gentle Tampering: When you’re planting, you want the cutting to stand up, right? I often use a few small pebbles or even small chopsticks to gently prop them up if they’re feeling a bit wobbly in the soil. This stability helps them focus on rooting rather than trying to fall over.
Aftercare & Troubleshooting
Once your cuttings are planted, be patient! You won’t see roots overnight.
- Watering: Water only when the soil is completely dry. During the growing season, this might be every 1-2 weeks. In cooler months, much less, perhaps only once a month, or even not at all if your home is cool and dry. Overwatering is the quickest way to kill a new cutting.
- Light: Place your cuttings in a bright location with indirect sunlight. Once they have established roots and are showing new growth, you can gradually acclimate them to more direct sun.
- Troubleshooting: The biggest enemy here is rot. If you see your cutting turning mushy, brown, or black, it’s likely rotting. This usually means it stayed too wet for too long. Unfortunately, a rotten cutting is usually a lost cause. If you catch it early, you might be able to cut away the rotten part and let the healthy section callus again, but it’s a difficult recovery.
A Encouraging Closing
See? It’s really quite straightforward! Propagating Opuntia microdasys is a wonderful way to expand your collection and share these delightful cacti with friends. Remember to be patient, observe your cuttings, and don’t be afraid to experiment a little. The journey of nurturing a new plant from a little pad is incredibly satisfying. Happy propagating!
Resource:
https://identify.plantnet.org/k-world-flora/species/Opuntia%20microdasys%20(Lehm.)%20Pfeiff./data