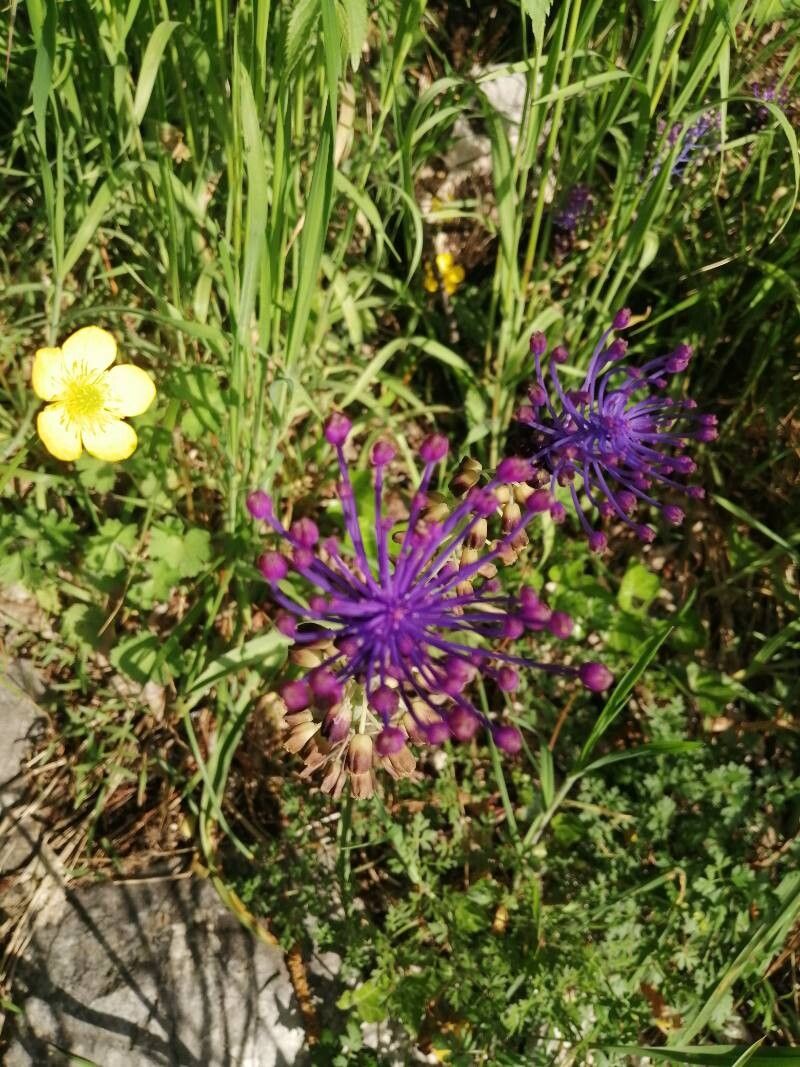
Hello, fellow garden lovers! There’s something truly magical about watching a tiny seed or a simple cutting transform into a vibrant plant. Today, I want to talk about a little gem that often gets overlooked but brings such delightful pops of color to our spring gardens: Muscari matritense, or the Madrid Grape Hyacinth.
I’ve been growing these starry blue beauties for years, and they’re just as enchanting now as they were when I first discovered them. They’re wonderfully fragrant, attract all sorts of beneficial insects, and their clusters of bell-shaped flowers are a welcome sight after a long winter. The best part? Propagating Muscari matritense is incredibly rewarding, and to be honest, it’s quite forgiving, making it a great project for even the newest green thumbs in your life.
The Best Time to Start
For Muscari matritense, the sweet spot for propagation is late summer to early autumn. This is when the parent plant has finished flowering, its energy has shifted away from bloom production, and it’s preparing for its dormant period. You’ll have the easiest time getting established bulbs and healthy offsets, which are practically begging to be given their own space to grow. Waiting until the foliage has started to yellow and die back naturally is a good indicator that the bulbs are ready for a little fussing.
Supplies You’ll Need
We’re keeping it simple here; you won’t need a whole professional lab set up. Just a few essentials will do:
- Sharp trowel or small spade: For gently digging up the bulbs.
- Gardening gloves: To keep your hands clean and protected.
- Mesh bags or paper bags: For storing bulbs temporarily if needed.
- Well-draining potting mix: A good quality blend with added grit or perlite is perfect. Think about what you’d use for succulents.
- Small pots or trays: Any clean container with drainage holes will work.
- Watering can or spray bottle: For careful watering.
Propagation Methods: Division is Key!
Unlike some plants that rely on cuttings or seeds, Muscari matritense is a bulb. The most straightforward and successful way to propagate it is through bulb division. This is essentially giving the little bulb babies their own growing space.
Here’s how I do it:
- Gently Excavate: In late summer or early autumn, when the foliage has died back, carefully dig around the main Muscari clump with your trowel. You want to disturb the bulbs as little as possible. Lift the entire clump out of the soil.
- Separate the Offsets: You’ll likely notice smaller bulbs, called offsets, clinging to the sides of the main, larger bulb. They might be nestled quite tightly. Gently tease these apart with your fingers. The goal is to leave each offset with its own base or plate where roots will emerge. Don’t worry if a few tiny bulbils break off; they might still surprise you with their resilience.
- Inspect and Trim (if necessary): Give the bulbs a quick once-over. Trim off any mushy or damaged areas, but try to keep as much of the bulb intact as possible.
- Pot Them Up: Fill your chosen pots with your well-draining potting mix. Make planting holes that are about twice the depth of the bulb’s height. Place each separated offset in its hole, ensuring the pointed end (where future leaves will grow) is facing upwards. Gently backfill with soil, firming it lightly around the bulb.
- Water Well: Water the newly potted bulbs thoroughly. You want the soil to be moist but not soggy.
The “Secret Sauce” (Pro Tips)
After years of tending to these little guys, I’ve picked up a few tricks that seem to make a difference:
- Don’t Rush the Dormancy: Resist the urge to dig them up while they’re still green and leafy. The bulb needs that time to store energy for the following year and to produce those lovely offsets. Patience here pays off big time.
- A Little Space Goes a Long Way: When you’re dividing, try to give each offset at least a few inches of space when you replant them in their new pots. This prevents them from overcrowding again too quickly and allows for better airflow.
- Think About Winter Hugs: In colder climates where you experience hard freezes, consider giving your potted Muscari some winter protection outdoors. Placing them in a sheltered spot against a wall, mulching over the pots, or even tucking them into an unheated garage or shed can prevent the bulbs from freezing solid.
Aftercare & Troubleshooting
Once your Muscari matritense bulbs are nestled in their new homes, the real waiting game begins! Water them sparingly during the autumn and winter months, only when the top inch of soil feels dry. You’ll want to keep them in a cool spot, perhaps an unheated porch or a bright window that doesn’t get too much direct sun.
If all goes well, you should start to see tiny shoots emerge from the soil in late winter or very early spring. Congratulations, your new Muscari are on their way! You can gradually introduce them to more sunlight as they grow.
Now, what if things go sideways? The most common culprit for failure with bulbs is rot. This happens when the soil stays too wet for too long, suffocating the bulb. Signs of rot include a mushy base on the bulb, a black or sunken appearance, or a foul smell. Sadly, if a bulb has completely rotted, it’s usually beyond saving. The best way to prevent this is with that free-draining soil and careful watering.
Sometimes, a bulb just won’t sprout. This can happen if it was too small, too immature, or just didn’t have enough stored energy. Don’t get discouraged! Nature still has its mysteries.
Keep Planting and Enjoying!
Propagating Muscari matritense is a simple joy. It’s about the satisfaction of creating more of what you love and sharing it with your garden. Be patient with the process, pay attention to your plants’ needs, and trust your gardener’s intuition. The reward of seeing those cheerful blue spikes emerge year after year, grown from your own efforts, is simply unparalleled. Happy gardening!
Resource: