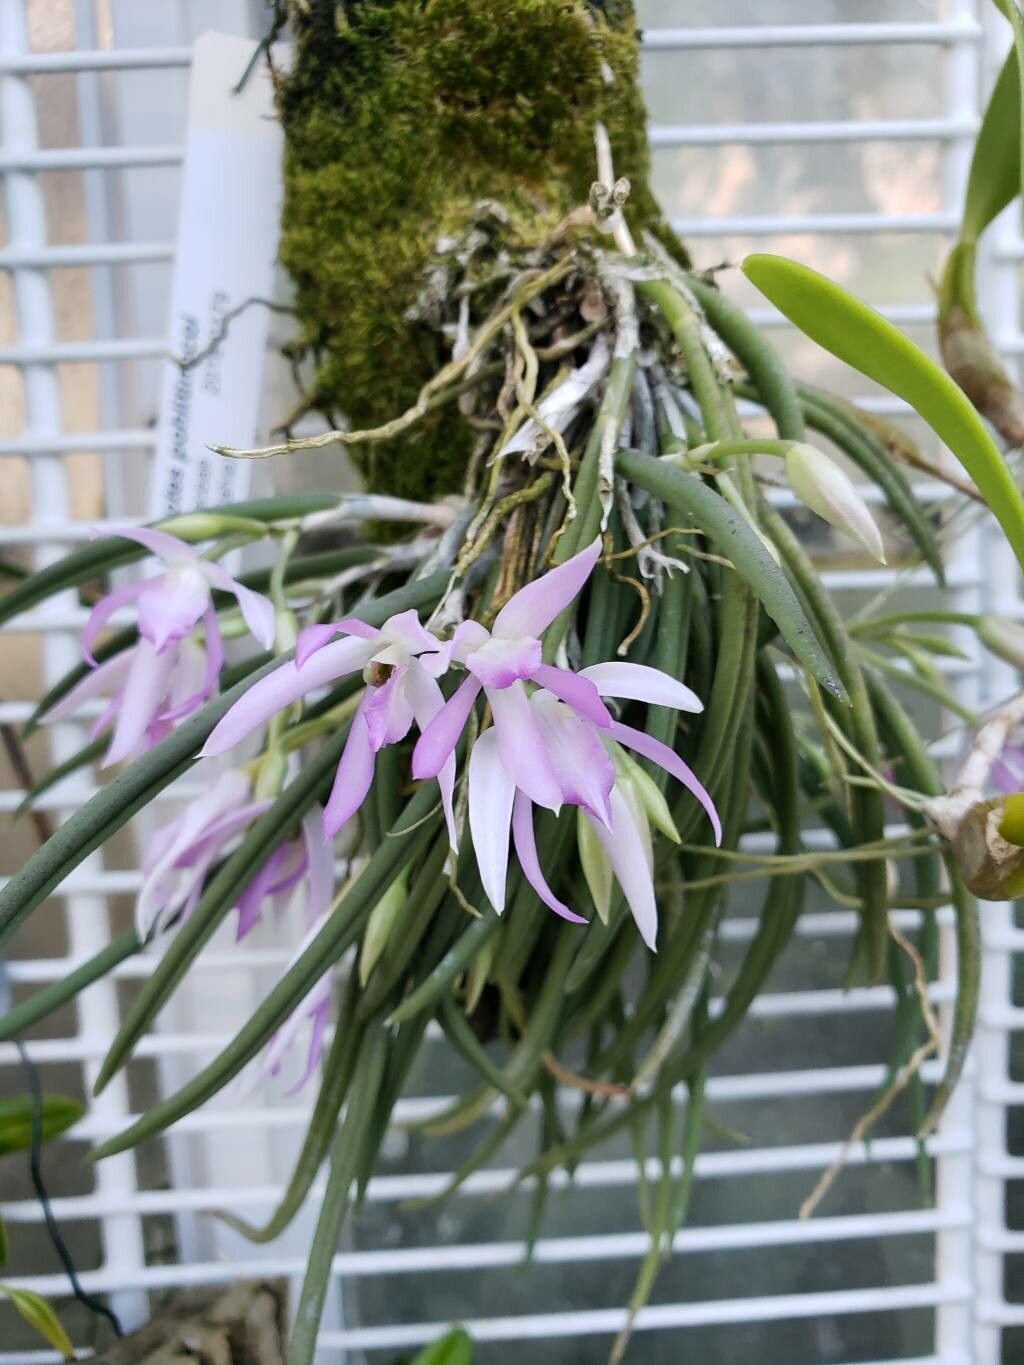
Oh, hello there! Grab a cuppa, and let’s talk about one of my favorite little treasures: Leptotes pohlitinocoi. If you’ve had the pleasure of seeing this orchid bloom, you know its delicate beauty is just… captivating. Tiny, star-shaped flowers, often a lovely soft pink or white, clustered on graceful stems. It’s like a miniature work of art for your windowsill.
Now, you might be wondering if bringing more of these beauties into your life is a daunting task. For Leptotes pohlitinocoi, I’d say it’s moderately easy. It’s not quite a “stick it in the dirt and forget it” situation, but with a little guidance and patience, you’ll be rewarded with new plants to share or simply enjoy yourself. It’s a wonderfully rewarding feeling, seeing those first tiny roots or new leaf emerge from your efforts!
The Best Time to Start
When it comes to Leptotes pohlitinocoi, the spring after it has finished blooming is your golden ticket for propagation. This is when the plant is transitioning into its active growth phase. It has all the stored energy from its flowering period to dedicate to putting out new roots and shoots. Trying to propagate when it’s dormant is like asking someone to run a marathon on an empty stomach – not the best plan!
Supplies You’ll Need
Here’s what I usually gather before I get my hands dirty:
- Sharp, sterile pruning shears or scissors: For clean cuts, which are crucial.
- A good quality orchid potting mix: Something airy and well-draining. I often use a mix primarily of bark chips, perlite, and a bit of charcoal.
- Small, clean pots or community trays: For your new propagations.
- Optional: Rooting hormone for orchids: While not strictly necessary for Leptotes, it can give an extra nudge.
- Water: Clean, filtered, or rainwater is best if you have hard tap water.
- A gentle spray bottle: For misting.
- Patience! (Always the most important!)
Propagation Methods
For Leptotes pohlitinocoi, division is my go-to method. These orchids tend to form nice clumps over time, making them perfect candidates for this technique.
Division Method:
- Gently remove the orchid from its pot. If it’s stuck, carefully run a knife around the edge to loosen it.
- Carefully tease away as much of the old potting mix as you can from the roots. You want to see where the divisions are naturally occurring.
- Identify separate growths. Look for areas where new pseudobulbs (those swollen stem bases) and leaves are emerging from the main plant. You want to divide the plant into sections that have at least two to three healthy pseudobulbs and a good root system.
- Using your sterile shears, make a clean cut between the divisions. If the roots are tangled, you might need to gently untangle them or make a careful cut through them.
- Examine the cut surfaces. If there’s any sign of mushiness or damage, trim it away until you see healthy tissue.
- Allow the cut surfaces to air dry for a few hours, or even overnight. This helps to prevent fungal infections.
- Pot up your new divisions. Place each division into its own small pot filled with your orchid mix. Ensure the base of the pseudobulbs is just at the surface of the mix.
The “Secret Sauce” (Pro Tips)
Here are a couple of things I’ve learned over the years that can really help your Leptotes cuttings thrive:
- Don’t bury the crown too deep. When you pot up your divisions, make sure the very top growth point, or “crown,” isn’t buried in the potting mix. This area is where new leaves will emerge, and if it stays constantly wet, it’s a prime spot for rot to set in. It should be exposed to the air.
- Mimic humidity, not drowned roots. While Leptotes love a bit of humidity, their roots don’t like to sit in soggy medium, especially when they’re trying to establish themselves. After potting, I give them a good watering to settle the mix, then I let the surface dry out slightly between waterings. Misting the leaves occasionally can help maintain humidity without waterlogging the roots.
Aftercare & Troubleshooting
Once your divisions are potted, place them in a spot with bright, indirect light and good air circulation. Avoid direct sun, which can scorch those tender new leaves.
Initially, don’t be alarmed if they look a little… unimpressed. They’re recovering from the shock of being divided. Water when the potting mix is starting to feel dry to the touch, usually every 7-10 days. You can ease up on watering if your humidity is higher.
The most common sign of failure is rot. You’ll notice the pseudobulbs becoming soft, mushy, and maybe a dark color. This is usually a sign of too much moisture or poor air circulation. If you see this, try to remove the affected part immediately, allow the plant to dry out significantly, or even repot into a drier mix. Another sign can be yellowing leaves that fall off, which might indicate under-watering or insufficient light.
A Little Encouragement
Propagating orchids can feel like a leap of faith sometimes, but with Leptotes pohlitinocoi, you have a really good chance of success. Be patient with your new plants, offer them good light and just the right amount of water, and you’ll be rewarded. Enjoy the journey of nurturing these little wonders into full bloom! Happy growing!
Resource: