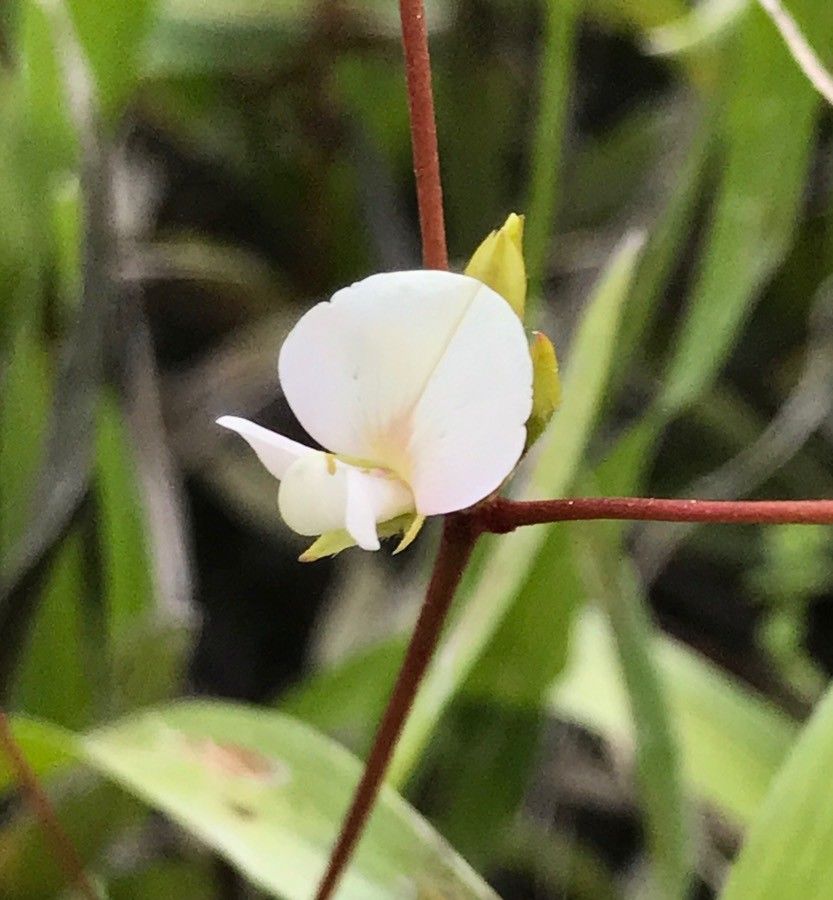
Oh, Galactia erecta! If you’ve ever seen this lovely leggy legume gracing a garden, you know exactly why I’m so excited to share how to propagate it with you. Its delicate, pea-like flowers in shades of pink and purple have a way of just lifting your spirits. And the reward of watching a tiny cutting transform into a thriving plant? It’s pure gardening joy, believe me. Now, is Galactia erecta a beginner’s dream? I’d say it’s a moderately easy plant to propagate. With a little patience and following a few guidelines, you’ll be well on your way.
The Best Time to Start
For the highest success rate, I always recommend propagating Galactia erecta from softwood cuttings in late spring or early summer. This is when the plant is actively growing, and the stems are flexible but not yet woody. Think of it as starting when the plant is full of youthful energy – it’s more receptive to rooting then.
Supplies You’ll Need
Before we get our hands dirty, let’s gather our essentials:
- Sharp pruning shears or a clean knife: For taking clean cuts.
- Rooting hormone (optional but recommended): A powder or gel that encourages root development.
- Small pots or propagation trays: With drainage holes, of course!
- A light, well-draining potting mix: A blend of equal parts peat moss or coco coir, perlite, and a bit of coarse sand works beautifully. You can also buy pre-made cactus or succulent mixes.
- A clear plastic bag or humidity dome: To keep the cuttings moist.
- Watering can with a fine rose or spray bottle: For gentle watering.
- A sunny windowsill or a warm spot with bright, indirect light: Avoid direct, scorching sun.
Propagation Methods: Stem Cuttings
Stem cuttings are my go-to method for Galactia erecta, and I find it’s the most reliable.
- Select your source: Find a healthy, vigorous non-flowering stem on your established plant. Look for stems that are green and somewhat flexible, not stiff or woody.
- Take the cutting: Using your clean shears or knife, cut a piece of the stem that’s about 4 to 6 inches long. Make your cut just below a leaf node (that little bump where a leaf attaches to the stem).
- Prepare the cutting: Gently remove the lower leaves from the cutting, leaving just a few at the top. This prevents them from rotting in the soil. If the leaves at the top are very large, you can even cut them in half horizontally to reduce water loss through transpiration.
- Apply rooting hormone: Dip the cut end of the stem into your rooting hormone, tapping off any excess.
- Plant the cutting: Make a small hole in your prepared potting mix with your finger or a pencil. Insert the cut end of the Galactia erecta cutting into the hole, making sure the leaf nodes are buried below the soil surface. Gently firm the soil around the stem.
- Water gently: Water the soil thoroughly but avoid waterlogging.
- Create a humid environment: Place the pot inside a clear plastic bag or cover it with a humidity dome. This traps moisture, which is crucial for cuttings to root. Just make sure the leaves aren’t pressing against the plastic.
- Find a warm spot: Place your newly potted cuttings in a location with bright, indirect light and a relatively stable temperature.
The “Secret Sauce” (Pro Tips)
Here are a few tricks I’ve learned over the years that can really boost your Galactia erecta propagation success:
- Bottom Heat is Your Friend: Galactia erecta absolutely loves a bit of warmth from below. Placing your pots on a gentle heating mat (designed for seedlings and cuttings) can dramatically speed up root formation. You want the soil temperature to be around 70-75°F (21-24°C).
- Don’t Peek Too Soon! It’s tempting, I know, but resist the urge to pull on your cuttings to check for roots for at least 3-4 weeks. Give them time to do their work undisturbed. Early disturbance can break delicate new root hairs.
- Cleanliness is Key: Always use clean tools and pots. Any lingering bacteria or fungi can easily lead to rot, especially with tender cuttings. A quick rinse with soapy water and a good rinse after is usually sufficient.
Aftercare & Troubleshooting
Once you start seeing new growth appearing at the top of your cutting, that’s a great sign roots are developing! You can gently tug on the cutting – if there’s resistance, roots have formed.
- Acclimatize: Gradually reduce the humidity by opening the plastic bag or dome a little each day for a week. This helps the new plant adjust to normal room conditions.
- Watering: Water when the top inch of soil feels dry to the touch. Again, avoid overwatering.
- Transplanting: Once the roots have filled the pot (you might see them peeking out the drainage holes), or the plant has developed a few sets of true leaves, you can transplant it into a slightly larger pot with your regular potting mix.
The most common problem you might encounter is rot. If your cutting turns brown and mushy, or the leaves simply shrivel up and die without forming roots, it’s usually due to too much moisture or lack of warmth. If you see signs of rot, it’s best to discard the cutting and start again with fresh material and slightly drier soil.
Keep Growing!
Propagating Galactia erecta is such a satisfying endeavor. Don’t be discouraged if your first attempt isn’t perfect. Gardening is a journey of continuous learning, and every little cutting is a chance to refine your skills. Enjoy the process, celebrate every sign of life, and soon you’ll have more of these charming plants to share! Happy gardening!
Resource:
https://identify.plantnet.org/k-world-flora/species/Galactia%20erecta%20(Walter)%20Vail/data