Hello there, fellow plant enthusiasts! It’s so wonderful to have you join me today. My name’s [Your Name], and for the past two decades, my hands have been happily buried in soil, coaxing life from seeds and cuttings. Today, we’re going to dive into the fascinating world of propagating Enterolobium gummiferum, also known as the Pacara Earpod tree.
An Introduction to the Pacara Earpod Tree
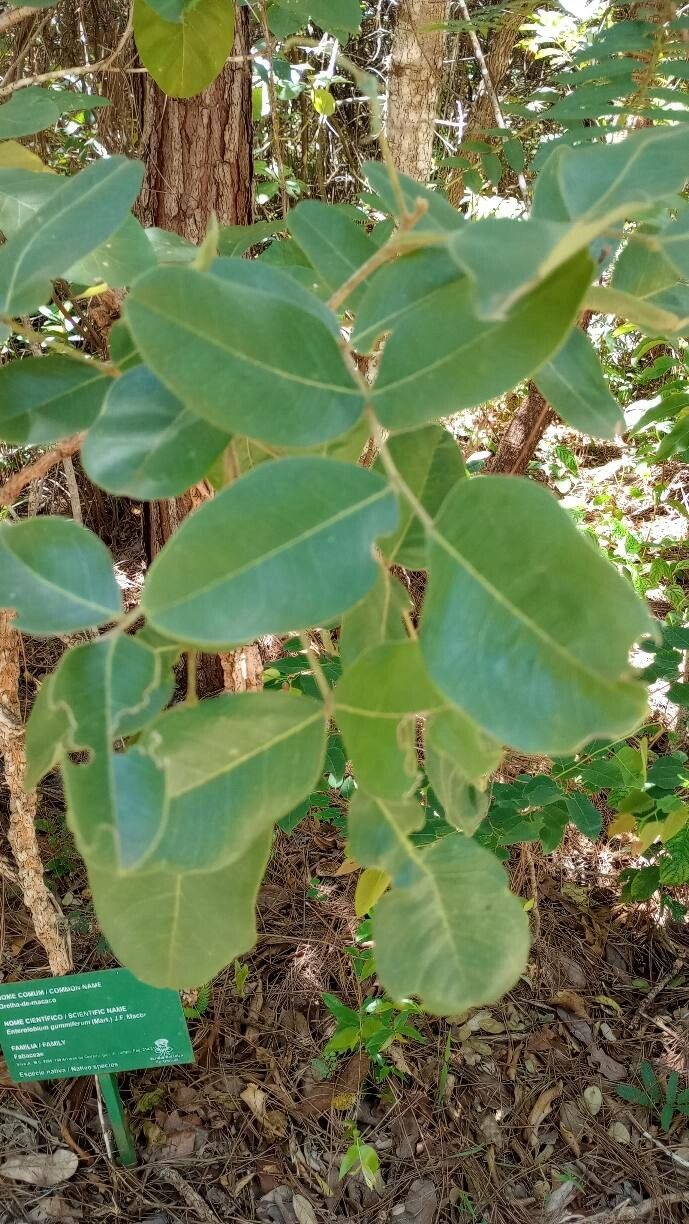
There’s something truly special about the Enterolobium gummiferum. Its elegant, umbrella-like canopy casts a beautiful dappled shade, and the distinctive, large, coiled seedpods add a touch of the exotic to any garden. Seeing one of these magnificent trees grow from a tiny cutting or a patiently nurtured seed is a deeply rewarding experience. Now, for the big question: is it easy for beginners? Honestly, Enterolobium gummiferum can be a bit of a project, but with the right guidance and a good dose of patience, it’s absolutely achievable. Don’t let that deter you; the payoff is immense!
The Best Time to Start
When it comes to getting your new Enterolobium gummiferum off to the best start, timing is everything. I find that the late spring or early summer is your golden window. This is when the plant is in its most vigorous growth phase, buzzing with energy. New shoots are abundant, and the plant’s natural hormones are practically humming, giving your cuttings the best chance to root. Starting during this active period means your baby plants will have plenty of time to establish themselves before cooler weather arrives.
Supplies You’ll Need
Before we get our hands dirty, here’s a quick rundown of what you’ll want to have ready:
- Sterile Pruning Shears or a Sharp Knife: Clean cuts are crucial to prevent disease.
- Rooting Hormone: A good quality rooting hormone powder or gel will significantly boost your success rate.
- Well-Draining Potting Mix: I like a blend of equal parts peat moss or coco coir, perlite, and a bit of compost. This mimics the well-draining conditions they love.
- Small Pots or Seedling Trays: Choose containers with drainage holes.
- Plastic Bags or a Propagator: This helps maintain humidity, which is vital for cuttings.
- Watering Can with a Fine Rose or Spray Bottle: Gentle watering is key.
- (Optional) Heat Mat/Warm Location: Bottom heat can really encourage root development.
Propagation Methods
Enterolobium gummiferum is most commonly propagated from stem cuttings or by starting from seed. While water propagation can work for some, I generally find stem cuttings offer a more robust start for this particular tree.
Stem Cuttings: A Step-by-Step Guide
- Select Your Cutting: Choose a healthy, semi-hardwood stem from a mature plant. This means the stem should be firm but still have a bit of flexibility – not too green and floppy, and not old and woody. Look for shoots that have grown this season, usually about 4-6 inches long.
- Make the Cut: Using your sterilized pruning shears or sharp knife, make a clean cut just below a leaf node (where a leaf attaches to the stem). This is where roots are most likely to form.
- Prepare the Cutting: Gently remove the leaves from the bottom half of the cutting. You can leave 2-3 leaves at the top to help with photosynthesis. If the remaining leaves are very large, I like to carefully snip them in half to reduce water loss through transpiration.
- Apply Rooting Hormone: Dip the cut end of the stem into your rooting hormone, ensuring it’s coated about an inch up. Tap off any excess gently.
- Plant Your Cuttings: Fill your small pots with your prepared well-draining potting mix. Make a small hole in the center of the soil with your finger or a pencil. Carefully insert the cutting into the hole, pressing the soil gently around it to ensure good contact.
- Water Gently: Water the soil thoroughly but gently, using a fine-rose watering can or a spray bottle. You want the soil to be moist, not waterlogged.
- Create a Humid Environment: Place a plastic bag loosely over the pot, securing it around the rim with a rubber band, or pop the pot into a propagator. This will trap moisture and create the high humidity your cuttings need to thrive. Place the pot in a bright, indirect light location.
- Be Patient: Now, the waiting game begins! Check your cuttings regularly.
Starting from Seed
While stem cuttings are my preference, you can also start Enterolobium gummiferum from seed. The key here is to scarify the seeds. This means nicking the hard seed coat slightly with a knife or sandpaper, or soaking them in warm water for 24-48 hours to help break dormancy. Then, sow them in trays with a good seed-starting mix, keep them consistently moist and warm, and you should see germination within a few weeks to a couple of months.
The “Secret Sauce” (Pro Tips)
Here are a few little tricks I’ve learned over the years that can make a real difference:
- Don’t Let the Leaves Touch the Water (if you ever try water propagation): If you opt for water propagation with any plant, it’s crucial that the leaves stay above the waterline. Submerged leaves quickly rot, bringing rot to the whole cutting. For Enterolobium gummiferum, I stick to soil for best results, but the principle is good to know.
- Bottom Heat is Your Friend: For stem cuttings, placing your pots on a heat mat designed for plants or in a consistently warm spot (around 70-75°F or 21-24°C) can dramatically speed up root development. It mimics the warmth of spring soil and gives those nascent roots a real boost.
- Don’t Over-Water, But Don’t Let Them Dry Out: This is a delicate balance. You want the potting mix to stay consistently moist, like a wrung-out sponge. If you let them dry out completely, the cutting will shrivel. If you keep them soggy, they’ll rot. Feel the soil with your finger; if the top inch feels dry, it’s time to water.
Aftercare & Troubleshooting
Once you start seeing new leafy growth emerging from your cuttings, that’s a fantastic sign that roots are forming! This is when you can gradually acclimatize your new plant. Start by opening the plastic bag for a few hours each day, increasing the time over a week or two. Once they seem happy with the open air, you can repot them into slightly larger individual pots with fresh potting mix. Continue to water them as you did previously, ensuring the soil stays moist but not soggy.
What if things go wrong? The most common sign of failure is a wilted, blackened, or mushy stem. This usually indicates rot, often caused by overwatering or poor drainage. If you see this, unfortunately, that cutting is likely lost. The best approach is to remove it immediately to prevent any potential spread to other cuttings. Don’t get discouraged; gardening is often about learning from what doesn’t work! The key is to ensure your mix is airy and to water mindfully.
Keep Growing and Enjoy!
Propagating Enterolobium gummiferum is a wonderful journey, and each success is a little victory. Remember to be patient. Nature has its own schedule, and sometimes it takes a little longer than we expect. Enjoy the process of nurturing these new life forms. Before you know it, you’ll have your very own Pacara Earpod tree to admire! Happy gardening!
Resource: