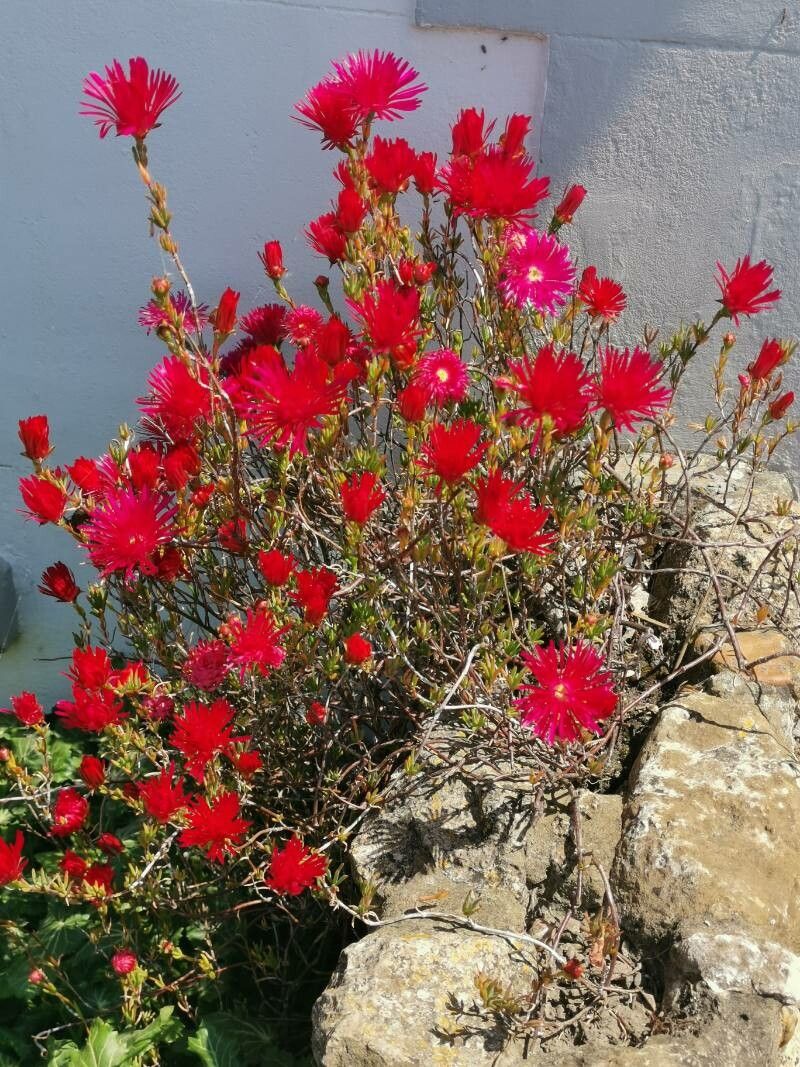
Oh, Drosanthemum speciosum! If you’ve ever seen these vibrant little jewels carpeting a pot or cascading over a wall, you know why they capture our hearts. Their daisy-like flowers, often in brilliant shades of pink, orange, or purple, literally gleam in the sunshine thanks to those fascinating, water-filled leaf cells. Propagating them is such a wonderfully rewarding way to multiply that sparkle in your garden, and guess what? They’re surprisingly forgiving! Even for beginners, getting a new Drosanthemum from a cutting is a real confidence booster.
The Best Time to Start
For the highest chance of success, I always recommend propagating Drosanthemum speciosum during its active growing season. This usually means late spring through early summer. The plant is full of vigor then, making it much more eager to put down new roots. You want cuttings taken from healthy, firm stems, not ones that are old and woody or spindly and weak.
Supplies You’ll Need
Gathering your tools beforehand makes the whole process smoother. Here’s what you’ll want to have on hand:
- Clean, sharp pruning shears or a sharp knife: For taking cuttings cleanly.
- Rooting hormone (optional but recommended): This can give your cuttings a little extra kickstart. Look for one specifically formulated for succulents or cuttings.
- Well-draining potting mix: A specialized succulent or cactus mix is perfect. You can also make your own by combining potting soil, coarse sand, and perlite.
- Small pots or seed trays: Clean containers are essential to prevent disease.
- Trowel or small shovel: For filling pots with soil.
- Watering can or spray bottle: For gentle watering.
- Labels and a marker: To keep track of what you’ve planted and when.
Propagation Methods
Drosanthemum speciosum is wonderfully easy to propagate from stem cuttings. This is my go-to method, and I think you’ll find it quite straightforward.
- Take the Cuttings: Using your clean shears or knife, select a healthy stem about 3-4 inches long. Make a clean cut right below a leaf node (where the leaves join the stem). You can take several cuttings from a single mature plant.
- Prepare the Cuttings: Gently remove the leaves from the bottom inch or so of each cutting. This exposes the node, where roots will emerge.
- Let Them Callus (Optional but helpful): For succulents, I find it helpful to let the cut end of each cutting dry and callus over for a day or two before planting. This helps prevent rot. Just place them on a dry surface in a well-ventilated spot.
- Apply Rooting Hormone (Optional): If you’re using rooting hormone, dip the callused end of the cutting into the powder, tapping off any excess.
- Plant the Cuttings: Fill your small pots with your well-draining potting mix. Make a small hole with your finger or a pencil. Insert the callused end of each cutting into the soil, ensuring the leaf nodes are covered. Don’t plant them too deep; just enough to keep them upright.
- Water Gently: Lightly water the soil around the cuttings. You want the soil to be moist, but not soggy. A spray bottle can be great for this initial watering.
- Provide Bright, Indirect Light: Place your pots in a location that receives bright, indirect sunlight. Avoid harsh, direct sun, as this can scorch the tender cuttings.
The “Secret Sauce”
Now, for a couple of little tricks I’ve learned over the years that can really boost your success:
- Don’t Overcrowd! Give your cuttings a little breathing room in their pots. If they’re crammed together, they’re more likely to spread any potential diseases and compete for resources. A couple of cuttings per small pot is usually plenty.
- Bottom Heat is Your Friend: If you have a propagation mat or can place your pots on a warm surface (like near a router or on top of a gently warm appliance), this can significantly speed up root development. Drosanthemum appreciates a little warmth from below to encourage those roots to stretch out.
- Resist the Urge to Peek Too Soon: I know it’s tempting, but try not to tug on your cuttings to see if they’ve rooted for at least 3-4 weeks. Give them time! Trying too early can damage fragile new roots.
Aftercare & Troubleshooting
Once you start to see signs of new growth – sometimes tiny new leaves or a slight firmness when gently tugged – you know you’ve got roots! Continue to water them sparingly, allowing the soil to dry out slightly between waterings. As they get bigger, you can gradually transition them to a location with more direct sunlight.
The most common problem you might encounter is rot. This usually happens if the soil stays too wet for too long. If you notice a cutting looking limp, mushy, or turning black, it’s likely rotted. In this case, unfortunately, it’s usually best to discard it to prevent the rot from spreading to other cuttings. Sometimes, if you catch it early, you can try to salvage a healthy piece of the stem and let it callus again to restart.
A Little Patience Goes a Long Way
Propagating plants is a journey, and sometimes it takes a little patience. Don’t get discouraged if every single cutting doesn’t make it. Every gardener has had their share of failures! Just keep nurturing those that take. The joy of watching a tiny cutting transform into a thriving plant is truly something special. Happy propagating!
Resource: