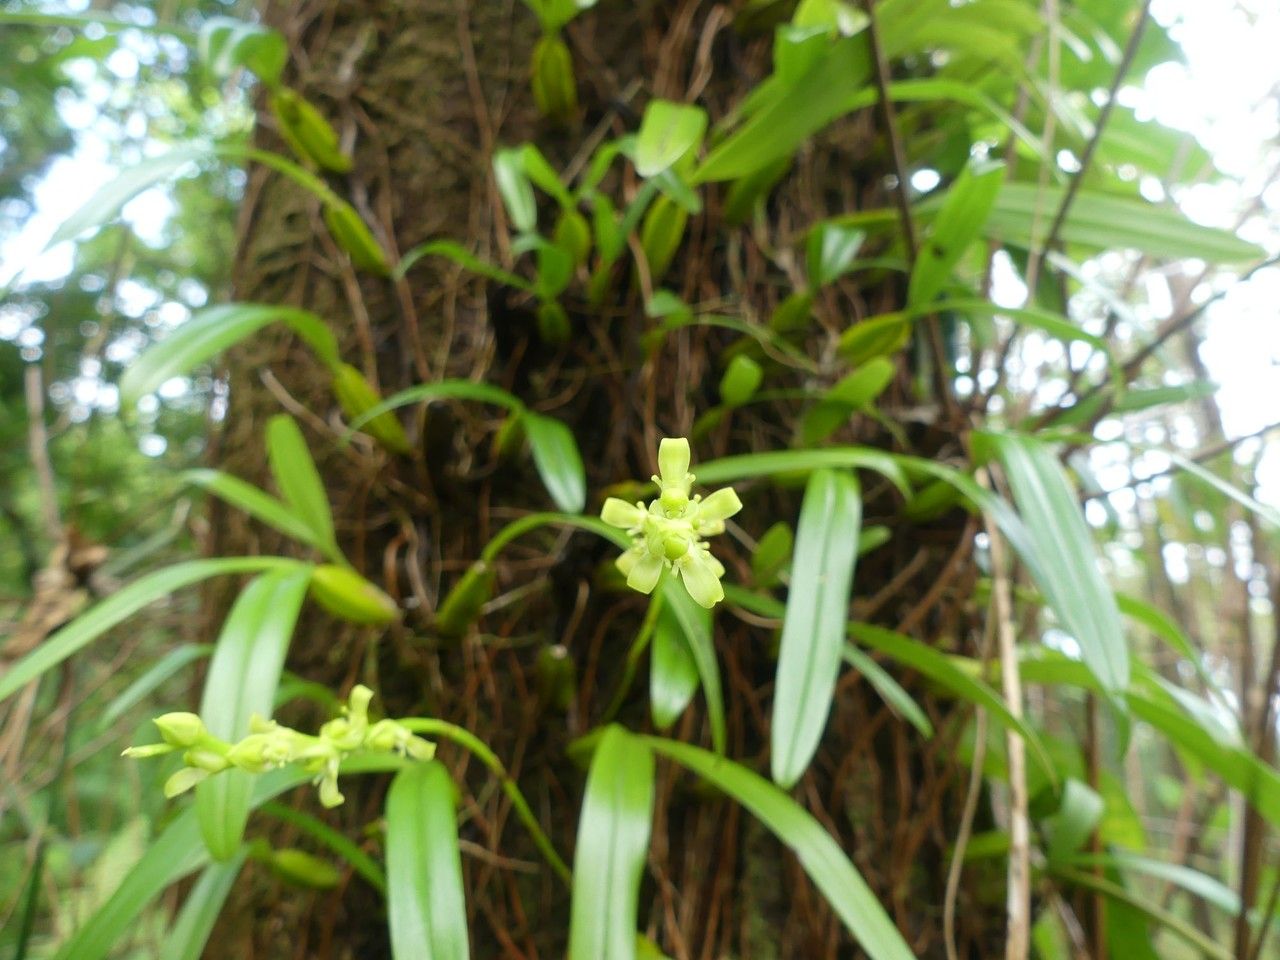
Hey there, fellow plant enthusiasts! It’s wonderful to have you join me today. We’re going to dive into the delightful world of propagating Bulbophyllum clavatum. This little orchid, with its charming, club-shaped pseudobulbs and delicate blooms, really is a special one to have in your collection. The joy of nurturing a new plant from a tiny cutting or division is truly unparalleled. Now, for the big question: is it easy? I’d say Bulbophyllum clavatum is moderately easy to propagate. It requires a bit more attention than, say, a pothos, but with these steps, you’ll be well on your way.
The Best Time to Start
When it comes to getting the best results, I always find that spring is your best friend for working with Bulbophyllum clavatum. This is when the plant is really gearing up for active growth after its resting period. You’ll see new shoots and roots starting to emerge, which means the plant has the energy it needs to recover from propagation and put on a good show. Trying to propagate when the plant is dormant or stressed is just asking for trouble, trust me!
Supplies You’ll Need
Before we get our hands dirty, let’s gather our tools. Having everything ready makes the whole process so much smoother:
- Sharp, sterile pruning shears or a knife: For clean cuts. Sterilize with rubbing alcohol or a flame.
- Orchid bark mix (fine grade): A well-draining mix is crucial. I like a blend of fir bark with a bit of perlite and sphagnum moss.
- Small pots or plastic containers with drainage holes: What works best depends on your method. Small net pots are great for keikis, for instance.
- Worm castings or a gentle orchid fertilizer: For a little boost once new growth is established.
- Rooting hormone (optional but helpful): A powder or gel formulation can encourage root development.
- Small spray bottle: For misting.
- Patience! This is probably the most important ingredient.
Propagation Methods
There are a couple of ways you can go about propagating your Bulbophyllum clavatum.
1. Division: This is my go-to method for orchids, and Bulbophyllum clavatum is no exception.
- Wait until your plant has finished flowering and new growth is evident.
- Gently unpot your orchid. You might need to loosen the old potting medium from the roots.
- Using your sterile shears or knife, carefully divide the plant into sections. Each section should have at least two to three healthy pseudobulbs and a good portion of roots. Try to make clean cuts to minimize damage.
- If possible, remove any dead or mushy roots at this stage.
- Allow the cut surfaces to air dry for a day or two in a well-ventilated spot. This helps prevent rot.
- Repot each division into its own pot with fresh orchid bark mix.
2. Keiki Propagation (Baby Plant Creation): Sometimes, these orchids will produce “keikis” – little baby plants that grow from the base or along the mature pseudobulbs.
- Keep an eye out for these adorable little offsets. They are usually attached to the mother plant by a small piece of stem.
- When a keiki has developed its own roots (at least an inch long) and a few leaves, you can consider separating it.
- Using your sterile tool, carefully cut the connecting stem between the keiki and the mother plant.
- You can then pot the keiki directly into a small pot with your orchid bark mix.
The “Secret Sauce” (Pro Tips)
Here are a few things I’ve learned over the years that can really make a difference:
- Don’t overwater new divisions. It’s tempting to keep them constantly moist, but Bulbophyllum clavatum prefers to dry out slightly between waterings, even when they’re just starting out. This is especially true for divisions – you want to encourage those new roots to seek moisture.
- Bottom heat is your friend! If you have access to a seedling heat mat, placing your pots on it can significantly speed up root formation. Orchids love a bit of warmth from below, mimicking their natural tropical environment. Just make sure it’s not too hot – set it to around 70-75°F (21-24°C).
- Air circulation is king. Rot is the biggest enemy of new propagations. Ensure good airflow around your plants. I often place my divisions in a slightly more open spot or use pots with excellent drainage to prevent moisture from lingering too long.
Aftercare & Troubleshooting
Once your divisions or keikis are potted up, give them a gentle watering. From then on, treat them much like a mature plant, but with a little extra care.
- Keep them in bright, indirect light. Avoid direct midday sun, which can scorch young leaves.
- Water when the potting mix is almost dry. You can gently mist the leaves occasionally, but avoid letting water sit in the crown of the pseudobulbs.
- Once you see new leaf growth or roots emerging from the base, you can start applying a weakly diluted orchid fertilizer every other watering.
Now, what if things don’t go perfectly? The most common issue you’ll encounter is rot. If you notice mushy, black pseudobulbs or leaves, it’s a sign of too much moisture and not enough airflow. If you catch it early, you might be able to salvage a healthy piece by cutting away the rotten parts and allowing the healthy section to dry for a few days before repotting. Wilting without any signs of rot usually means the roots aren’t establishing well, likely due to lack of moisture or poor root development. Be patient; sometimes it takes a little while for those new roots to get going.
A Little Encouragement
Propagating Bulbophyllum clavatum might seem a tad technical at first, but it’s incredibly rewarding. Seeing those tiny roots emerge and a new pseudobulb swell is a special kind of magic. Don’t be discouraged if your first attempt isn’t perfect. Every plant and every situation is different. Just keep at it, observe your plant, and enjoy the process of nurturing new life. Happy growing!
Resource:
https://identify.plantnet.org/k-world-flora/species/Bulbophyllum%20clavatum%20Thouars/data