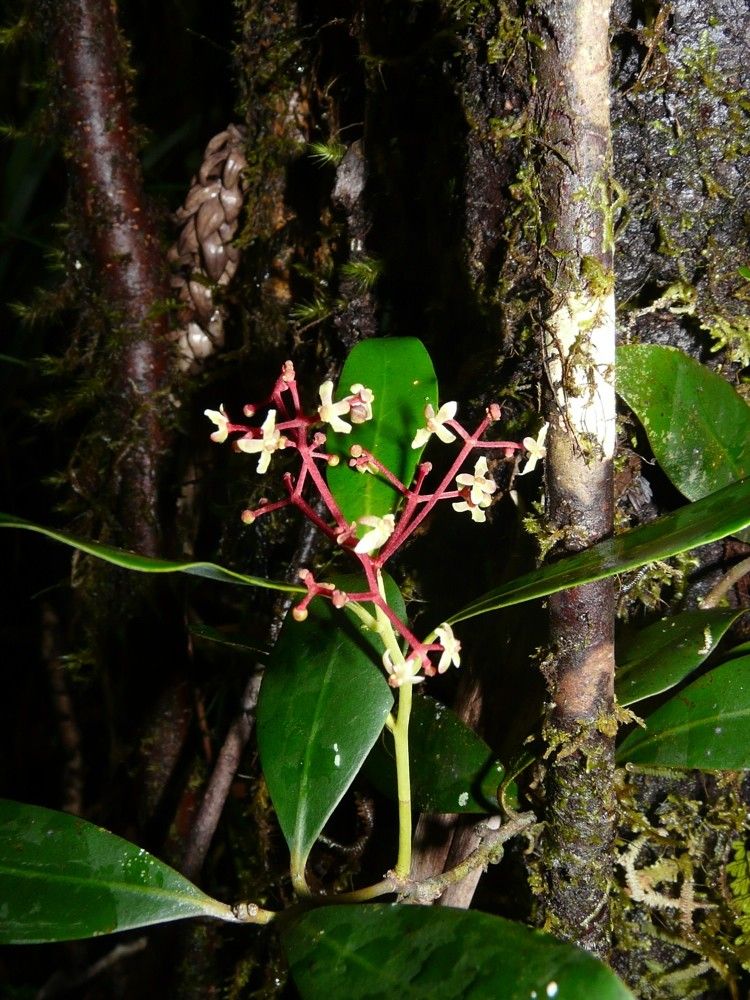
Hello, fellow plant lovers! Today, we’re diving into the wonderful world of Zygogynum schlechteri. If you’ve ever been captivated by its lush, glossy, deep green foliage and the subtle yet intriguing scent it releases, you’re not alone. This beautiful member of the Atherospermataceae family can add a real touch of the exotic to your garden, whether you admire its dramatic leaves from afar or perhaps even have a specimen gracing your home interior.
Now, let’s talk about propagation. I’ll be honest, Zygogynum schlechteri isn’t exactly a weed you can accidentally plant by dropping a leaf. It requires a bit of attention and a gentle hand. While it might not be the first plant I’d hand to an absolute beginner with no horticultural experience, with a solid understanding of the techniques, most gardeners with a bit of patience will find success quite rewarding. Watching a tiny cutting transform into a new, healthy plant is one of the greatest joys in gardening, and it’s a fantastic way to expand your collection!
The Best Time to Start
For Zygogynum schlechteri, the late spring to early summer is generally your golden window. Think of it as when the plant is bursting with new energy after its period of rest. The soft, new growth that emerges at this time is typically more responsive to propagation techniques than the older, woodier stems. Aim for when the plant is actively growing, and you’ll see the best results.
Supplies You’ll Need
Here’s what I always have on hand when I’m about to get started:
- Sterile potting mix: A blend of equal parts peat moss (or coco coir) and perlite or coarse sand works wonderfully for good drainage.
- Sharp, clean pruning shears or a razor blade: Essential for making clean cuts.
- Rooting hormone powder or gel: This really gives your cuttings a significant boost in forming roots.
- Small pots or seed trays: With drainage holes, of course!
- Clear plastic bags or a propagation dome: To create a humid environment around your cuttings.
- Water mister: For keeping humidity levels up.
- A warm, bright spot (indirect light): Avoid harsh, direct sun.
Propagation Methods
I’ve had the most consistent success with stem cuttings for Zygogynum schlechteri. Here’s how I go about it:
- Take Cuttings: Select healthy, non-flowering stems from your mature plant. You’re looking for pieces that are about 4-6 inches long, with at least two sets of leaves. Using your sharp pruning shears or razor blade, make a clean cut just below a leaf node (where a leaf attaches to the stem). This is where the magic of root development often begins.
- Prepare the Cuttings: Gently remove the lower leaves from the cutting, leaving only the top two or four leaves. This prevents them from rotting when buried in the soil. If the remaining leaves are very large, you can even cut them in half to reduce water loss through transpiration.
- Apply Rooting Hormone: Dip the cut end of the stem into your rooting hormone. Gently tap off any excess. This step is crucial for encouraging roots to form.
- Plant the Cuttings: Fill your small pots with the sterile potting mix. Make a small hole in the center of the soil with your finger or a pencil. Insert the prepared cutting into the hole, ensuring the leaf nodes are below the soil surface. Gently firm the soil around the stem.
- Create Humidity: Water the soil lightly, just enough to moisten it. Then, cover the pot with a clear plastic bag or place it under a propagation dome. This will create a mini greenhouse effect, keeping the humidity high, which is vital for preventing the cuttings from drying out.
The “Secret Sauce” (Pro Tips)
- Cleanliness is Key: I can’t stress this enough! Always use clean tools and pots. Any lingering bacteria or fungi can quickly spell disaster for your delicate cuttings. Sterilize your shears between each cut if possible.
- Bottom Heat is Your Friend: If you have a propagation mat or can place your pots on top of a gently warming appliance (like a router or a computer that’s on), use bottom heat. A consistent, gentle warmth from below encourages root formation much more effectively than ambient room temperature alone.
- Don’t Drown Your Cuttings: While humidity is important, your soil should be consistently moist, not waterlogged. Overwatering is a surefire way to invite root rot. Stick your finger about an inch into the soil; if it feels dry, it’s time for a light watering.
Aftercare & Troubleshooting
Once your cuttings are potted, place them in a warm, bright location that receives indirect light. Avoid direct sun, which can scorch the tender new growth and overheat the humid environment under the plastic.
You’ll want to check on your cuttings regularly. If you see condensation building up heavily on the inside of the plastic bag, you can briefly open it for a few minutes to allow excess moisture to escape. Mist the cuttings lightly if the soil begins to dry out.
Be patient! Rooting can take anywhere from 4-8 weeks, sometimes even longer. You’ll know your cutting has taken root when you see new growth appearing at the top of the stem. You can also gently tug on the cutting; if you feel resistance, it’s a good sign roots have formed.
The most common pitfall is root rot. This usually shows up as a blackening or mushy stem, often accompanied by wilting even though the soil is moist. If you see this, unfortunately, the cutting is likely lost. It’s a sign of too much moisture and not enough air circulation.
A Encouraging Closing
Watching these little green wonders take hold is a truly special experience. Don’t get discouraged if your first attempt isn’t a runaway success! Every gardener has lost cuttings along the way. The learning process is part of the joy. Keep nurturing your cuttings, observe what works best in your specific environment, and before you know it, you’ll have more beautiful Zygogynum schlechteri to enjoy. Happy propagating!
Resource: