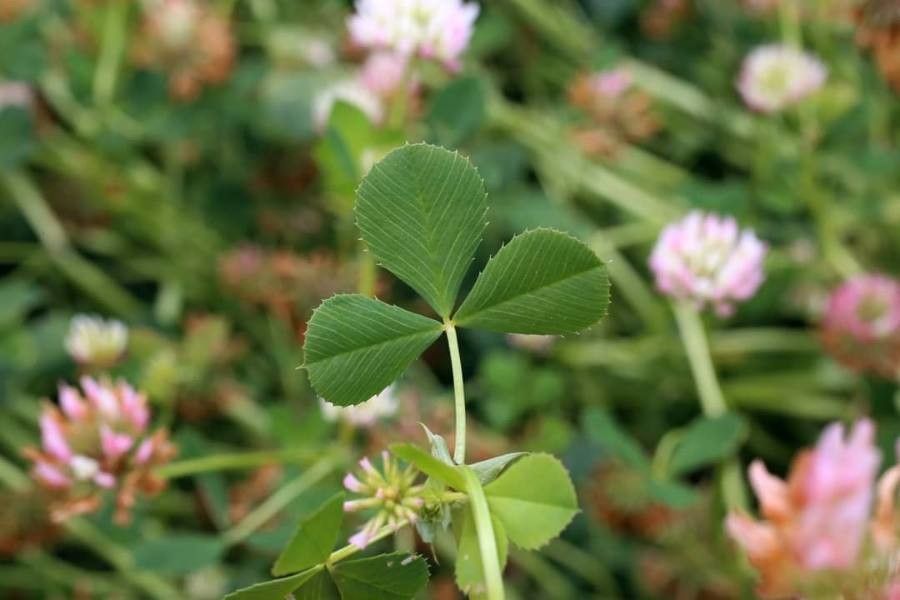
Hello there, fellow garden enthusiasts! Today, I’m absolutely delighted to chat about a plant that brings such a delightful splash of color and life to any garden: Trifolium michelianum, or as many of us affectionately call it, Michel’s Clover.
I adore this little charmer. Its delicate, often pinkish-red clover-like blooms are a magnet for pollinators, and they have this lovely, slightly cascading habit that drapes beautifully over edges or fills in spaces with cheerful foliage. Best of all, if you’re looking for a project that’s pretty darn easy even for those just dipping their toes into the wonderful world of propagation, Michel’s Clover is a fantastic choice. You’ll be seeing more of your favorite plants without much fuss!
The Best Time to Start
When it comes to Michel’s Clover, timing is key for the best results. I find the sweet spot is typically late spring to early summer. This is when the plant is in a vigorous growth phase. Fresh, healthy stems taken now have the most energy reserves to put into rooting. You can also have success with material taken in early autumn, especially if you have a warmer climate, but spring is generally my go-to for that initial push.
Supplies You’ll Need
Gathering your tools before you start makes the whole process smoother. Here’s what I usually have on hand:
- Sharp, clean pruning shears or a sharp knife: For taking your cuttings. Cleanliness prevents disease!
- A good quality potting mix: I like a mix that drains well, so a blend of peat moss, perlite, and a little compost usually does the trick. You can also buy specific seed starting mixes.
- Small pots or seed trays: For housing your cuttings. Ensure they have drainage holes.
- Rooting hormone (optional but helpful): A powdered or gel product can give your cuttings an extra boost.
- A watering can or spray bottle: For keeping things consistently moist.
- Plastic bags or a propagation lid: To create a humid environment.
- A small trowel or dibber: To make holes for your cuttings.
Propagation Methods
Michel’s Clover is wonderfully versatile, and I find that stem cuttings are by far the most reliable and rewarding method.
Stem Cuttings:
- Select your parent plant: Choose a healthy, vigorous Michel’s Clover plant. Look for stems that are
firm but not woody. - Take your cuttings: Using your sharp shears, take cuttings that are about 4-6 inches long. Make the cut just below a leaf node (where a leaf attaches to the stem). This is where the magic of rooting often happens.
- Prepare the cuttings: Gently remove the lower leaves from your cuttings. You want to leave 2-3 sets of leaves at the top. If the remaining leaves are very large, you can even snip them in half to reduce water loss.
- Apply rooting hormone (optional): Dip the cut end of each cutting into your rooting hormone, tapping off any excess.
- Pot them up: Make a hole in your prepared potting mix using a trowel or dibber. Insert the cut end of the cutting into the hole, about 1-2 inches deep. Gently firm the soil around the base to ensure good contact.
- Water gently: Water thoroughly but gently to settle the soil.
- Create humidity: Cover the pots with a clear plastic bag (making sure the leaves don’t touch the plastic) or place them under a propagation lid. This is crucial for preventing the cuttings from drying out.
The “Secret Sauce” (Pro Tips)
Here are a couple of my little secrets that have helped me achieve great success with cuttings:
- Bottom Heat is Your Friend: If you can, place your pots on a heated propagator mat. A gentle warmth from below really encourages root development. It doesn’t need to be tropical heat, just a consistent, mild warmth.
- Don’t Let Those Leaves Drip Dry: When you cover your cuttings with a plastic bag, make sure none of the leaves are touching the inside of the bag while it’s damp. Condensation is good, but the leaves sitting in it can lead to rot. A small stake or two can help prop up the bag nicely.
- Cleanliness is Paramount: I cannot stress this enough! Always use very clean tools when taking cuttings, and make sure your pots are clean too. This is your first line of defense against fungal diseases that can quickly doom your efforts.
Aftercare & Troubleshooting
Once your cuttings are potted, keep them in a bright spot, but out of direct, scorching sunlight. What you’re aiming for is consistent moisture – not soggy, but definitely not dry. Mist them occasionally if the humidity starts to drop.
You’ll know they’re rooting when you see new growth appearing at the top or when you gently tug on a cutting and feel a bit of resistance. This usually takes anywhere from 3-6 weeks.
The most common issue you’ll encounter is rot. If a cutting turns black and mushy at the base, or the leaves start to yellow and wilt significantly without recovering, it’s likely a rot issue. This is usually caused by too much moisture and poor air circulation. If you see it, remove the affected cutting immediately to prevent it from spreading. Sometimes, it’s just a case of a weak cutting that didn’t make it, and that’s perfectly okay.
Enjoy the Process!
Watching a tiny cutting transform into a new, vibrant plant is one of the most satisfying parts of gardening. Be patient with your Michel’s Clover; nature works at its own pace. Celebrate every little bit of progress, and don’t be discouraged by the occasional failure. That’s just part of the learning curve. Happy propagating!
Resource:
https://identify.plantnet.org/k-world-flora/species/Trifolium%20michelianum%20Savi/data