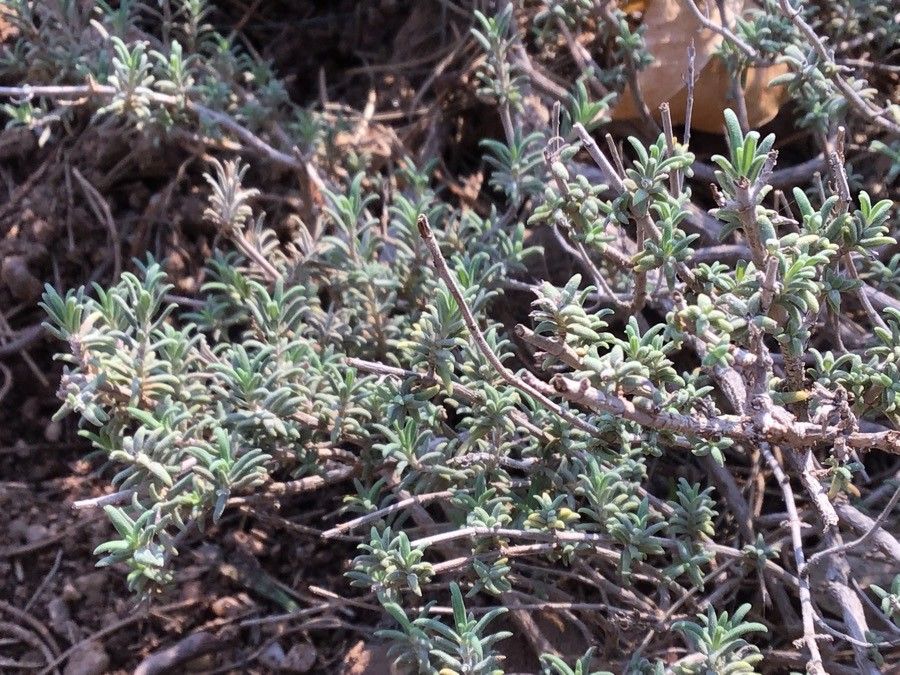
Hello there, fellow garden lovers! If you’ve ever swooned over the delicate, dusky flowers and intoxicating aroma of Thymus longiflorus, also known as Spanish or Long-flowered Thyme, then you’re in for a treat. I’m here to tell you that bringing more of this beauty into your garden is wonderfully achievable. Propagating your own plants is one of the most rewarding aspects of gardening, and with Thymus longiflorus, it’s a joy you can easily share. Don’t worry if you’re just starting out; this resilient little herb is quite forgiving, making it a great choice for beginners.
The Best Time to Start
When it comes to getting your cuttings off to a good start, timing is everything. The sweet spot for propagating Thymus longiflorus is typically in late spring to early summer. This is when the plant is actively growing, but before the extreme heat sets in. You want to take cuttings from healthy, non-flowering stems. Look for new growth that is still somewhat soft but has started to firm up a bit – not floppy, but not woody either. That’s your sweet spot!
Supplies You’ll Need
Gathering your tools beforehand makes the whole process smoother. Here’s what I recommend having on hand:
- Sharp pruning shears or a clean, sharp knife: For making clean cuts.
- Rooting hormone (optional but helpful): A powder or gel to encourage root development.
- Well-draining potting mix: A blend of peat moss or coir, perlite, and a bit of sand works beautifully. You can also buy specific seedling or cutting mixes.
- Small pots or seed trays: Make sure they have drainage holes!
- Plastic bags or a propagation dome: To create a humid environment.
- Labels and a marker: To keep track of your creations.
- A watering can with a fine rose attachment: For gentle watering.
Propagation Methods
We’ll focus on the easiest and most reliable methods for Thymus longiflorus.
Stem Cuttings: My Go-To Method
This is how I usually multiply my thyme plants, and it’s incredibly effective.
- Take Your Cuttings: In late spring or early summer, select healthy, non-flowering stems from your mature plant. Using your clean shears or knife, snip off pieces about 3 to 4 inches long.
- Prepare the Cuttings: Gently remove the leaves from the bottom half of each cutting. This prevents them from rotting when they’re in the soil. You can leave the top few leaves on to help with photosynthesis.
- Apply Rooting Hormone (Optional): If you’re using rooting hormone, dip the cut end of each stem into the powder or gel. Tap off any excess.
- Plant Your Cuttings: Fill your small pots or trays with your well-draining potting mix. Make a small hole in the soil with your finger or a pencil. Insert the prepared cuttings into the holes, pushing the soil gently around them.
- Water Gently: Give the soil a good, gentle watering. You want the soil to be moist but not waterlogged.
- Create a Humid Environment: Cover the pots loosely with a plastic bag or place them under a propagation dome. This traps moisture, which is crucial for rooting. Make sure the leaves don’t touch the plastic if possible.
- Place in a Bright Spot: Set your pots in a bright location that receives indirect sunlight. Avoid direct sun, which can scorch the young cuttings.
Water Propagation: A Visible Success Story
This method lets you watch the magic happen!
- Take and Prepare Cuttings: Follow steps 1 and 2 from the stem cutting method.
- Place in Water: Put the cuttings in a small jar or glass filled with clean, room-temperature water. Make sure the leaves are above the water line.
- Change Water Regularly: Change the water every few days to keep it fresh and prevent bacterial growth.
- Wait for Roots: Keep them in a bright spot with indirect light. You should start seeing little white roots emerge from the stems in a few weeks.
- Pot Up: Once the roots are about an inch long, carefully transplant your rooted cuttings into pots filled with your well-draining potting mix. Treat them as you would newly planted cuttings.
The “Secret Sauce” (Pro Tips)
Here are a couple of things I’ve learned over the years that can really boost your success.
- Don’t Overcrowd: It can be tempting to cram as many cuttings into a pot as possible, but give them a little breathing room. This improves air circulation and reduces the risk of fungal diseases spreading. Space them out so they have a chance to thrive individually.
- Bottom Heat is a Game Changer: If you can, place your pots on a seedling heat mat. This gentle bottom warmth really encourages root formation, especially if your room temperature is a bit cooler. It mimics the warmth of spring soil and gives those roots a wonderful nudge.
Aftercare & Troubleshooting
Once you see those beautiful little roots appearing, you’re well on your way!
- Gradual Acclimatization: When your cuttings have developed a good root system (you might see roots peeking out of the drainage holes or feel a gentle tug when you very lightly pull on a stem), it’s time to gradually acclimate them to normal conditions. Start by removing the plastic cover or dome for increasing periods each day over a week.
- Watering New Plants: Continue to water them gently. Let the top inch of soil dry out slightly between waterings.
- Watch for Rot: The most common problem you might encounter is rot, especially if your cuttings are too wet or lack drainage. Signs include mushy, black stems. If you see this, sadly, that cutting is likely lost. Remove affected cuttings immediately to prevent it from spreading. Good drainage and avoiding overwatering are your best defenses.
A Encouraging Closing
Propagating Thymus longiflorus is a delightful way to expand your herb garden and share the love for this wonderful plant. Be patient with the process; nature has its own rhythm. Don’t be discouraged if not every single cutting takes – that’s part of the learning curve! Celebrate the successes, learn from any setbacks, and most importantly, enjoy the journey of nurturing new life. Happy propagating!
Resource:
https://identify.plantnet.org/k-world-flora/species/Thymus%20longiflorus%20Boiss./data