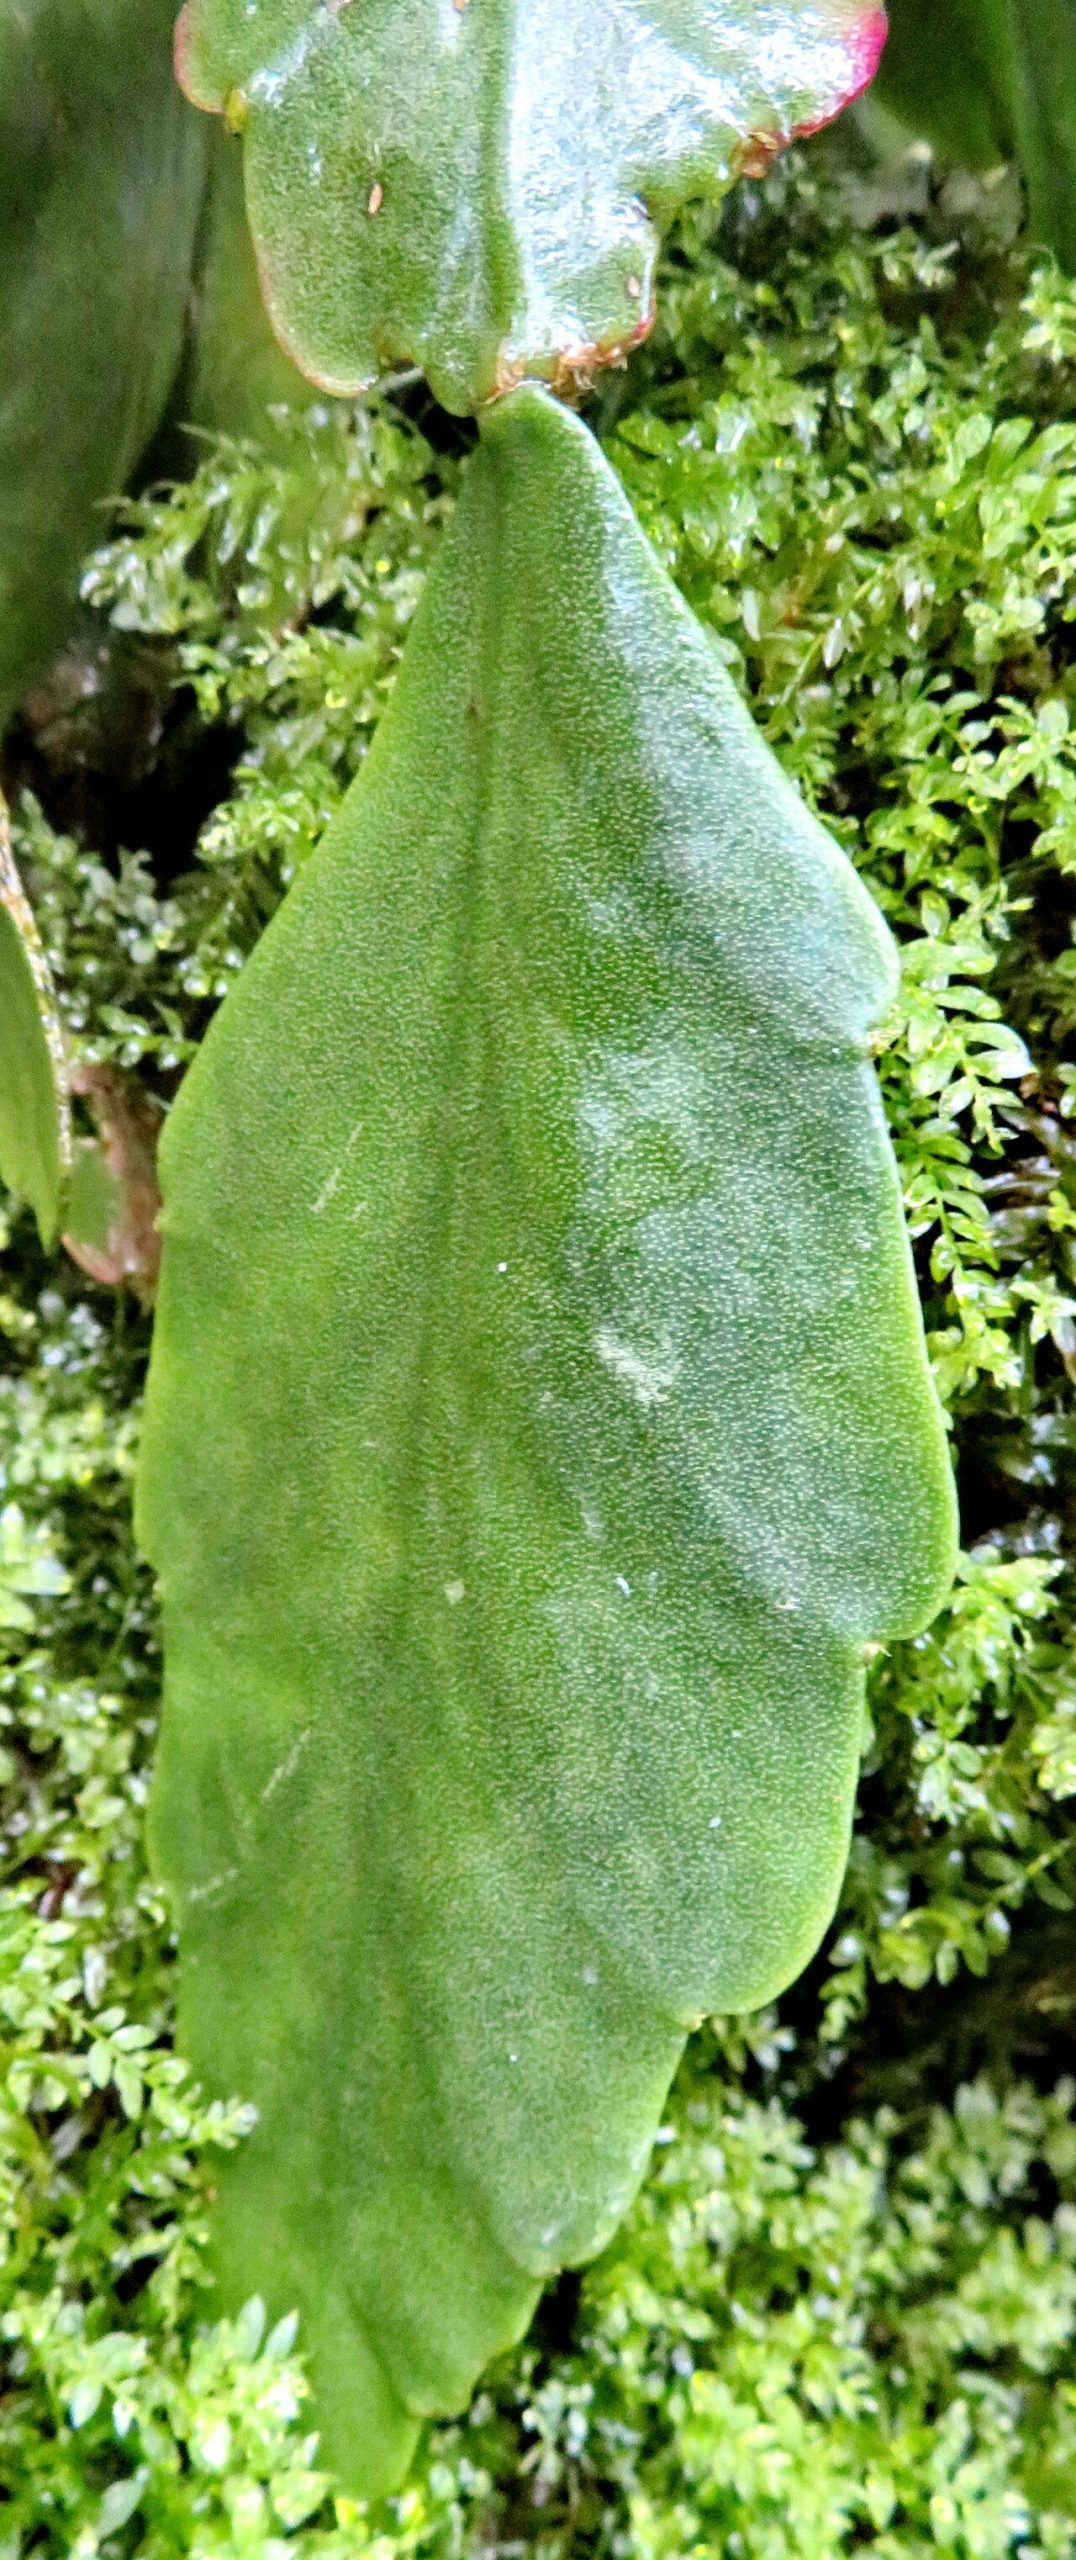
Ah, Rhipsalis pachyptera! If you’re looking for a plant that adds a touch of whimsical jungle flair to your home, this is it. Its flattened, paddle-like stems are just so unique, aren’t they? And the best part? Propagating them is a wonderfully rewarding experience. You get to nurture a whole new plant from a tiny piece of an established one. And for those of you just dipping your toes into the plant world, I think you’ll be pleased to know Rhipsalis pachyptera is generally quite forgiving, making it a great choice for beginners looking to expand their collection.
The Best Time to Start
The sweet spot for propagating Rhipsalis pachyptera is during its active growing season, which typically falls in late spring through summer. This is when the plant has the most energy to put into developing new roots and stems. Trying to propagate when the plant is dormant, like in the dead of winter, will likely lead to much slower progress, if it works at all. Let’s give our little cuttings the best chance!
Supplies You’ll Need
Gathering your supplies beforehand makes the whole process so much smoother. Here’s what you’ll want on hand:
- Well-draining potting mix: A cactus or succulent mix is perfect, or you can create your own by combining potting soil with perlite or pumice.
- Clean, sharp pruning shears or a knife: For making clean cuts.
- Small pots or propagation trays: Terracotta pots are great because they breathe.
- Rooting hormone (optional but recommended): A powder or gel will give your cuttings a helpful boost.
- Spray bottle: For gentle misting.
- Gloves (optional): If you find the sap a bit sticky.
Propagation Methods
There are a couple of tried-and-true ways to get new Rhipsalis pachyptera plants. I find stem cuttings are usually the most straightforward.
Stem Cuttings
This is my go-to method. It’s simple and effective.
- Take your cuttings: Using your sharp shears or knife, select a healthy stem. You want pieces that are at least a few inches long, ideally with at least two or three segments so there are joints where roots can emerge. Make a clean cut at the base of the segment you’re taking.
- Let them callous: This is crucial! Lay your cuttings on a dry surface in a bright spot, out of direct sun, for 2-7 days. You’ll see the cut end begin to dry and form a protective scab, or callous. This prevents rot when you plant them.
- Apply rooting hormone (optional): Once calloused, dip the cut end into your rooting hormone powder or gel. Tap off any excess.
- Plant your cuttings: Fill your small pots with your well-draining potting mix. Make a small hole in the center – you can use your finger or a pencil. Gently insert the calloused end of your cutting into the hole, making sure at least one segment is below the soil line. You can plant multiple cuttings in one pot, but give them a little space.
- Water lightly: Mist the soil surface gently with your spray bottle. You want the soil to be barely moist, not soggy.
Water Propagation (with a caveat!)
While some plants absolutely thrive in water, Rhipsalis can be a bit trickier. If you choose this method, be very careful not to let the fleshy segments sit in the water.
- Take your cuttings and let them callous as described above.
- Place cuttings in water: Fill a small jar or glass with water. Crucially, only let the very bottom-most segment of the cutting touch the water. You might need to prop the cuttings up with toothpicks or a piece of cardboard so they don’t submerge.
- Change water regularly: Change the water every few days to keep it fresh and prevent bacterial growth.
- Wait for roots: Roots should eventually emerge from the submerged part. Once they are about an inch long, it’s time to plant them in soil.
The “Secret Sauce” (Pro Tips)
Here are a few little tricks I’ve learned over the years that can really make a difference:
- Don’t overcrowd your pots: It might be tempting to pack them in, but giving your cuttings a bit of breathing room helps with air circulation and reduces the risk of fungal issues. Plus, it makes it easier to pot them up later.
- Warmth is key: Rhipsalis love a bit of warmth, especially when they’re trying to root. If you have a heat mat you use for seeds, pop your pots on it. It’s like a little warm hug that encourages roots to grow faster.
- Patience with watering: This is where many people go wrong. Wait until the top inch of soil feels dry before watering again. It’s much better to slightly underwater than to overwater when your cuttings are trying to root. Soggy conditions are an invitation for rot.
Aftercare & Troubleshooting
Once you start seeing new growth or notice roots emerging from the drainage holes (give them a gentle tug to check!), you’re officially on your way to a new plant! For cuttings planted in soil, continue to water sparingly, allowing the soil to dry out between waterings. Keep them in bright, indirect light.
The most common issue you’ll encounter is rot. If a cutting turns mushy, black, or smelly, it’s likely succumbed to rot. This is usually due to too much moisture or a lack of callousing. If you catch it early, you might be able to salvage a healthy piece by recutting above the rotted section and re-callousing. Don’t be discouraged if a few don’t make it; it’s all part of the learning process!
A Encouraging Closing
Propagating Rhipsalis pachyptera is a beautiful way to connect with your plants and multiply your joy. Be patient, trust the process, and enjoy watching those little roots begin to form. Before you know it, you’ll have a whole family of these fascinating plants to admire and share. Happy propagating!
Resource:
https://identify.plantnet.org/k-world-flora/species/Rhipsalis%20pachyptera%20Pfeiff./data