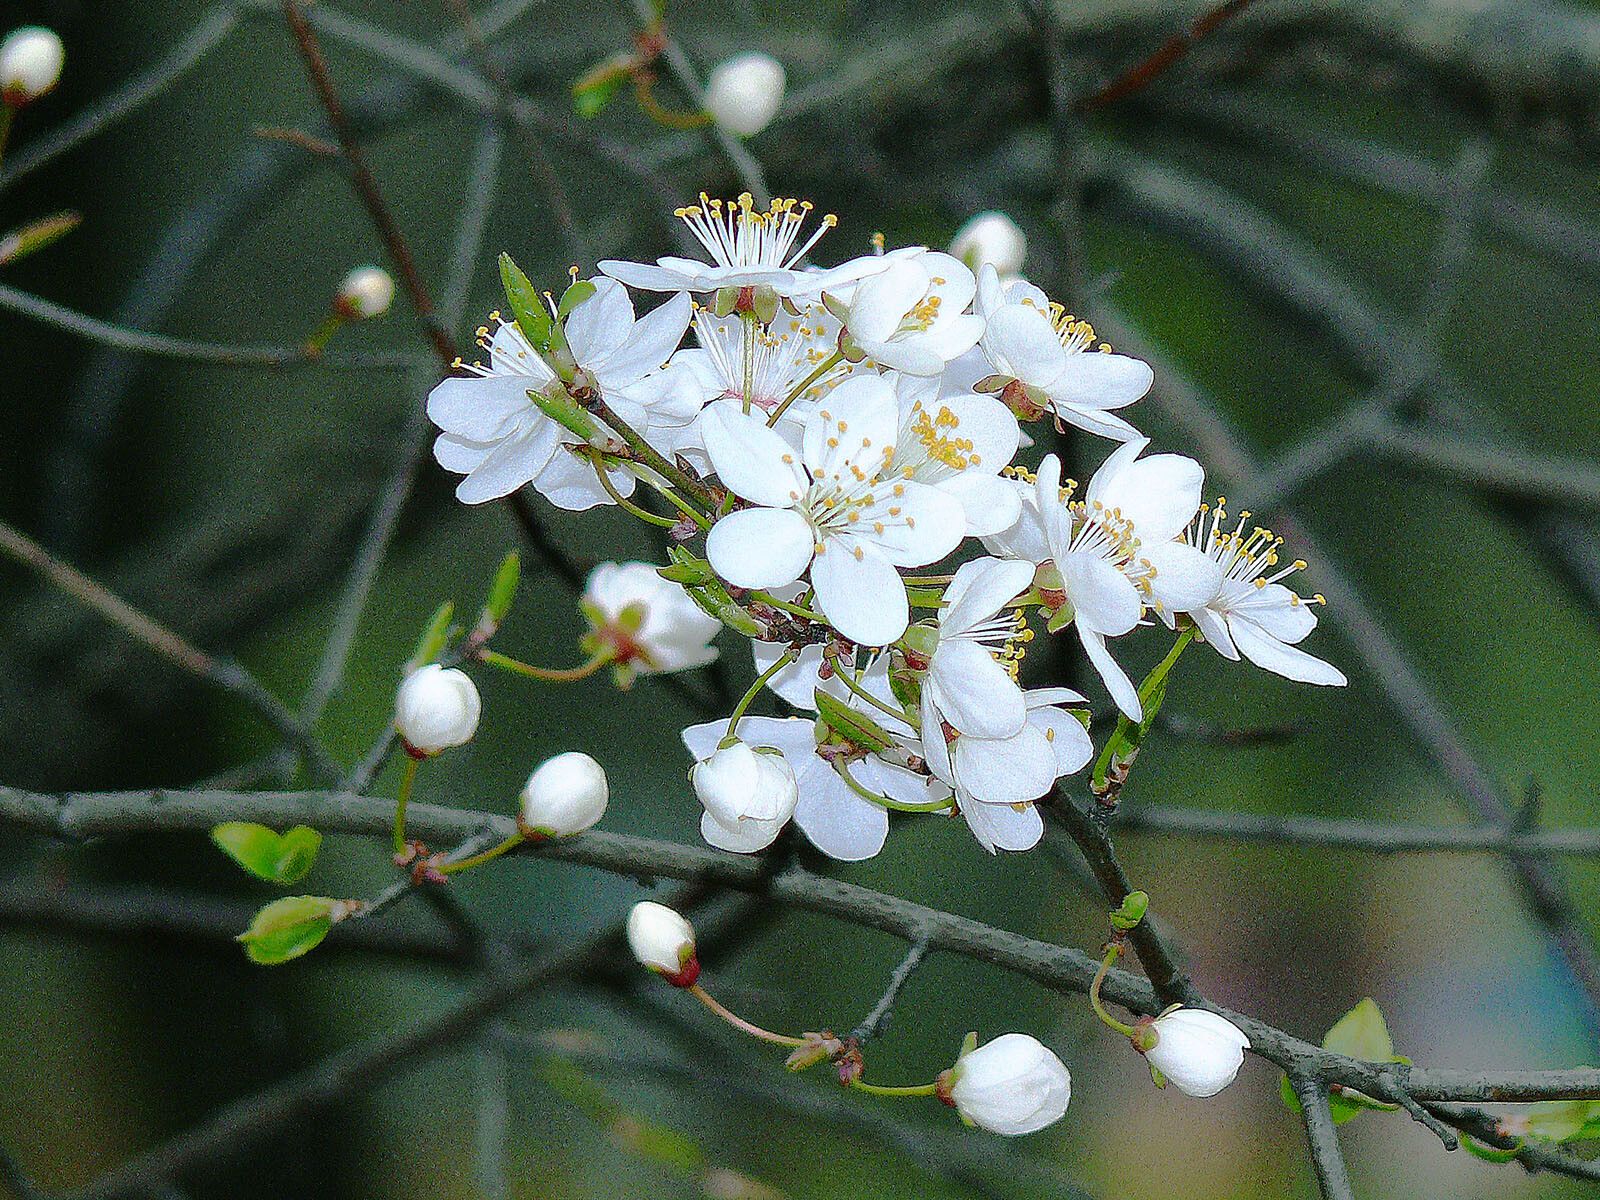
Well hello there, fellow plant lover! It’s so good to have you join me. Today, we’re diving into the wonderful world of propagating Prunus fruticosa, often called Dwarf European Cherry. Isn’t it a charmer? I just love its delicate spring blossoms and the promise of tiny, tart cherries later on. Plus, there’s something truly special about nurturing a new plant from a parent you already adore. If you’re new to propagation, I’d say Prunus fruticosa is a moderately rewarding plant to try. It requires a bit of patience, but the results are absolutely worth it!
The Best Time to Start
For the best chance of success with Prunus fruticosa, I find the late spring to early summer is absolutely prime time. You want to take cuttings when the current season’s growth is semi-hardened – not brand new and floppy, but not old and woody either. Think of it as a “just right” stage, a bit like Goldilocks’ porridge.
Supplies You’ll Need
Before we get our hands dirty, let’s gather our trusty tools:
- Sharp pruning shears or a clean knife: For taking clean cuttings.
- Rooting hormone: This is a game-changer, encouraging those little roots to sprout. I prefer a powder form, but gel works beautifully too.
- Small pots or trays: With good drainage holes, please!
- A well-draining potting mix: A blend of peat moss, perlite, and a bit of compost is ideal. You can even find specific seed-starting or propagation mixes.
- A clear plastic bag or a propagator lid: To create a humid environment.
- Water: For misting and watering.
- Optional: Bottom heat mat: This can significantly speed up root development, especially if your propagation space is on the cooler side.
Propagation Methods
I’ve had the most luck with Prunus fruticosa through semi-hardwood cuttings. Here’s how I do it:
- Take Your Cuttings: On a nice spring or early summer day, select healthy, vigorous stems from your mature plant. Look for stems that are green at the tip but starting to feel firm further down. Using your clean shears, cut lengths about 4-6 inches long, making the cut just below a leaf node (where a leaf attaches to the stem). Remove any flowers or developing fruit.
- Prepare the Cuttings: Gently strip off the lower leaves, leaving just a couple of leaves at the very top. This helps reduce water loss. If the leaves are quite large, you can even cut them in half horizontally to further minimize transpiration.
- Apply Rooting Hormone: Dip the cut end of each stem into your chosen rooting hormone, ensuring it’s coated on about an inch of the stem. Tap off any excess.
- Plant Your Cuttings: Fill your small pots with your prepared potting mix. Make a small hole with a pencil or your finger, and insert the treated end of the cutting. Gently firm the soil around the stem. You can typically fit 2-3 cuttings per pot, depending on size.
- Create a Humid Environment: Water the soil thoroughly but gently. Then, cover the pot loosely with a clear plastic bag, securing it around the rim with a rubber band, or simply place it inside a propagator with a lid. This traps moisture around the cutting, which is crucial for root development.
- Place in Bright, Indirect Light: Find a spot that receives plenty of bright, indirect sunlight. Avoid direct sun, as it can scorch the delicate cuttings.
The “Secret Sauce” (Pro Tips)
Now, for a couple of little tricks I’ve learned over the years that really give Prunus fruticosa propagation a boost:
- Don’t let those leaves touch the water inside your propagator! If you’re using a bag, ensure it’s not pressed directly onto the leaves. If leaves sit in stagnant water, they’re much more susceptible to rot, and trust me, you don’t want that.
- Bottom heat is your friend. If you can invest in a small bottom heat mat, it makes a world of difference. Keeping the base of the cuttings warm encourages root formation much faster and more reliably. You’re aiming for a soil temperature around 70-75°F (21-24°C).
Aftercare & Troubleshooting
Once your cuttings have taken root (which can take anywhere from 4-8 weeks, sometimes longer!), you’ll start to see little leaves unfurling at the top, or you might feel a gentle resistance when you tug ever so slightly on the cutting.
- Gradually Acclimate: Once roots have formed, you’ll want to start acclimating your new plants. Gradually open the propagator or plastic bag over a week or so to let them get used to drier air.
- Transplant: Once they have a good root system, carefully transplant them into slightly larger individual pots.
- Keep Watering Consistently: Water them when the top inch of soil feels dry.
- Watch for Rot: The most common sign of failure is rot. If your cuttings turn black and mushy, it’s usually a sign of too much moisture and not enough air circulation. You might have to sadly discard them and try again, perhaps with less watering or better drainage. Another sign is wilting that doesn’t perk up even after watering, which could indicate the cutting hasn’t rooted and is drying out.
A Encouraging Closing
Propagating plants is a journey, and every moment spent with your green charges is a learning experience. Don’t be discouraged if your first attempts aren’t perfect. Be patient, keep observing, and enjoy the quiet satisfaction of watching life emerge from your efforts. Happy propagating, and may your Prunus fruticosa thrive!
Resource:
https://identify.plantnet.org/k-world-flora/species/Prunus%20fruticosa%20Pall./data