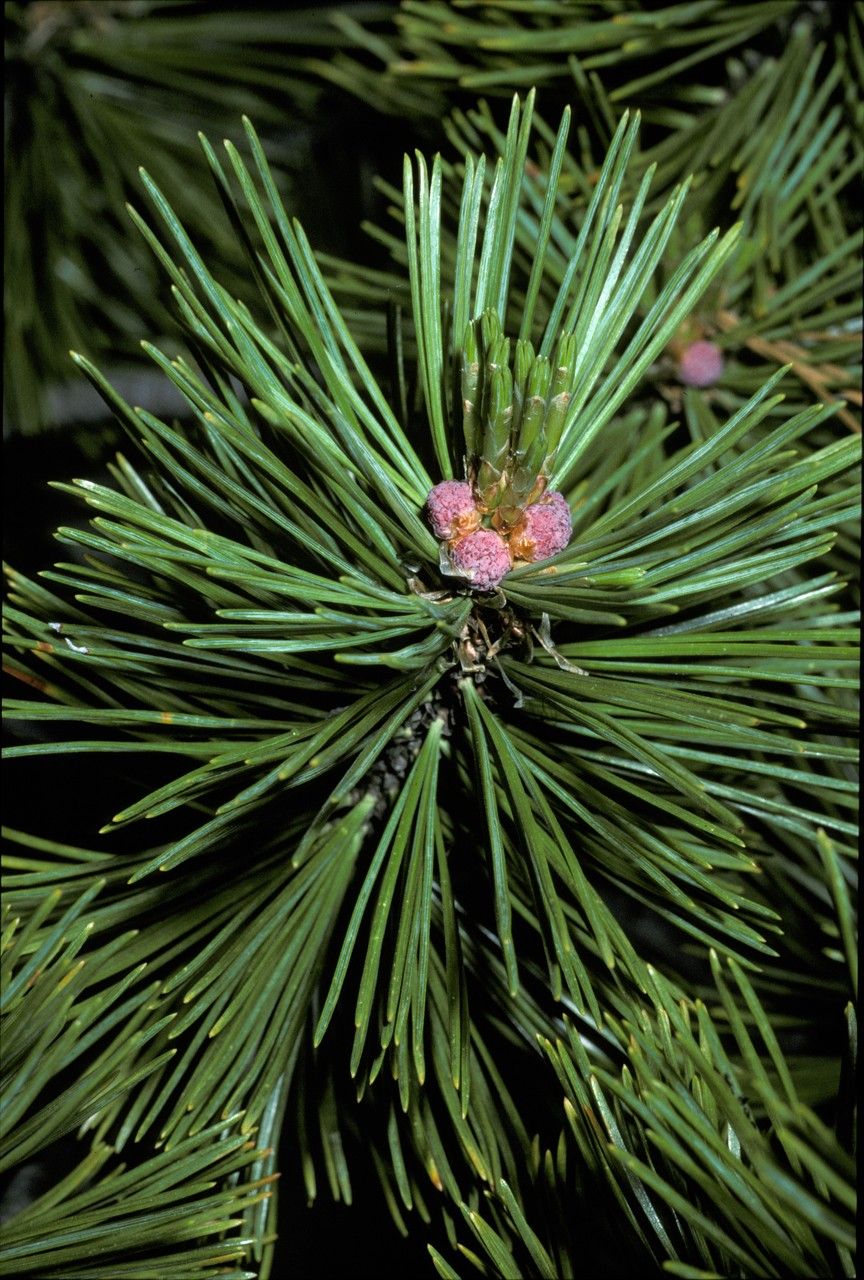
Oh, hello there! Grab a mug and settle in. Today, we’re diving into the wonderful world of propagating Whitebark Pine, or Pinus albicaulis. If you’ve ever admired these rugged beauties, with their often twisted limbs and the beautiful cones that sometimes grace them, you’re in for a treat. Sharing a piece of something so magnificent feels incredibly special.
Now, I’ll be honest with you – propagating pines, especially a species like Whitebark Pine, isn’t exactly a beginner’s walk in the park. It takes a bit of patience and understanding. But that doesn’t mean you can’t do it! With a little know-how and a lot of love for your plants, you can absolutely succeed. The reward of nurturing one of these majestic trees from a tiny cutting is truly immense.
The Best Time to Start
For Pinus albicaulis, you’ll want to look at late spring to early summer, right when new growth is actively pushing out. Think of it as catching the tree at its most energetic. This is when the stems are still somewhat flexible and have the best potential for rooting. Trying to take cuttings after the new growth has hardened off can significantly reduce your chances of success.
Supplies You’ll Need
Here’s what I always have on hand when I’m trying my luck with pine propagation:
- Sharp Pruning Shears or a Knife: Cleanliness is key! You want to make a clean cut to minimize damage.
- Rooting Hormone Powder: This is your best friend for encouraging root development. Look for one specifically formulated for woody cuttings.
- Well-Draining Potting Mix: A blend of equal parts perlite, coarse sand, and peat moss works wonderfully. You want excellent drainage to prevent rot. Some people also use a specific seed starting mix that’s very fine and sterile.
- Small Pots or Trays: These should have drainage holes.
- Plastic Bags or a Propagator: To create a humid environment around your cuttings.
- Labeling Stakes: Don’t forget to label what you’ve planted! I can’t tell you how many times I’ve gotten my projects mixed up.
Propagation Methods
While Whitebark Pine can be difficult to propagate, the most accessible method for home gardeners is stem cuttings. Seeds can be slow to germinate and require stratification, which is a whole other conversation!
Stem Cuttings: Step-by-Step
- Select Your Cuttings: Choose healthy, vibrant stems that are partially hardened, meaning they aren’t floppy new growth but haven’t become woody yet. Look for stems that are about 4-6 inches long.
- Make the Cut: Using your sterilized pruning shears or knife, make a clean cut just below a node (where a needle bundle or branch attaches).
- Prepare the Cutting: Gently strip off the needles from the bottom 1-2 inches of the cutting. This exposed area is where your roots will form.
- Apply Rooting Hormone: Dip the exposed base of the cutting into your rooting hormone powder. Tap off any excess.
- Plant the Cuttings: Fill your small pots or trays with your well-draining mix. Make a small hole in the center of the mix with a pencil or your finger. Insert the prepared cutting into the hole, ensuring the rooting hormone-coated part is in contact with the soil. Gently firm the soil around the base of the cutting.
- Water Gently: Water the soil lightly. You want it moist, not waterlogged.
- Create Humidity: Place the potted cuttings inside a clear plastic bag or a propagator. Seal it to trap humidity. If using a bag, prop it up with skewers so it doesn’t directly touch the needles.
The “Secret Sauce” (Pro Tips)
Here are a few things I’ve learned over the years that can make a real difference:
- The “Heel” Method: Sometimes, when you take a cutting, you can gently pull downwards, and a small piece of the parent branch (the “heel”) will come with it. Including this small section of older wood can significantly boost rooting success. Don’t force it; only do this if it comes away naturally.
- Bottom Heat: Pines absolutely love a bit of warmth from below. Using a heating mat designed for propagation can really speed up root formation. Aim for a consistent temperature of around 70-75°F (21-24°C). I find this makes a huge difference in getting those stubborn roots to appear.
- Patience is Paramount: Seriously, pines are slow movers. Don’t get discouraged if you don’t see any activity for weeks, or even months. I’ve had cuttings surprise me after what felt like an eternity. Just keep them in a bright spot with indirect light and maintain consistent humidity.
Aftercare & Troubleshooting
The real work begins once you see signs of rooting! This might be new needle growth or, even better, tiny white roots poking through the drainage holes.
Once you see roots, it’s time to gradually acclimate your cuttings to lower humidity. Start by opening the plastic bag for a few hours each day, then increasing the time. Eventually, you’ll be able to remove the bag altogether.
Signs of trouble to watch for:
- Browning and Drooping Needles: This is often a sign of underwatering or too much direct sun.
- Mushy Stem Base and Blackening: This is usually rot, a common culprit when conditions are too wet. Ensure your soil is draining exceptionally well and reduce watering if you suspect rot. You might have to discard affected cuttings.
A Little Bit of Patience Goes a Long Way
So there you have it! Propagating Pinus albicaulis is a project that demands your attention and a good dose of patience, but the satisfaction of watching these miniature giants take hold is truly unparalleled. Don’t be afraid to try, learn from your experiences, and savor the process. Happy gardening!
Resource:
https://identify.plantnet.org/k-world-flora/species/Pinus%20albicaulis%20Engelm./data