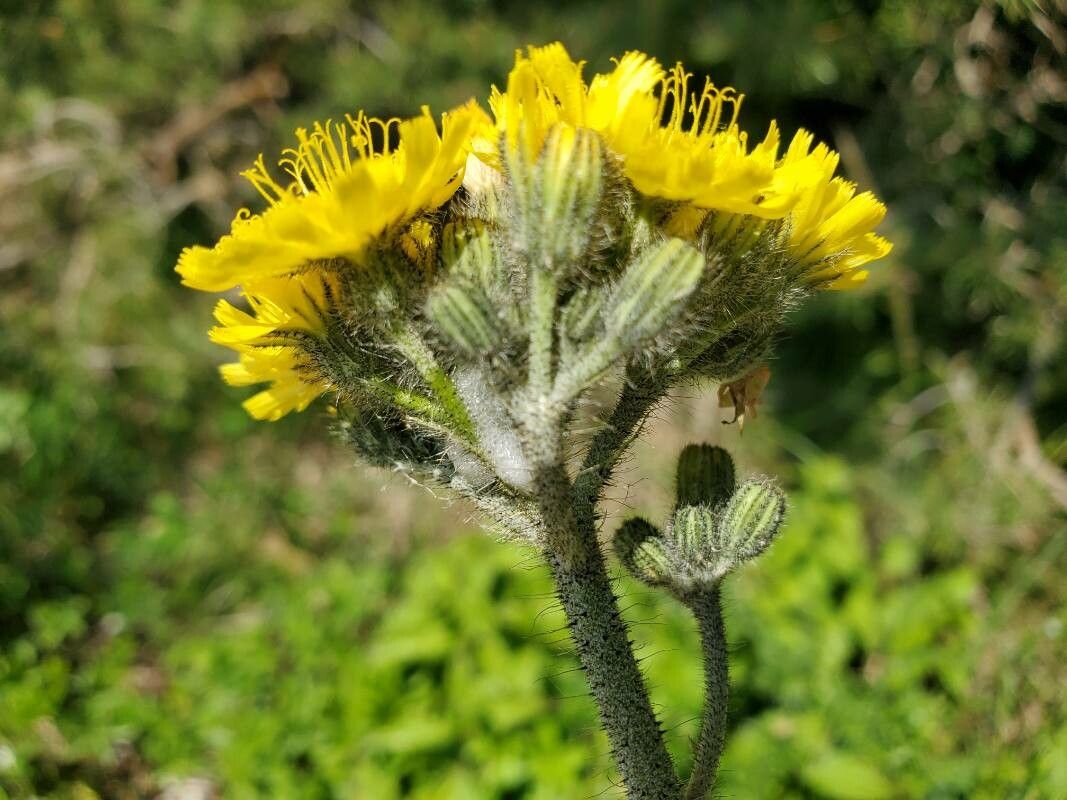
Oh, hello there! Grab a mug, let’s chat about a little gem I’ve come to adore: Pilosella glomerata. If you’re looking for a plant that’s both charming and surprisingly rewarding to multiply, you’ve come to the right place. Many of you might know it by its common names, like Mouse-ear Hawkweed or King Devil. Its fuzzy, silvery-green leaves have a lovely texture, and it throws up charming little yellow daisy-like flowers that can really brighten up a garden bed or a sunny windowsill.
Now, you might be wondering if this is a project for the seasoned pro or if a beginner can jump in. I’m happy to report that for the most part, Pilosella glomerata is quite forgiving and a wonderful plant for those new to propagation. It’s the kind of success that really builds confidence, and before you know it, you’ll have little clusters of this beauty to share or fill every sunny nook you have.
The Best Time to Start
When it comes to getting the most bang for your buck, propagation-wise, I find the late spring to early summer is absolutely prime time for Pilosella glomerata. The plant is actively growing, meaning it’s full of vigor and ready to put out new shoots and roots. You can also have some success a bit later in the season, but the earlier you start, the more time your new plants have to establish themselves before the cooler weather sets in. Look for vibrant, healthy stems that aren’t flowering or just finished.
Supplies You’ll Need
Gathering your tools is half the fun, isn’t it? It makes you feel like a proper scientist about to conduct a very important experiment (which, in a way, you are!). Here’s what I always have on hand:
- Sharp pruning shears or a clean knife: For making clean cuts. Dull tools can damage the plant.
- Well-draining potting mix: I like a blend of peat moss or coco coir, perlite, and a bit of compost. You want something that doesn’t hold too much moisture.
- Small pots or propagation trays: Clean ones are key to preventing disease.
- Rooting hormone (optional but recommended): This can give your cuttings a real boost.
- Watering can with a fine rose or spray bottle: For gentle watering.
- Labels: So you don’t forget what you’ve planted where!
Propagation Methods
Pilosella glomerata is pretty obliging, and there are a couple of straightforward ways to get it multiplying.
Stem Cuttings
This is my go-to method for this plant.
- Select your cuttings: Look for healthy, non-flowering stems that are at least 3-4 inches long. You can often find these just below a leaf node (where a leaf joins the stem).
- Make the cut: Using your sharp shears or knife, make a clean cut just below a leaf node.
- Prepare the cutting: Gently remove the lower leaves from the stem, leaving just a few at the top. This prevents them from rotting when they’re in the soil or water.
- Apply rooting hormone (optional): Dip the cut end of the stem into your rooting hormone, tapping off any excess.
- Plant your cuttings: Fill your small pots with your well-draining potting mix. Make a small hole in the center with your finger or a pencil and insert the cutting. Gently firm the soil around it.
- Water gently: Water the soil thoroughly until it’s moist but not waterlogged.
Division
This is often even easier, especially if your plant has gotten a bit large.
- Gently remove the plant: Carefully dig up the entire Pilosella glomerata plant from its current location.
- Locate natural divisions: You’ll usually find that the plant has natural clumps or offsets at the base.
- Separate the divisions: Gently pull or use a clean knife to separate these clumps. Each division should have its own roots and some healthy foliage.
- Replant immediately: Plant each division into its own pot filled with fresh potting mix, or replant them directly back into the garden, spacing them appropriately. Water them in well.
The “Secret Sauce” (Pro Tips)
Here are a few little tricks I’ve picked up over the years that can really make a difference:
Firstly, when making stem cuttings, never let the lower leaves touch the soil or water. They’ll just rot and can introduce disease to your cutting. Pinching them off is your best bet.
Secondly, for stem cuttings, bottom heat can be a game-changer. If you have a heat mat you use for seedlings, popping your pots on there can really encourage root development. It mimics the warmth of late spring, even if the air is cooler.
And finally, don’t be afraid to experiment with water propagation. While I prefer soil, some find success with water. Just make sure the cut end is submerged, but again, keep those lower leaves out of the water. Change the water regularly to
Resource:
https://identify.plantnet.org/k-world-flora/species/Pilosella%20glomerata%20(Froel.)%20Fr./data