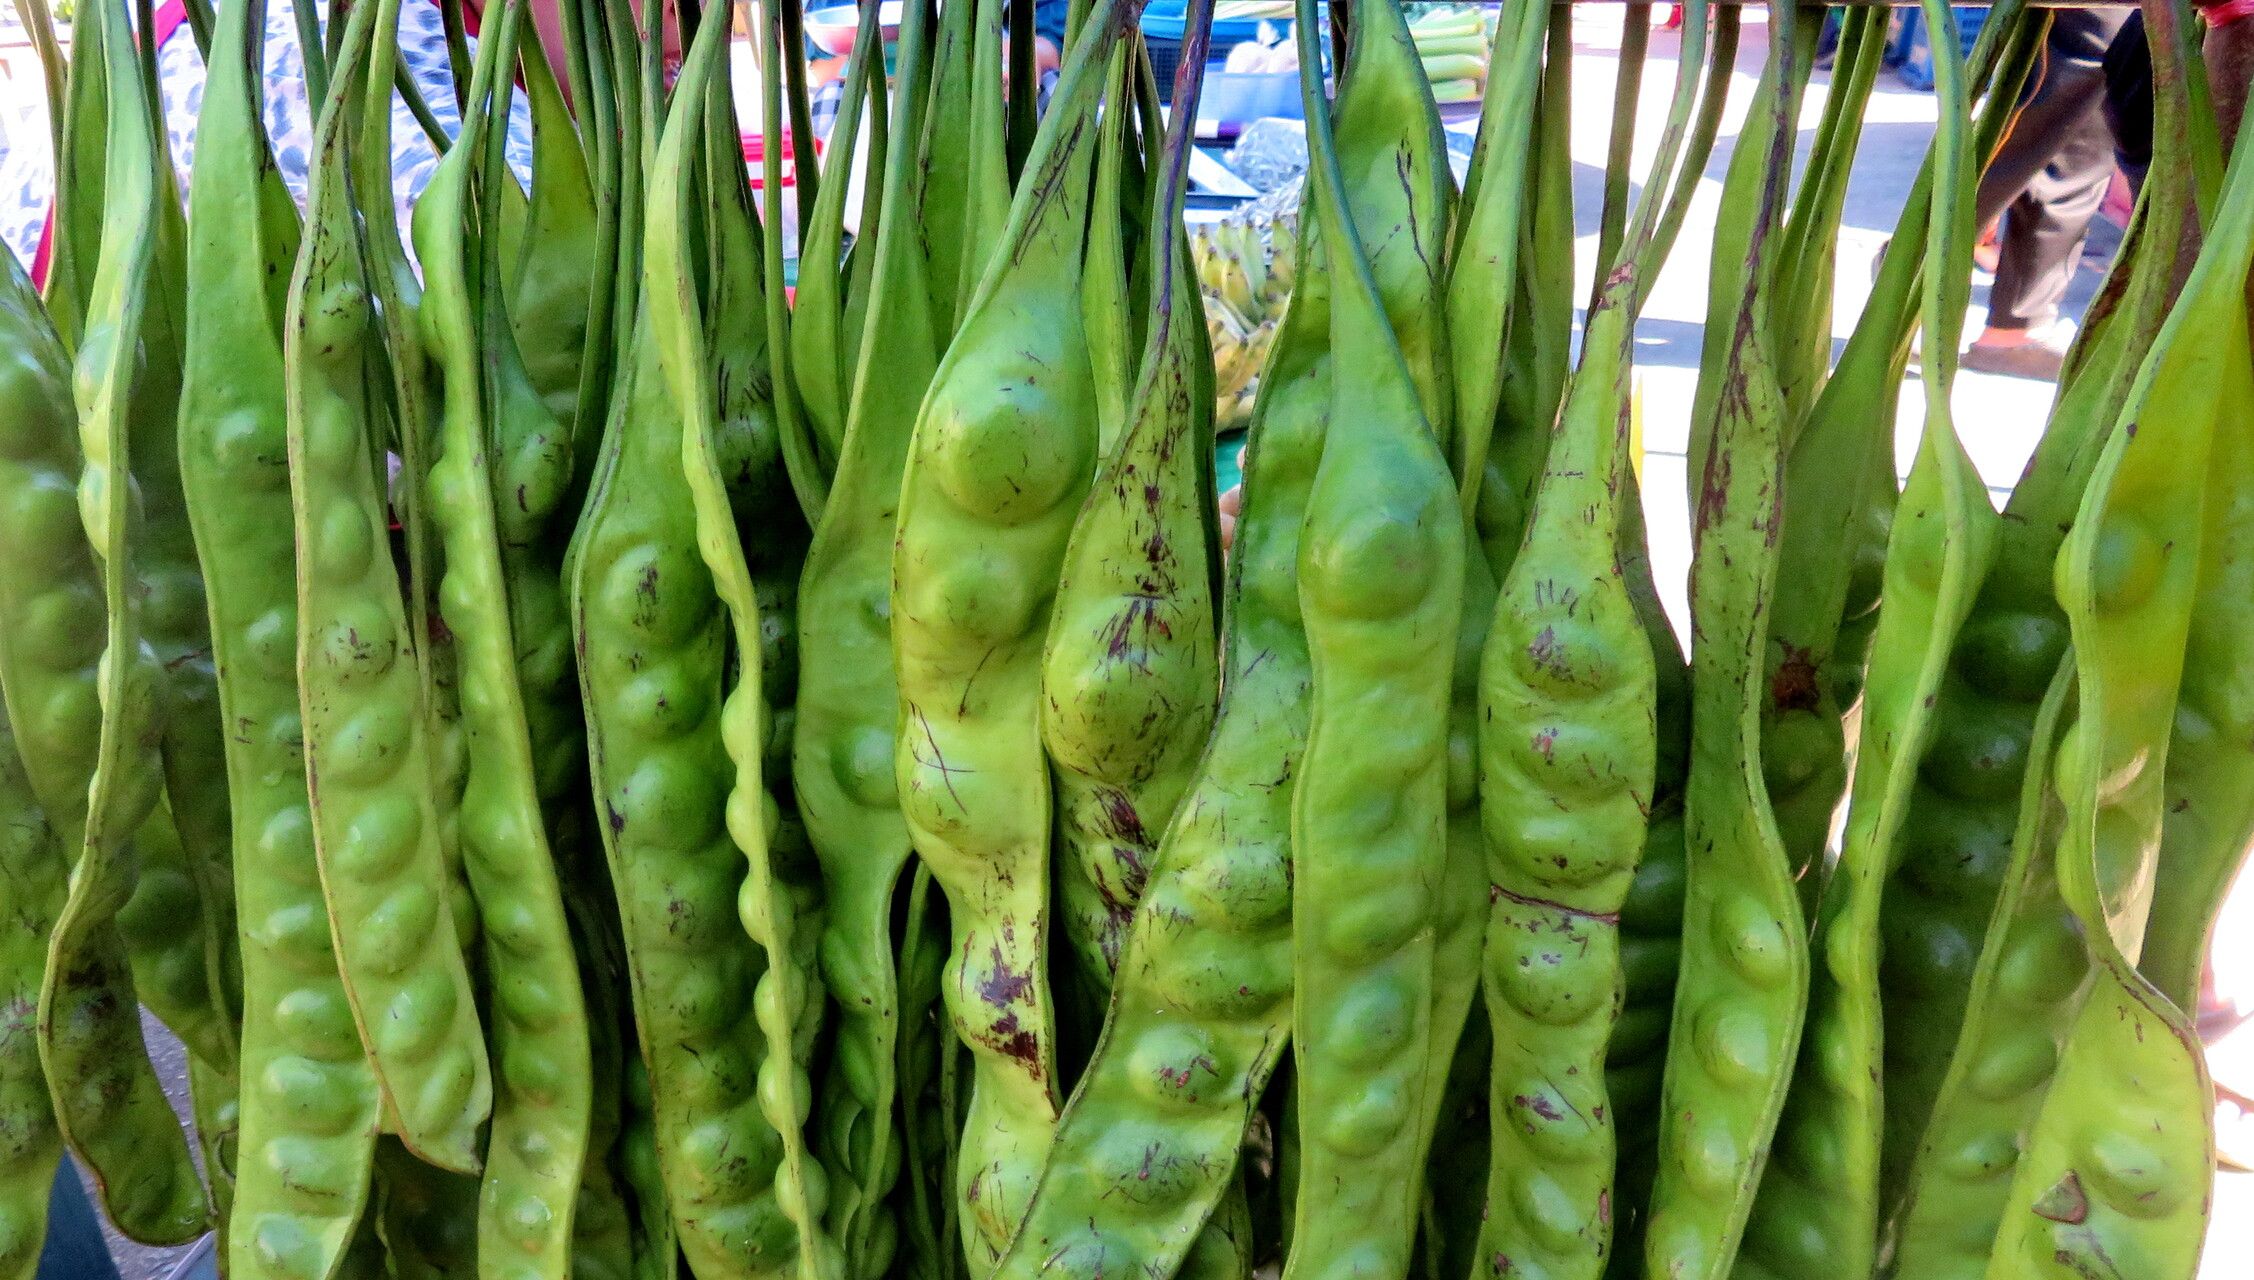
Hey there, fellow green thumbs! Have you ever gazed at a magnificent Parkia speciosa, with its striking pods and unique foliage, and thought, “I’d love to have one of those”? I know I have! These trees, often called “stink beans” (though they’re quite delightful in the right culinary context!), are truly a wonder. Propagating them yourself is a deeply satisfying journey, a chance to extend the beauty of this unusual plant. Now, I’ll be honest, Parkia speciosa isn’t the easiest plant to start from scratch, especially for a complete beginner. It requires a bit of patience and attention to detail, but with this guide, I’m confident you can give it a real good go.
When to Get Your Hands Dirty
The best time to embark on your Parkia propagation adventure is when the plant is in its most vigorous growing phase. For many tropical and subtropical species like this, that means late spring through early summer. You’ll want to select cuttings from healthy, actively growing stems, not those that are still soft and new or woody and old. Keep an eye on your parent plant – when it’s putting on new leaves and generally looking robust, that’s your cue!
Your Propagation Toolkit
Before we dive in, let’s gather our supplies. Having everything ready makes the process so much smoother.
- Sharp Pruning Shears or a Crisp Knife: Cleanliness is key here to prevent disease.
- Rooting Hormone Powder or Gel: This is a big help in encouraging those roots to form.
- Well-Draining Potting Mix: I like a blend of peat moss, perlite, and a bit of coarse sand. You want something airy, not soggy.
- Small Pots or Seed Trays: Clean, of course!
- Clear Plastic Bags or a Propagator: This helps maintain humidity around your cuttings.
- Watering Can with a Fine Rose: Gentle watering is essential.
- Labels and a Marker: To keep track of your efforts!
Let’s Get Propagating!
There are a couple of ways we can try to coax new life from your Parkia. Stem cuttings are usually the most successful for this type of plant.
Method 1: Stem Cuttings
- Select Your Cuttings: Find a healthy stem on your mature Parkia. Look for a section that has grown recently – it should feel somewhat firm but not woody. Aim for cuttings that are about 4-6 inches long.
- Make the Cut: Use your sterilized pruning shears or knife to make a clean cut just below a leaf node (where a leaf attaches to the stem). This is where the magic of root development often happens.
- Prepare the Cutting: Gently remove the lower leaves from the cutting. You want to leave just a few leaves at the top. This prevents them from rotting in the soil and directs the plant’s energy towards root production.
- Apply Rooting Hormone: Dip the cut end of the stem into your rooting hormone powder or gel. Tap off any excess.
- Plant Your Cuttings: Fill your small pots with your well-draining potting mix. Make a small hole with your finger or a pencil, then gently insert the prepared cutting. Firm the soil around it.
- Water Gently: Water the soil thoroughly until it’s evenly moist but not waterlogged.
- Create a Humid Environment: Place a clear plastic bag over the pot, securing it with a rubber band. If you have a propagator, that works perfectly too. This will create a mini-greenhouse.
- Place in a Warm, Bright Spot: Find a location that receives bright, indirect light. Avoid direct sun, which can scorch the delicate cuttings.
Method 2: Water Propagation (Use with Caution!)
While not my first choice for Parkia, some people have success with water propagation for softer-stemmed plants.
- Select and Prepare Cuttings: Follow steps 1-3 from the stem cuttings method.
- Place in Water: Fill a clean jar or glass with clean water. Place the cuttings so that the leaf nodes where you removed the leaves are submerged.
- Monitor and Change Water: Place in bright, indirect light. Change the water every few days to keep it fresh and prevent bacterial growth.
- Plant When Roots Appear: Once you see roots about an inch long, it’s time to carefully transplant them into your potting mix as described above. Be gentle, as water roots are fragile.
The “Secret Sauce” from My Garden to Yours
Here are a few things I’ve learned over the years that can really boost your success:
- Bottom Heat is King: If you can, place your pots on a heating mat designed for seedlings. This consistent warmth from below is like a cozy blanket for those developing roots. It’s a game-changer for many tropical plants.
- Don’t Let Leaves Touch the Water (If Using Water Prop): I mentioned this earlier, but it’s worth repeating. If any leaves are submerged in the water during water propagation, they will inevitably rot, which can then spread to the rest of the cutting. Trim them off or ensure they stay above the waterline.
- Air Circulation Matters Too: While humidity is crucial, don’t forget that your cuttings need a little air. Open the plastic bag for a few minutes each day to allow for some exchange. This also helps prevent fungal diseases.
Aftercare and What to Watch For
Once you start to see tiny green shoots emerging from the soil, that’s a wonderful sign! It generally means roots are forming underneath.
- Gradual Acclimation: Once new growth is apparent, gradually introduce your new plant to less humid conditions. Start by opening the plastic bag or propagator for longer periods.
- Gentle Watering: Continue to water when the top inch of soil feels dry. Avoid overwatering.
- Patience is a Virtue: It can take several weeks, sometimes even a few months, for cuttings to fully establish themselves. Resist the urge to constantly tug on them to check for roots!
Troubleshooting:
- Wilting or Dropping Leaves: This can be a sign of overwatering, underwatering, or insufficient humidity. Check your watering routine and ensure the environment is humid enough but not waterlogged.
- Rotting at the Base: This is often due to too much moisture and poor air circulation. Ensure your soil drains well and
Resource:
https://identify.plantnet.org/k-world-flora/species/Parkia%20speciosa%20Hassk./data