Hello fellow plant lovers! I’m so excited to chat with you today about a truly special fern: Oleandra annetii. If you’ve ever admired its glossy, architectural fronds and elegant arching stems, you know exactly why it’s so captivating. And guess what? Propagating it is incredibly rewarding, giving you more of that lush greenery to fill your home or share with friends. Now, I’ll be honest, Oleandra annetii can be a tad more particular than your average pothos, but with a little care and attention, even beginners can achieve success. Think of it as a friendly challenge that pays off beautifully!
The Best Time to Start
When it comes to coaxing new life from your Oleandra annetii, spring and early summer are your golden windows. This is when the plant is actively growing, energized by longer days and warmer temperatures. Cuttings taken during this vigourous period have the best chance of striking roots quickly. You’re essentially tapping into the plant’s natural momentum.
Supplies You’ll Need
To set yourself up for success, gather these essentials:
- Sharp, clean pruning shears or a sharp knife: For making clean cuts that heal well.
- A well-draining potting mix: A good blend of peat moss, perlite, and a bit of coarse sand works wonders. You can also use a specialized fern or orchid mix.
- Small plastic pots or propagation trays: With drainage holes, of course!
- Rooting hormone (optional but recommended for beginners): A powder or gel helps encourage root development. Look for one containing IBA.
- Clear plastic bags or a propagator lid: To create a humid environment.
- Water: For misting and, if you choose that method, for rooting.
Propagation Methods
Let’s get our hands dirty! There are a couple of reliable ways to multiply your Oleandra annetii.
Stem Cuttings
This is my go-to method, and it’s usually the most successful for this fern.
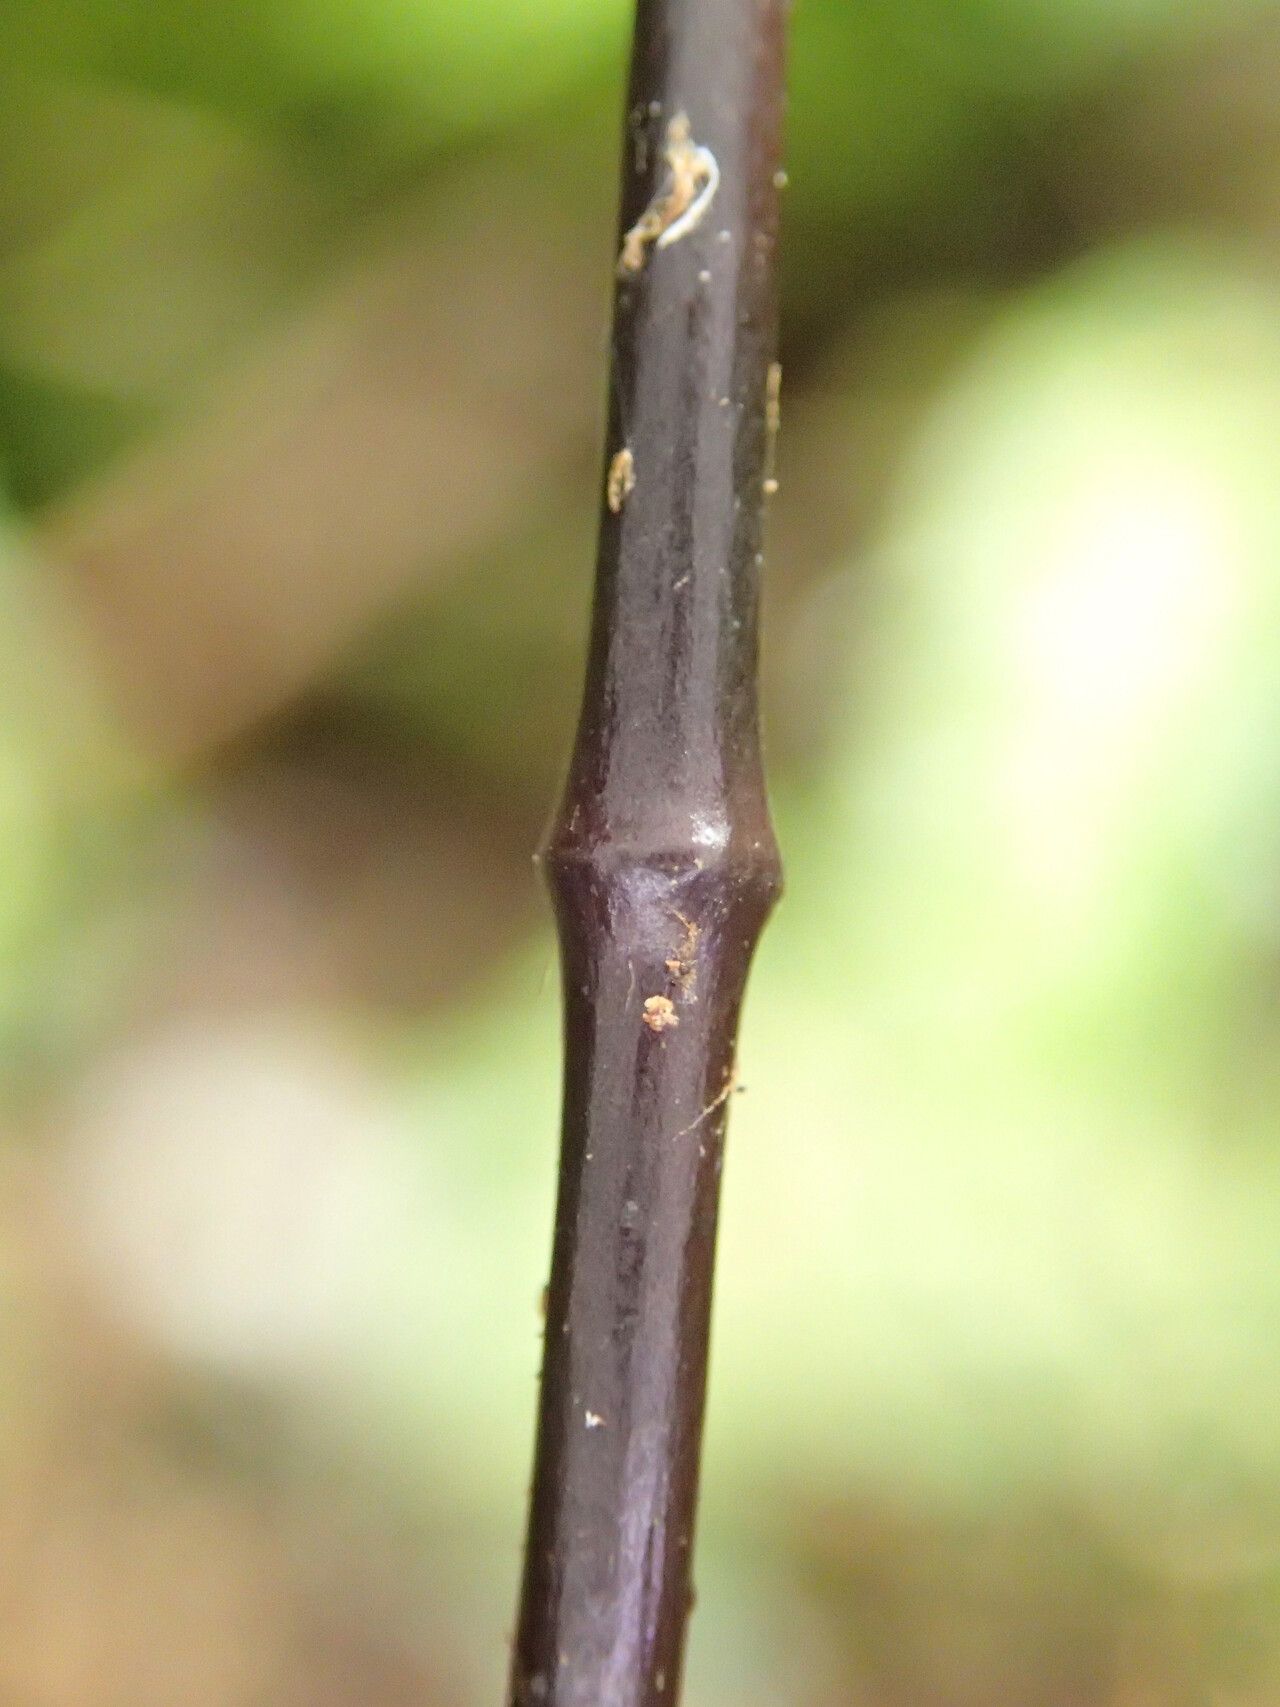
- Select a healthy stem: Look for a mature, but not woody, stem that has at least two to three nodes (the little bumps where leaves emerge).
- Make your cut: Using your clean shears or knife, take a cutting about 4-6 inches long. Make a clean cut just below a node.
- Prepare the cutting: Gently remove the lower leaves, leaving just one or two at the very top.
- Apply rooting hormone (optional): If you’re using it, dip the cut end of the stem into the rooting hormone, tapping off any excess.
- Plant the cutting: Make a small hole in your potting mix with a pencil or your finger. Insert the cut end of the stem into the hole, ensuring at least one node is buried. Gently firm the soil around it.
- Water lightly: Moisten the soil thoroughly but avoid making it soggy.
Water Propagation
This method is a bit simpler to observe, but sometimes the roots that form aren’t as robust as those from soil.
- Take your cutting: Follow steps 1 and 2 from the stem cutting method.
- Remove lower leaves: As before, strip off any leaves that will be submerged.
- Place in water: Pop your cutting into a clean jar or vase filled with fresh water. Make sure none of the remaining leaves are touching the water. This is crucial!
- Find a good spot: Place the container in bright, indirect light.
The “Secret Sauce” (Pro Tips)
Here are a few things I’ve learned over the years that can make a big difference:
- Bottom heat is your friend! If you have a seedling heat mat, placing your pots on it can significantly speed up root formation. Ferns love a cozy bottom.
- Don’t despair if the old leaves yellow. It’s common for the initial leaves on a cutting to look a bit sad or even drop off. Focus on the base of the stem and the crown – that’s where you want to see signs of new growth.
- Consistency is key with humidity. Oleandra annetii thrives in a humid environment. Whether you’re using a plastic bag or a propagator lid, check it daily to wipe away condensation and give the cutting a chance to breathe. This prevents fungal issues.
Aftercare & Troubleshooting
Once you see those beautiful new roots poking out the bottom of the pot (or if your water cutting has developed a decent root system!), it’s time to give it a little extra attention.
- Transplant carefully: Gently pot up your rooted cuttings into their own small pots with your well-draining mix.
- Maintain humidity: Continue to keep the soil moist and the humidity high for the first few weeks as the new plant settles in. Gradually acclimate it to lower humidity levels.
- Watch for rot: The most common sign of trouble is a mushy, black stem base. This usually means it’s too wet and not getting enough air circulation. If you see this, act fast! You might be able to save a section by taking another cutting further up the stem, but often it’s a sign that the original cutting is lost.
- Slow growth is okay: Remember, ferns can be slow growers, especially when they’re young. Don’t panic if you don’t see rapid development.
A Little Patience Goes a Long Way
Propagating plants is a journey, and each little green shoot is a testament to your nurturing. Be patient with your Oleandra annetii cuttings. Celebrate every tiny new frond that unfurls. You’re not just growing a plant; you’re nurturing a future addition to your green oasis. Happy propagating!
Resource:
https://identify.plantnet.org/k-world-flora/species/Oleandra%20annetii%20Tardieu/data