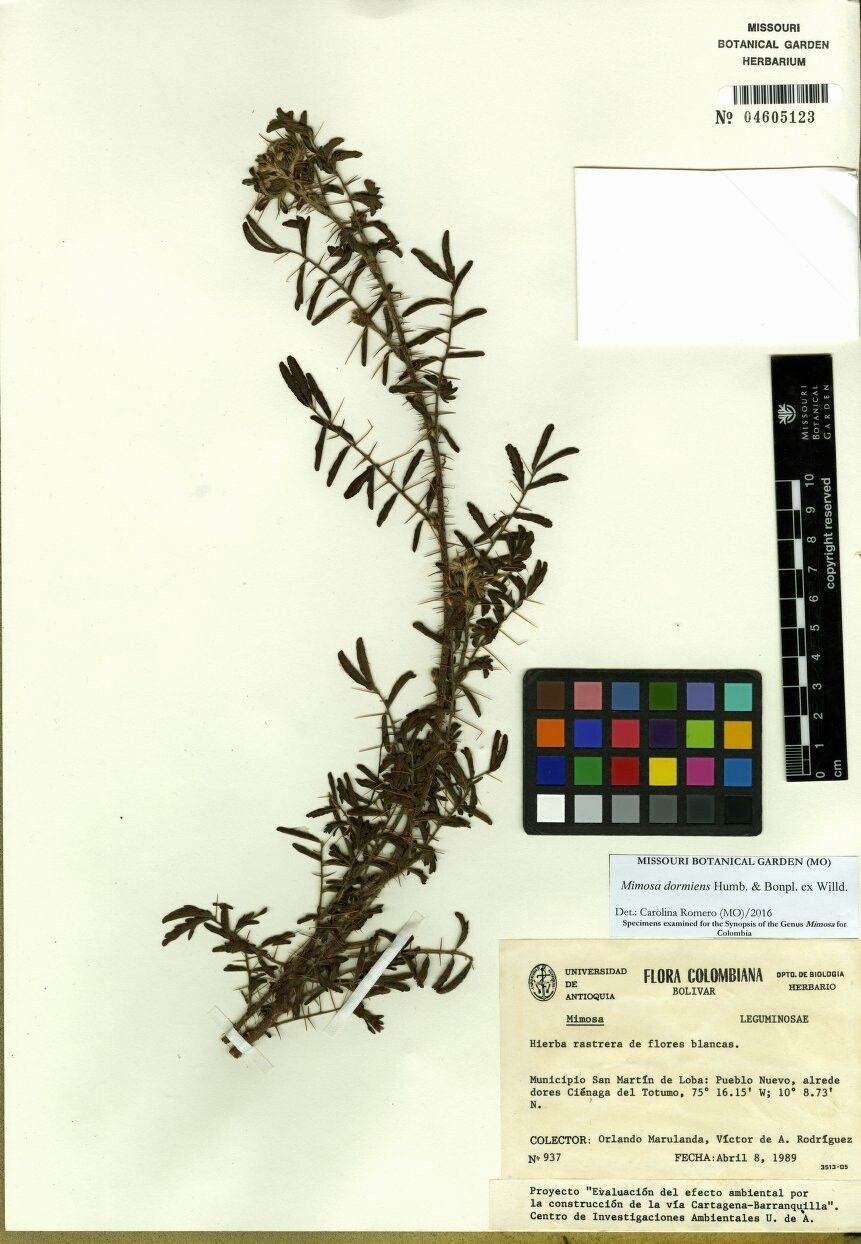
Oh, hello there! Come on in, grab a cuppa. Today, we’re going to dive into the wonderfully fascinating world of propagating Mimosa dormiens. You know, the one with those delicate, feathery leaves that fold up like sleepy eyelids when you touch them or as evening falls? It’s such a charming plant, and coaxing a new one into life from a parent is one of the most satisfying gardening accomplishments, in my book. You might think a plant with such a unique name and behavior would be tricky, but I’m here to tell you that with a little know-how, it’s actually quite achievable, even for those of you just starting your green journey.
The Best Time to Start
For Mimosa dormiens, like many of its leafy companions, spring and early summer are your golden ticket. This is when the plant is actively growing, full of energy, and much more inclined to rally from a bit of disruption – which is exactly what propagation is! You’ll find the softwood, the newer, pliable growth, is your best bet for cuttings.
Supplies You’ll Need
Gathering your tools beforehand makes the whole process so much smoother. Here’s what you’ll want to have on hand:
- Sharp, clean pruning shears or a sharp knife: Essential for making clean cuts.
- Small pots: Think 3-4 inch pots, with drainage holes, of course!
- Well-draining potting mix: A good standard for this is a mix of peat moss or coco coir, perlite, and a bit of compost. You can also buy specific seed-starting or propagation mixes.
- Rooting hormone powder (optional but helpful): This can give your cuttings a significant boost. Look for one containing IBA.
- A watering can with a fine rose: To water gently without disturbing your precious cuttings.
- A clear plastic bag or a propagation dome: To create a humid environment.
- A small tray or saucer: To catch excess water.
- Labels and a marker: Don’t forget to label your babies!
Propagation Methods
While Mimosa dormiens can be grown from seed (which is another adventure!), I find that propagating from stem cuttings is usually the most reliable and quickest way to get new plants.
Stem Cuttings
- Take Your Cuttings: In the spring or early summer, select a healthy, vigorous stem. Look for growth that’s about 3-6 inches long and is somewhat flexible, not woody. Using your sharp pruning shears, make a clean cut just below a leaf node (that little bump where a leaf attaches to the stem). You want to take several cuttings just in case not all of them take.
- Prepare the Cuttings: Gently remove the lower leaves from your cutting, leaving only the top few leaves. Some gardeners like to cut larger leaves in half horizontally to reduce water loss. If you’re using rooting hormone, dip the cut end of the stem into the powder, tapping off any excess.
- Plant Your Cuttings: Fill your small pots with your prepared potting mix. Make a small hole in the center with your finger or a pencil.
- Insert and Water: Carefully place the cut end of your Mimosa dormiens cutting into the hole, ensuring it touches the bottom. Gently firm the soil around the stem. Water the pot thoroughly until water drains from the bottom.
- Create Humidity: Now for the crucial part! Place the potted cutting into a clear plastic bag, or cover the pot with a propagation dome. Make sure the leaves of the cutting aren’t touching the sides of the bag or the dome excessively – this can encourage rot. Secure the bag loosely or ensure there’s some ventilation in your dome.
The “Secret Sauce” (Pro Tips)
Here are a few little tricks I’ve learned over the years that really help:
- Bottom Heat is Your Friend: If you have the space, placing your potted cuttings on a gentle heat mat can dramatically speed up root formation. It mimics the warmth of spring soil and encourages those roots to get going.
- Don’t Overwater, but Keep it Moist: It’s a delicate balance. You want the soil to remain consistently moist, not soggy. Overwatering is the quickest way to invite fungal diseases and rot. Check the soil moisture regularly by gently poking your finger in.
- The “Wiggle Test”: After a few weeks, you can gently tug on a cutting. If you feel slight resistance, that’s a good sign roots are forming! You can also look for new leaf growth, though this can sometimes appear before roots are well-established.
Aftercare & Troubleshooting
Once your Mimosa dormiens cutting has developed a good root system (you’ll see roots peeking out of the drainage holes, or feel that resistance when you gently tug), it’s time to acclimate it to normal conditions.
- Gradual Acclimation: If your cutting was in a plastic bag, slowly start to open the bag a little more each day over a week. This allows it to get used to lower humidity. Once it’s completely out of the bag, continue to water as you would a mature plant – letting the top inch of soil dry out between waterings.
- Signs of Trouble: The most common issue you might encounter is rot. If the stem turns mushy and black or brown, especially at the soil line, it’s likely rotted. This is often due to overwatering or poor air circulation. On the flip side, if the cutting wilts and stays wilted despite being watered, it might be that it just hasn’t rooted yet and is struggling to take up water, or it’s too dry.
A Encouraging Closing
Propagating plants like Mimosa dormiens is a journey, not a race. There will be times when a cutting doesn’t make it, and that’s okay! Every gardener has faced them. Just remember to be patient, experiment a little, and most importantly, enjoy the process of bringing new life into your home. Happy propagating!
Resource: