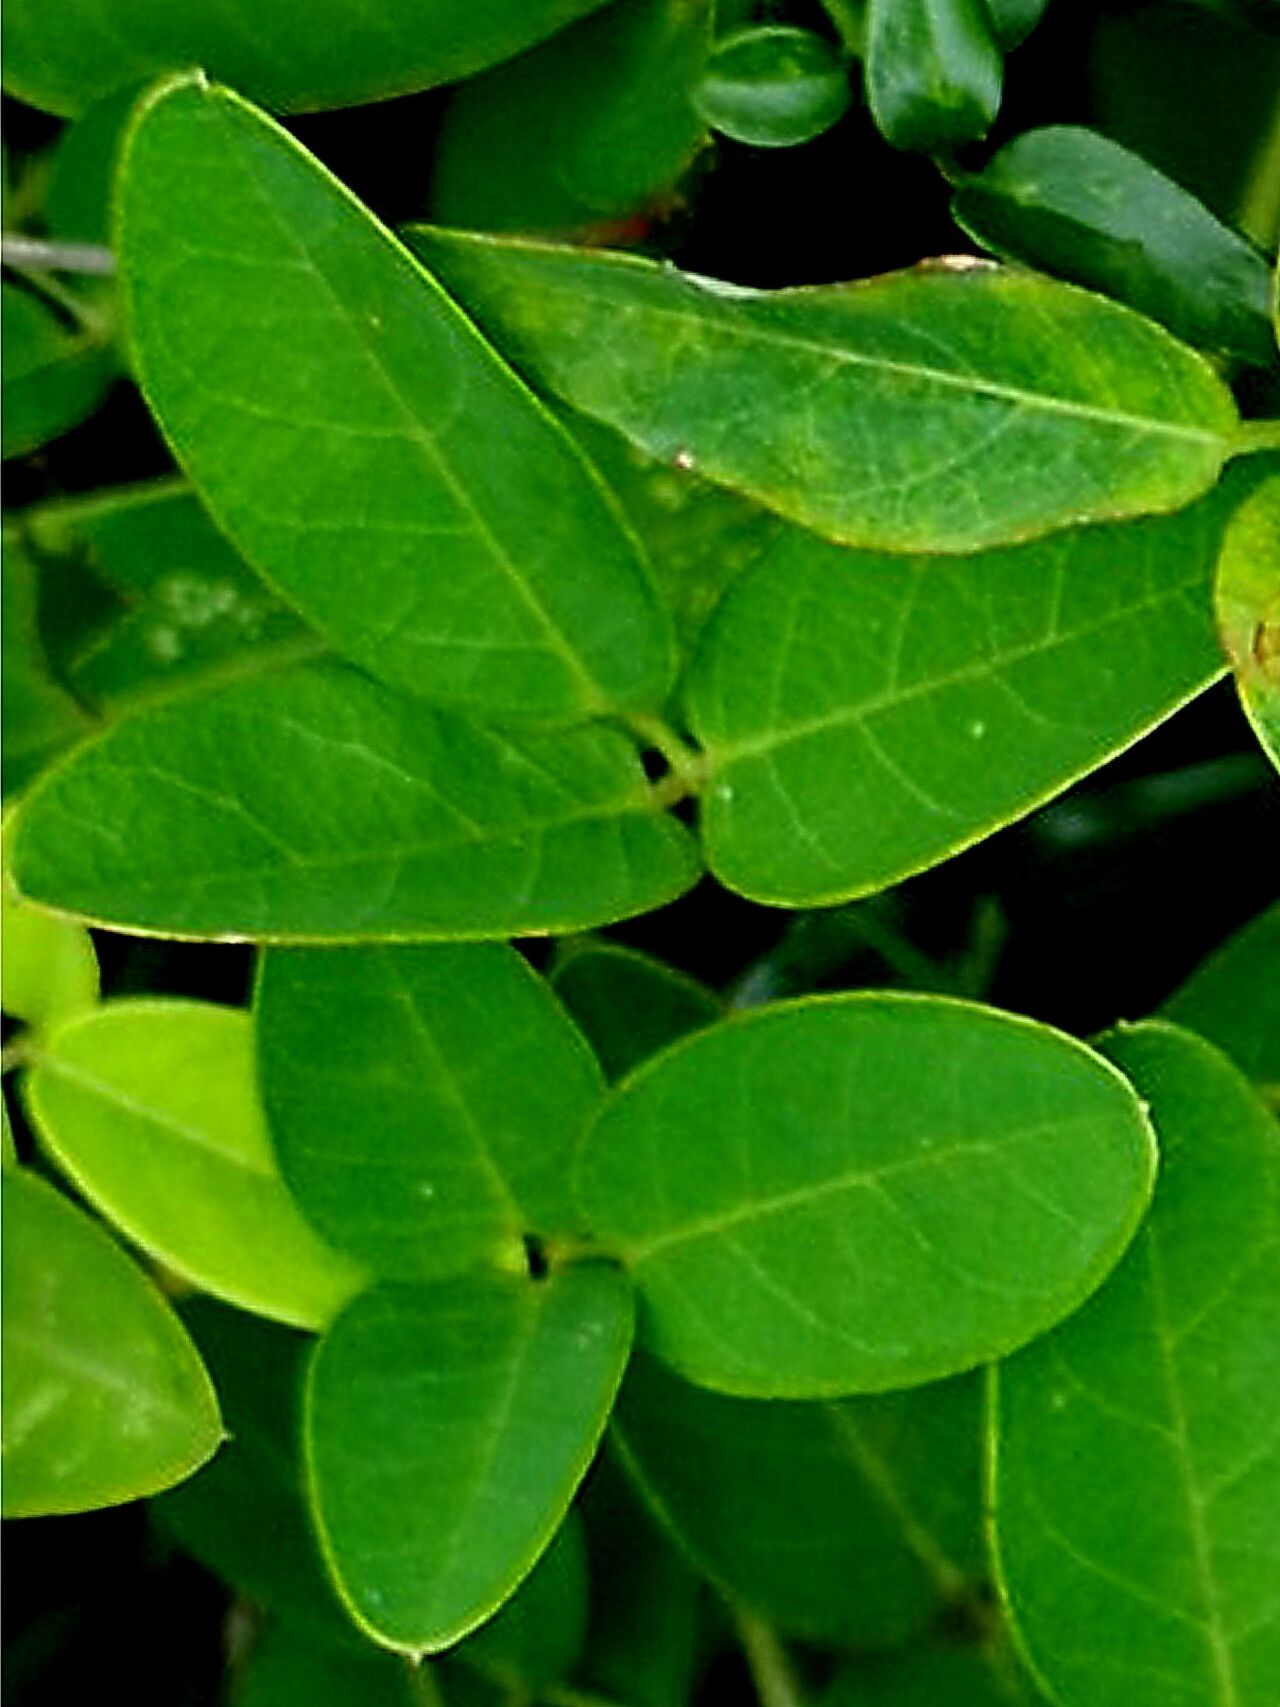
Hello, fellow plant lovers! Today, I want to talk about a plant that has truly captured my heart over the years: Lepidocupania glomeriflora. You might know it better by its common name, the “Fairy Trumpet Vine” or sometimes just “Glory Bower.” Its delicate, bell-shaped flowers, often in vibrant shades of pink, purple, or white, are simply breathtaking. Watching these blooms emerge and fill your garden (or a sunny corner indoors!) is one of those garden joys that never gets old.
Now, the big question: is it easy to propagate? I’d say for beginners, it’s moderately easy. It’s not quite as foolproof as, say, a pothos, but with a little attention to detail, you’ll be rewarded with plenty of new little wonders. And that’s the beauty of propagation – turning one plant into many, sharing the joy, and creating a more lush, vibrant space. It’s incredibly satisfying.
The Best Time to Start
For the highest success rate with Lepidocupania glomeriflora, I always recommend starting in late spring to early summer. This is when the plant is actively growing and has plenty of energy to put into forming new roots. Look for healthy, non-flowering stems that are relatively firm but still have a bit of flexibility – often called “semi-hardwood” cuttings. Avoid anything that’s too woody or too soft and new.
Supplies You’ll Need
Before we get our hands dirty, let’s gather our essentials:
- Sharp, clean pruning shears or a sharp knife: For taking clean cuts.
- Rooting hormone powder or gel: This is a real booster for faster and more successful rooting.
- Small pots or seedling trays: With drainage holes, of course!
- A well-draining potting mix: I like a blend of peat moss or coco coir, perlite, and a little bit of compost. You want it to hold moisture without becoming waterlogged.
- Plastic bags or a clear dome: To create a humid environment for your cuttings.
- Watering can with a fine rose: For gentle watering.
Propagation Methods
There are a couple of ways we can coax new life from your Lepidocupania glomeriflora. My go-to method is usually stem cuttings, as it’s quite reliable.
Stem Cuttings:
- Take Your Cuttings: Using your clean shears, select a healthy stem and take a cutting that’s about 4-6 inches long. Make the cut just below a leaf node (where a leaf attaches to the stem).
- Prepare the Cutting: Gently remove the lower leaves from the cutting, leaving just a few at the top. This prevents them from rotting in the soil and encourages the plant to focus its energy on root formation.
- Apply Rooting Hormone: Dip the cut end of the stem into your rooting hormone, ensuring it’s well coated. Tap off any excess.
- Plant Your Cuttings: Make a small hole in your potting mix with a pencil or your finger. Insert the prepared cutting into the hole, making sure a leaf node is buried beneath the surface. Gently firm the soil around the cutting.
- Water Gently: Water the soil thoroughly but gently. You don’t want to disturb the cutting.
- Create Humidity: Cover the pot with a plastic bag, making sure it doesn’t touch the leaves, or place it under a clear dome. This humidity is crucial!
Water Propagation (for a fun experiment!):
- Take and Prepare Cuttings: Follow steps 1 and 2 above.
- Place in Water: Fill a clean jar or glass with lukewarm water. Place your prepared cuttings in the water, ensuring the leaf nodes are submerged but the leaves are not.
- Change Water Regularly: Change the water every 2-3 days to keep it fresh and prevent bacterial growth.
- Wait for Roots: You should start to see tiny roots forming in a few weeks. Once they are about an inch long, you can carefully pot them into soil, using the stem cutting method described above.
The “Secret Sauce” (Pro Tips)
Here are a few things I’ve learned over the years that can really make a difference:
- Bottom Heat is Your Friend: If you’re serious about propagating, especially in cooler weather, consider a heating mat. Placing your pots on a gentle, low-heat mat can significantly speed up root development. It mimics the warmth of spring soil.
- Don’t Drown Your Leaves: When using the bag or dome method, ensure the leaves aren’t touching the plastic. If they do, they can develop mold and rot. You might need to prop up the bag with a few small stakes.
- Patience is Golden (and Green): I know it’s tempting, but don’t be tempted to pull up your cuttings too soon to check for roots! It can damage developing roots. Wait at least 3-4 weeks before you gently tug to feel for resistance – that’s a good sign roots are forming.
Aftercare & Troubleshooting
Once you see signs of new growth (tiny new leaves or a gentle tug indicates roots), it’s time to start transitioning your new plant.
- Gradual Acclimation: Slowly remove the plastic bag or dome over a few days, a little bit each day, to let the new plant get used to the drier air.
- Watering: Keep the soil consistently moist but not soggy. Water when the top inch of soil feels dry to the touch.
- Light: Once established, provide bright, indirect light. Avoid harsh, direct sun which can scorch young leaves.
The biggest issue you’ll likely encounter is rot. If your cutting looks mushy, black, or smells bad, it’s probably rotted. This is usually due to too much moisture and not enough air circulation. Don’t be discouraged if a few don’t make it; that’s part of the learning process! Try to identify what went wrong (too wet? not enough humidity for too long?) and try again.
Happy Propagating!
So there you have it! A little bit of patience, the right conditions, and a sprinkle of that gardener’s magic, and you’ll soon have a whole family of Lepidocupania glomeriflora. Enjoy the process, celebrate every tiny new root, and don’t be afraid to experiment. Happy gardening, everyone!
Resource: