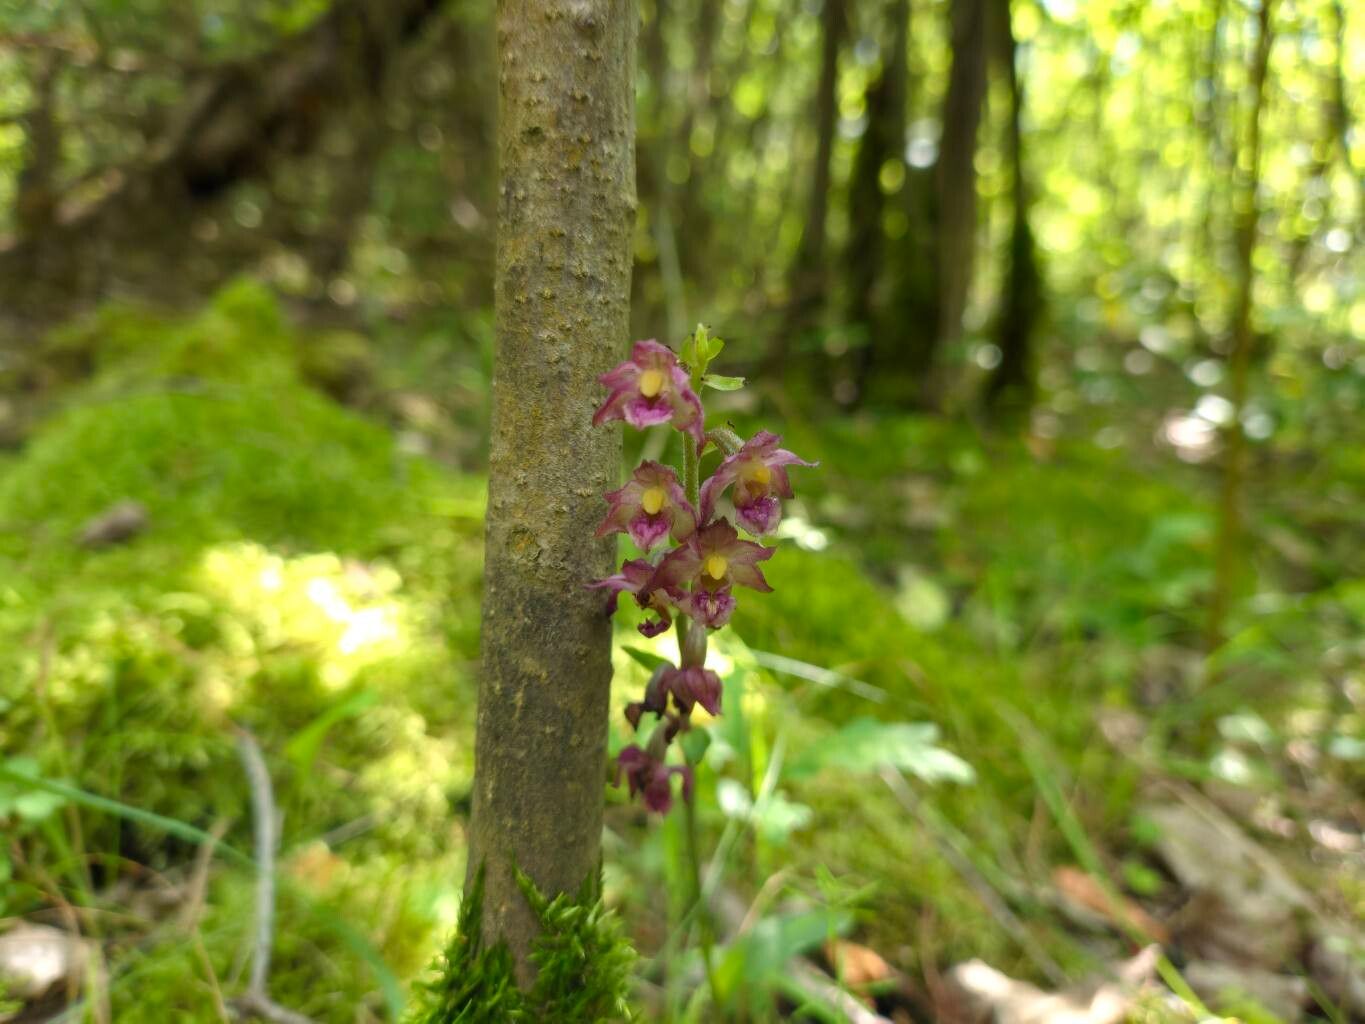
Hello fellow plant enthusiasts! Today, we’re diving into the world of Epipactis atrorubens, also known as the Dark-Red Helleborine. If you’re drawn to its elegant, deep burgundy flowers that unfurl like velvet, you’re not alone. This orchid, with its somewhat mysterious allure and beautiful blooms, is a real garden gem. And the wonderful thing about Epipactis is that sharing its beauty through propagation can be incredibly rewarding. Now, be warned, Epipactis isn’t the easiest plant for absolute beginners to propagate, but with a little patience and the right approach, it’s absolutely achievable. Think of it as a delightful challenge, a chance to really get to know this special orchid.
The Best Time to Start
For the highest chance of success with Epipactis atrorubens, I always recommend starting in late spring or early summer. This is when the plant is actively growing, usually after flowering or as new shoots are emerging strongly from the soil. You want to work with healthy, vigorous material. Trying to propagate when the plant is dormant or stressed is like asking someone to run a marathon without any training – it’s just not going to go well!
Supplies You’ll Need
Gathering your tools before you begin is half the battle, right? Here’s what I find indispensable:
- Sharp, sterile pruning shears or a clean knife: For making precise cuts. Sterilize with rubbing alcohol between cuts to prevent disease.
- Well-draining orchid mix: A good blend of bark, perlite, and maybe some charcoal is perfect. You want something that allows for plenty of air circulation around the roots.
- Small pots or trays: Clean containers with drainage holes are essential.
- Rooting hormone (optional but recommended): A powder or gel can give your cuttings a helpful boost.
- Misting bottle: For keeping humidity levels up.
- Labels and a permanent marker: So you don’t forget what you planted and when!
- A shallow tray or humidity dome: To create a more humid environment for your cuttings.
Propagation Methods
While divisions are the most straightforward for Epipactis, we can dabble with stem cuttings, though it requires more finesse.
1. Division (The Most Reliable Method)
This is usually done in early spring before much new growth begins, or in early autumn after the leaves have started to yellow.
- Gently lift the plant from its pot or the ground. Try to disturb the root ball as little as possible.
- Inspect the root system. You’ll see clumps of rhizomes.
- Using your sterile pruning shears or a clean knife, carefully separate the rhizomes. Aim for divisions that have at least two healthy growths (shoots or buds) and a good portion of roots attached.
- If the roots are tightly tangled, you can sometimes gently tease them apart.
- Pot each division into its own container filled with your orchid mix. Ensure the top of the rhizome is just at or slightly below the soil surface.
- Water lightly to settle the mix.
2. Stem Cuttings (A Bit More Advanced)
This is best done in late spring or early summer when new shoots are actively growing but haven’t hardened off too much.
- Select a healthy, non-flowering shoot that’s about 3-4 inches long.
- Using your sterile shears, make a clean cut just below a leaf node (where a leaf emerges from the stem).
- Remove the lower leaves from the cutting, leaving just a couple at the top.
- Dip the cut end into rooting hormone powder or gel. Tap off any excess.
- Prepare your small pots with your orchid mix. Make a small hole in the center with your finger or a pencil.
- Insert the cutting into the hole, ensuring the cut end is in contact with the mix.
- Gently firm the mix around the stem.
- Water very lightly. You want the mix to be moist, not waterlogged.
- Place the pot in a warm spot with bright, indirect light. Cover with a plastic bag or place in a humidity dome to maintain high humidity.
The “Secret Sauce” (Pro Tips)
Here are a few little tricks I’ve learned over the years that can really make a difference:
- Don’t overwater your cuttings! This is the quickest way to invite rot. The orchid mix should be consistently moist, but never soggy. Think “damp sponge,” not “swamp.”
- Bottom heat is your friend. For stem cuttings, placing the pots on a gentle seedling heat mat can significantly speed up root development. Epipactis likes a bit of warmth to get things going.
- Patience is paramount. Orchids, in general, are slow growers. Don’t expect to see roots forming overnight. It can take weeks, sometimes even months. Resist the urge to constantly disturb your cuttings to check for roots.
Aftercare & Troubleshooting
Once you see signs of new growth or roots emerging from the drainage holes (for cuttings), your new Epipactis is starting to settle in.
- Gradually reduce humidity for stem cuttings over a week or two, opening the bag or dome a little more each day.
- Continue to water sparingly, allowing the mix to dry out slightly between waterings.
- Keep them in bright, indirect light. Avoid direct sun, which can scorch those tender new leaves.
- Signs of failure: The most common issue is rot. If your cutting turns mushy, dark, and smells foul, it’s likely rotted. This is almost always due to overwatering. Unsuccessful divisions might simply fail to root and will eventually wither. If a division doesn’t show signs of growth after several weeks, it might not have been viable.
A Bittersweet Farewell, a Brighter Beginning
Propagating Epipactis atrorubens is a journey, not a race. There will be moments of doubt, but the thrill of seeing those first tiny roots or a new shoot emerge is utterly exhilarating. Don’t be discouraged if your first attempt isn’t a roaring success; learn from it, adjust your technique, and try again. The beauty of this plant is worth the effort, and the satisfaction of nurturing a new life from your existing garden is simply unparalleled. Happy propagating!
Resource:
https://identify.plantnet.org/k-world-flora/species/Epipactis%20atrorubens%20(Hoffm.)%20Besser/data