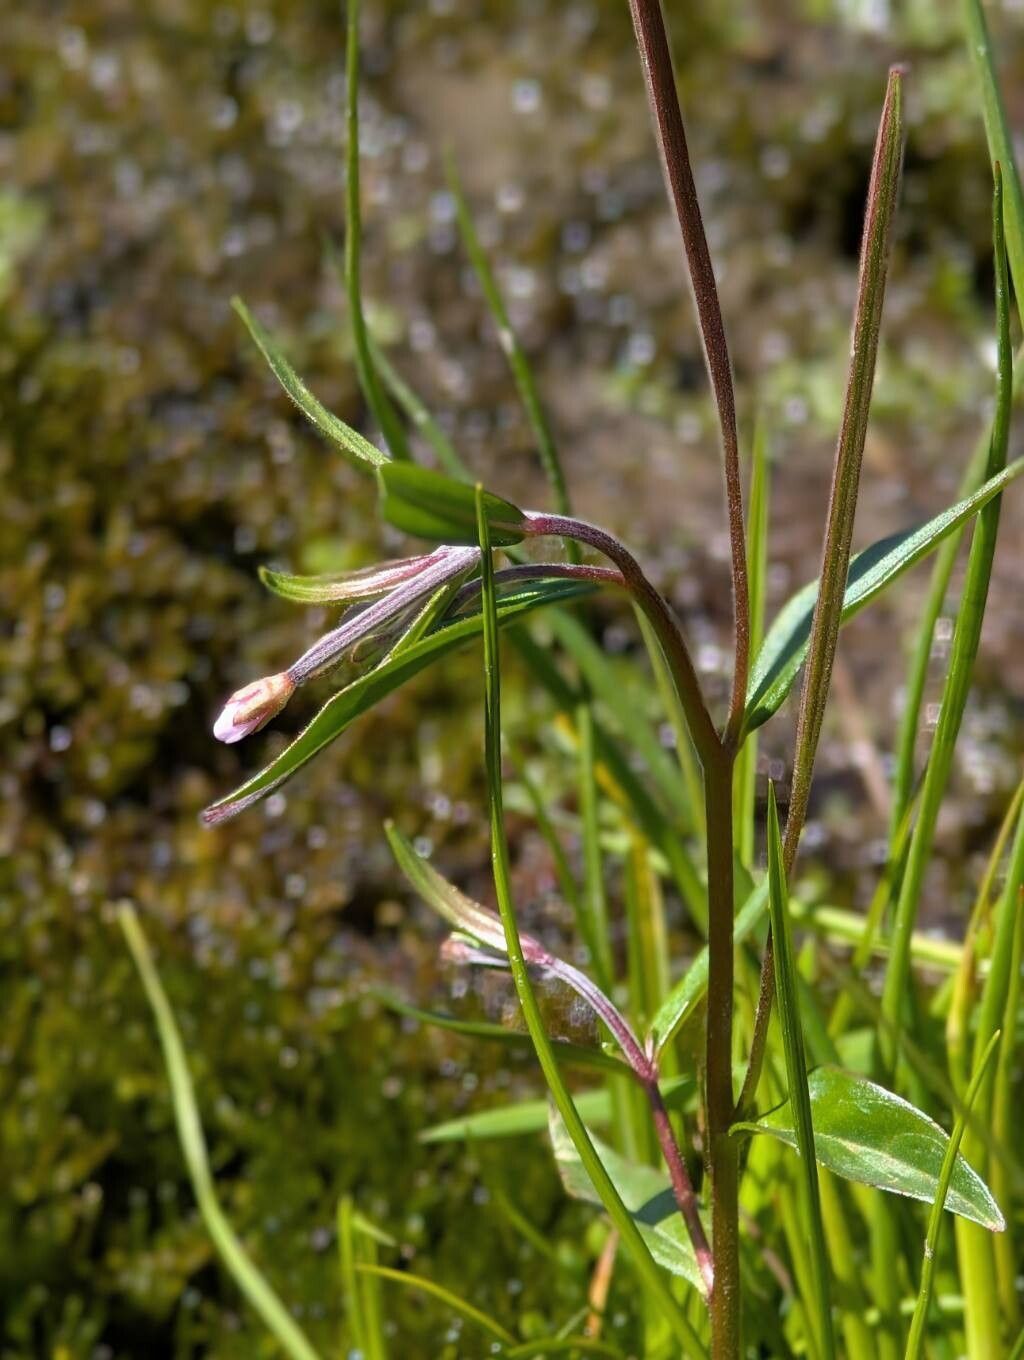
Hello fellow plant lovers! Today, I want to chat about a really special plant that’s been bringing me joy for years: Epilobium palustre, also known as Marsh Willowherb. It’s a charming native that graces damp meadows and riverbanks with its delicate pink flowers and graceful, upright form. If you’re looking to expand your garden with something a little unique, or just love the satisfaction of growing your own plants from scratch, propagating Epilobium palustre is a journey worth taking. For beginners, I’d say it’s moderately easy – a bit more involved than a common houseplant, but with a little patience, you’ll be rewarded.
The Best Time to Start
The sweet spot for propagating Epilobium palustre is during its active growing season, typically from late spring through early summer. This is when the plant has plenty of energy to put into new growth, making cuttings more likely to root. You’re aiming for stems that are firm but not yet woody. Think of that perfect asparagus spear – that’s the kind of texture we’re after.
Supplies You’ll Need
Here’s what you’ll want to have on hand before you begin:
- Sharp, clean pruning shears or a knife: Sanitation is key to preventing disease!
- Rooting hormone (optional but helpful): A powder or gel can give your cuttings a boost.
- A well-draining potting mix: I like a blend of peat moss or coco coir, perlite, and a touch of compost. This ensures good aeration and moisture retention without getting waterlogged.
- Small pots or trays: Clean containers with drainage holes are essential.
- A plastic bag or propagation dome: This creates a humid microclimate, which is crucial for cuttings.
- Watering can or spray bottle: For gentle watering.
- Labels and a pen: To keep track of what you’ve planted.
Propagation Methods
My go-to method for Epilobium palustre is through stem cuttings. It’s reliable and gives you a great chance of success.
- Take Your Cuttings: In late spring or early summer, select healthy, non-flowering stems from a mature plant. Cut a section about 4-6 inches long. Make your cut just below a leaf node (the point where leaves attach to the stem).
- Prepare the Cuttings: Gently remove the lower leaves. Leave just a few at the top. If the remaining leaves are very large, you can trim them in half to reduce water loss.
- Apply Rooting Hormone (if using): Dip the cut end of the stem into the rooting hormone, tapping off any excess.
- Plant Your Cuttings: Fill your small pots with your prepared potting mix. Make a small hole in the center of the soil with your finger or a pencil. Insert the cut end of the stem into the hole, ensuring the leaf nodes are below the soil surface. Gently firm the soil around the stem.
- Water and Cover: Water the soil gently until it’s moist but not soggy. Then, cover the pot with a plastic bag or place it inside a propagation dome. This creates the humid environment cuttings need to develop roots before they can take up water through them.
- Provide Light and Warmth: Place the pots in a bright location that receives indirect sunlight. Avoid direct sun, which can scorch the delicate cuttings.
The “Secret Sauce” (Pro Tips)
Here are a couple of things I’ve learned over the years that can make a real difference:
- Don’t Let the Leaves Touch the Water in the Bag: When you cover your cuttings with a plastic bag, try to ensure the leaves aren’t directly touching the inside walls of the bag. If they condense and sit there, they can develop fungal issues. Think of it like giving them their own little breathable space.
- Bottom Heat is Your Friend: While not strictly necessary, placing your pots on a gentle heat mat can significantly speed up the rooting process. This mimics that lovely warmth you’d find near a sunny, sheltered spot in nature, encouraging those roots to sprout.
Aftercare & Troubleshooting
Once your cuttings are planted, check them regularly. The soil should remain consistently moist but never waterlogged. You might see mist or condensation on the inside of your bag – that’s a good sign!
Roots usually begin to appear within 3-6 weeks, though sometimes it can take longer. You can test for roots by gently tugging on a cutting. If there’s resistance, roots have formed! At this point, you can start gradually acclimatizing them to normal humidity by opening the bag or dome for increasing periods each day.
The most common issue is rot. If you see your cuttings going dark and mushy, it’s usually a sign of too much moisture and insufficient drainage or airflow. Ensure your soil mix is airy, and don’t overwater. If you catch it early, you might be able to save a cutting by moving it to a drier spot or repotting it in a fresher, drier mix.
A Little Patience Goes a Long Way
Propagating is a beautiful act of nurturing. You’re taking a small piece of something alive and helping it start its own journey. Be patient, observe your cuttings, and don’t be discouraged if not every single one takes. That’s just nature’s way! Enjoy the process, learn from it, and soon enough, you’ll have even more of these delightful Marsh Willowherbs to share with your garden. Happy propagating!
Resource:
https://identify.plantnet.org/k-world-flora/species/Epilobium%20palustre%20L./data