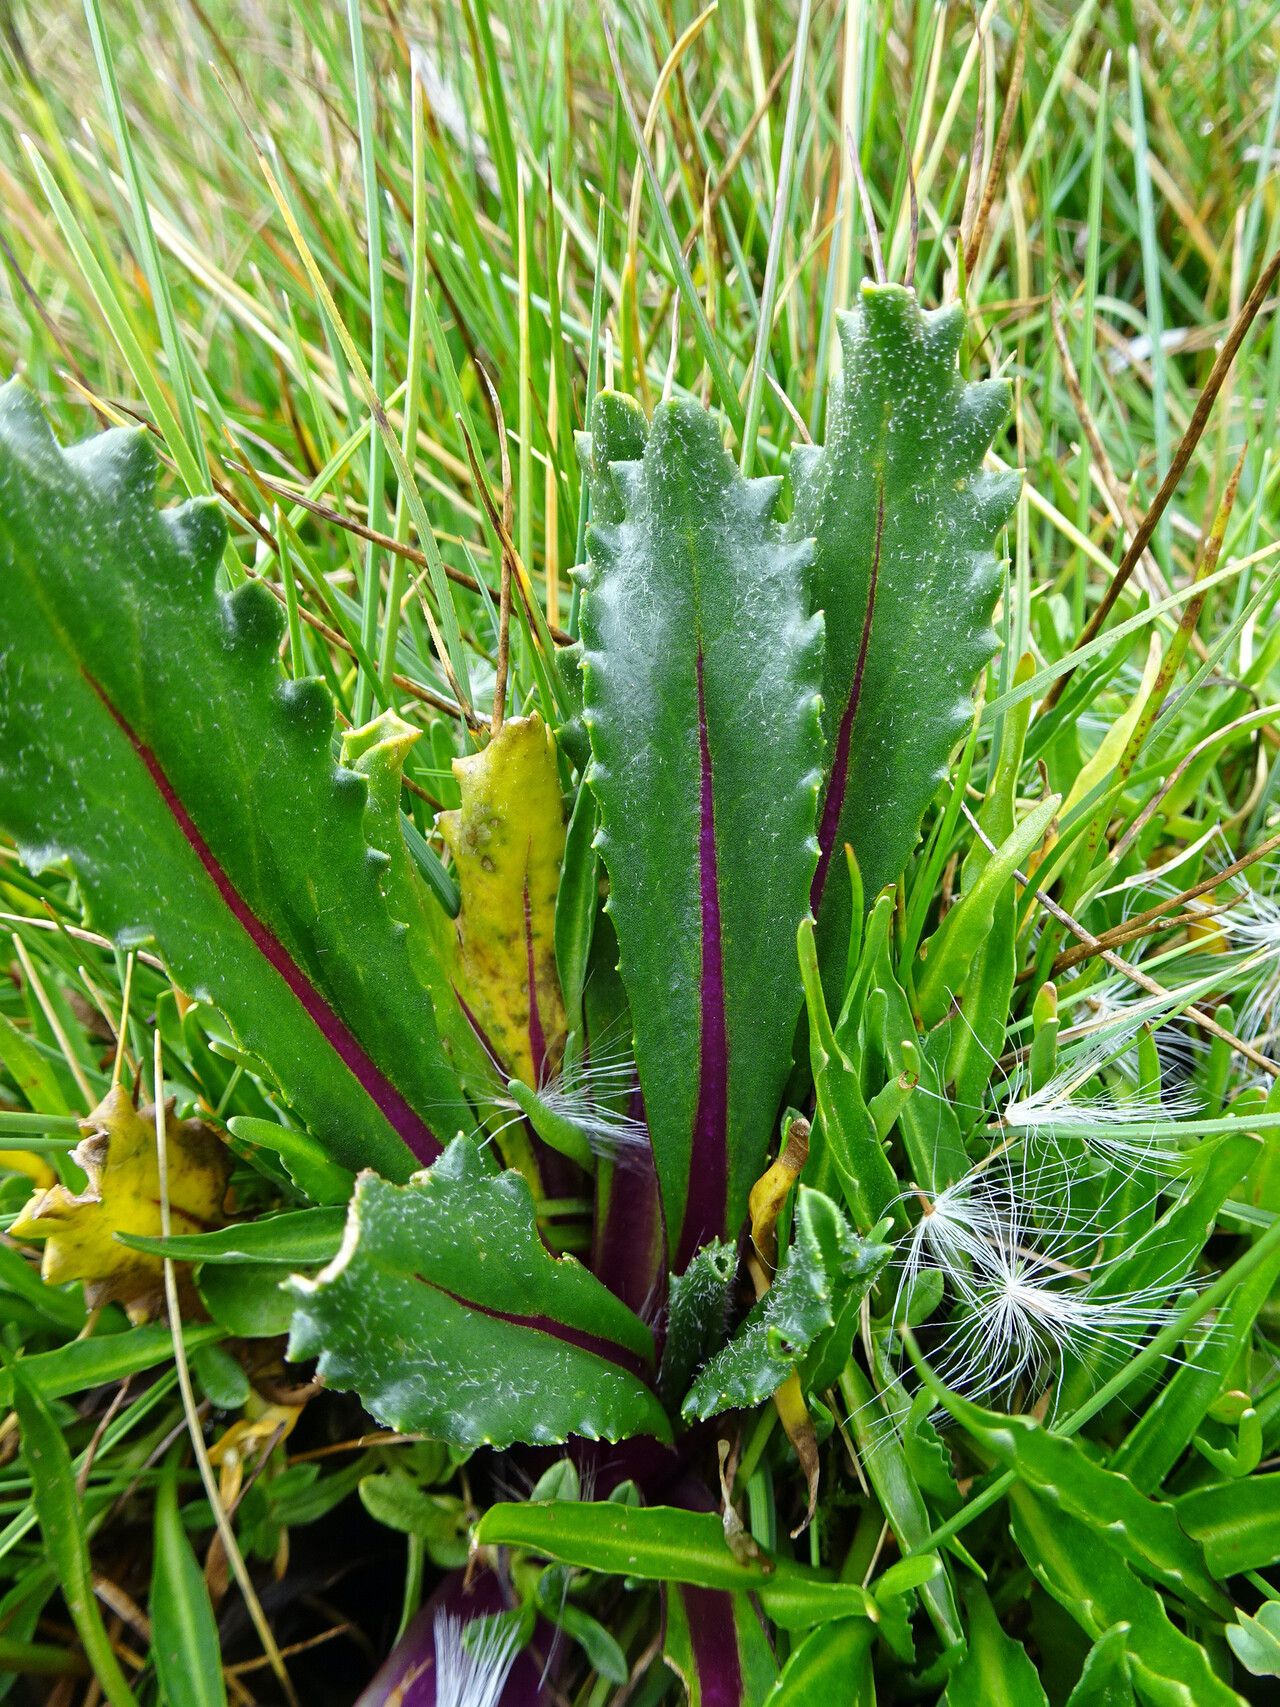
Oh, Culcitium serratifolium! What a delightful challenge, and a truly rewarding one at that. Those lovely, serrated leaves have a way of catching the light, don’t they? If you’ve fallen for this beauty, you’re in for a treat. Propagating it can be a little finicky, truth be told, but with a few key tricks up your sleeve, you’ll be well on your way to having more of these gems to share. It’s not the easiest plant for a brand-new gardener, but with a bit of patience, you’ll absolutely master it.
The Best Time to Start
When it comes to getting your Culcitium serratifolium to root, timing is everything. I find the late spring to early summer is your golden window. The plant is in full swing with its growth cycle then, meaning it has plenty of energy to put into forming new roots. You’re looking for healthy, actively growing stems – not the super young, floppy ones, nor the older, woodier bits. Think of stems that are firm but still quite supple.
Supplies You’ll Need
Gathering your tools beforehand makes the whole process so much smoother. Here’s what I always have on hand:
- Sharp, clean pruning shears or a razor blade: For making clean cuts. No crushing those delicate stems!
- Rooting hormone powder: This is a lifesaver for Culcitium. It really gives cuttings a boost.
- A well-draining potting mix: I like to use a mix of equal parts peat moss or coco coir and perlite. Some growers also add a bit of coarse sand.
- Small pots or seed trays: Clean ones, please! Mold is the enemy.
- A propagation mat (optional but recommended): Gentle bottom heat makes a huge difference.
- A clear plastic bag or dome: To create a humid environment.
- Watering can with a fine rose: For gentle watering.
Propagation Methods
While there are a few ways to go about it, stem cuttings are usually my go-to for Culcitium serratifolium.
Stem Cuttings:
- Take Your Cuttings: In late spring or early summer, select healthy, non-flowering stems. Using your sharp shears or razor, take cuttings that are about 4-6 inches long. Make your cut just below a leaf node, which is the little bump where a leaf grows from the stem. These nodes are where the magic of root formation happens.
- Prepare the Cuttings: Carefully remove the lower leaves from your cuttings. You want to expose the leaf nodes. It’s best to leave just a few leaves at the very top to help with photosynthesis.
- Apply Rooting Hormone: Dip the cut end of each stem into your rooting hormone powder. Tap off any excess. This step is crucial.
- Plant Your Cuttings: Fill your clean pots or trays with your well-draining potting mix. Make a small hole in the center with your finger or a pencil. Gently insert the prepared cutting into the hole, ensuring the nodes are buried. Firm the soil gently around the stem.
- Create a Humid Environment: Lightly water the soil. Then, cover the pots with a clear plastic bag or a propagation dome. This traps humidity, which is vital for cuttings that haven’t developed roots yet. Make sure the leaves aren’t touching the plastic bag if possible.
- Provide Warmth and Light: Place the pots in a warm spot with bright, indirect light. Avoid direct sun, as it can scorch the cuttings and dry out the soil too quickly.
The “Secret Sauce”
Here are a couple of things I’ve learned over the years that really give you an edge:
- Bottom Heat is Your Best Friend: Seriously, if you can swing it, get a propagation mat. Culcitium serratifolium absolutely loves that gentle warmth from below. It encourages those roots to form much faster and more vigorously. Many of my successes came after I started using one consistently.
- Mist, Don’t Drench: When you’re waiting for roots, it’s easy to overwater, thinking you’re helping. But stagnant moisture is a recipe for rot. Lightly mist the leaves and the soil surface every few days, or when the surface starts to feel dry, rather than giving them a big soak. The goal is consistently moist, not soggy.
Aftercare & Troubleshooting
Once you start seeing new growth or feel a gentle resistance when you tug lightly on a cutting (we’re talking a week or two, hopefully!), congratulations! This means roots have formed.
- Acclimatize: Gradually introduce your new plants to the ambient humidity. For the first week or so, open the plastic bag or dome for a few hours each day, slowly increasing the time.
- Watering: Water them when the top inch of soil feels dry. Let excess water drain away.
- Light: They can now handle a bit more light, but still bright, indirect is best for a while.
- Potting Up: Once they’ve grown a bit and are more established, you can carefully transplant them into slightly larger pots with fresh potting mix.
Common Signs of Failure:
- Wilting and Yellowing Leaves: This can be a sign of too little water or too much direct sun.
- Soft, Mushy Stems: This is almost always a sign of rot, usually due to overwatering or poor drainage. If you see this, sadly, that cutting is probably lost, and you might need to discard it to prevent spreading any potential fungal issues.
- No Rooting: Sometimes, cuttings just don’t take. Don’t be discouraged! It can be a matter of the stem’s vigor, the timing, or even environmental factors. Just try again!
A Little Patience Goes a Long Way
So there you have it! Propagating Culcitium serratifolium is a journey, and like all good gardening endeavors, it requires a bit of patience and a lot of observation. Don’t be afraid to experiment a little. Every plant, every home, is a little different. Take joy in the process, celebrate those tiny new roots, and soon you’ll have a whole new generation of these beautiful plants to admire. Happy growing!
Resource: