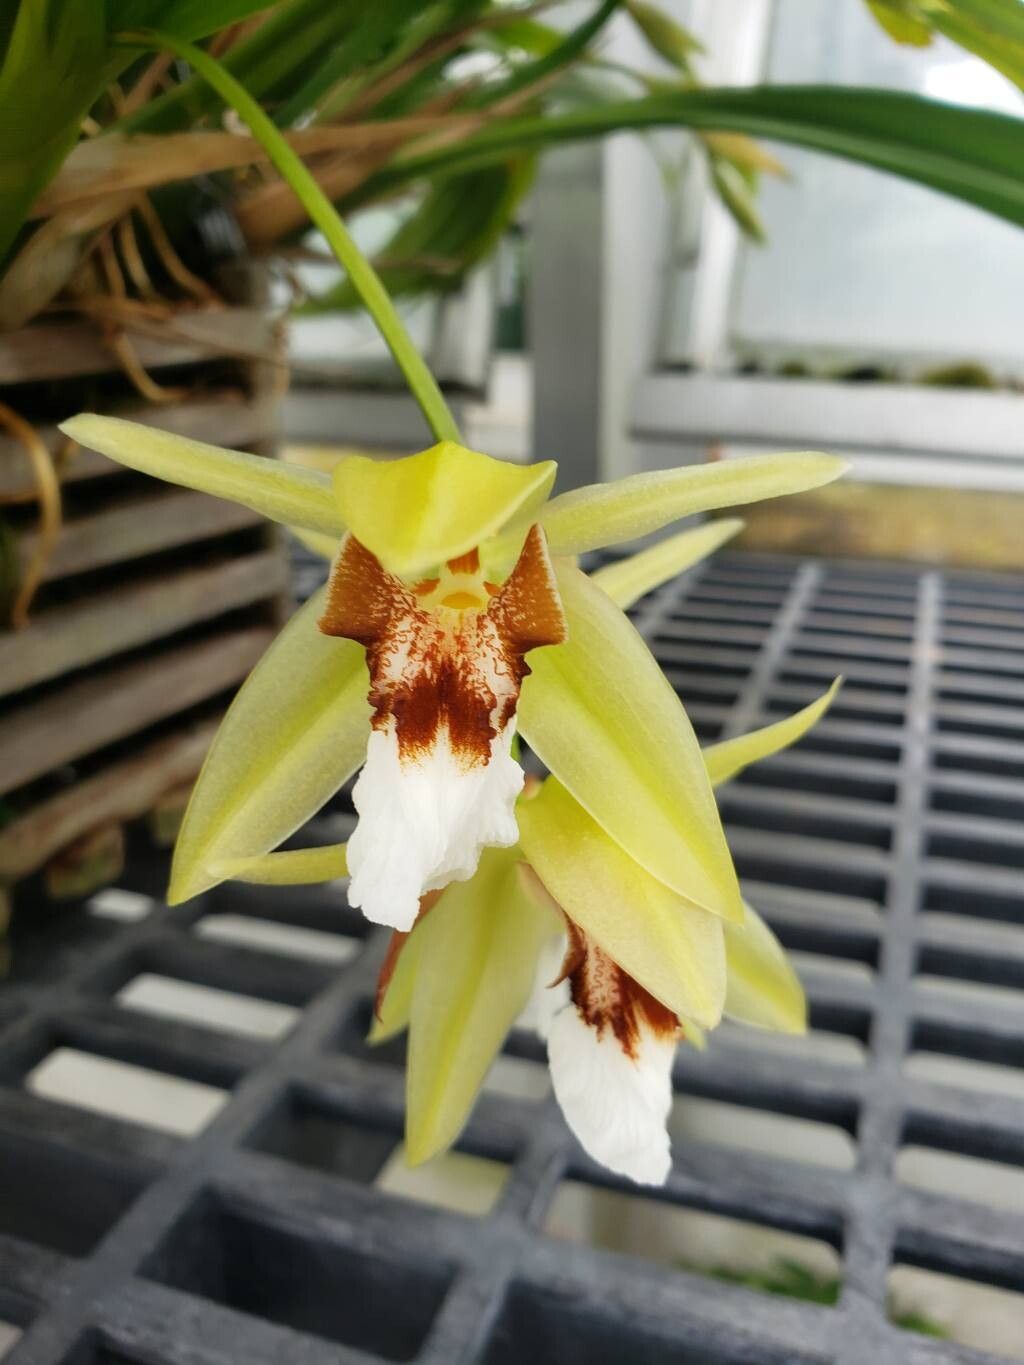
Hello, fellow plant lovers! If you’ve ever admired the delicate beauty of Coelogyne orchids, you’re in for a treat. Today, I want to talk about bringing more of these exquisite blooms into your life through propagation. Coelogyne marmorata, with its elegant, mottled flowers and lovely fragrance, is a plant that truly sings in the right home. And the satisfaction of nurturing a new orchid from a tiny division or cutting? Well, that’s pure gardening joy!
Now, if you’re thinking Coelogyne orchids are notoriously tricky, let me put your mind at ease. While they appreciate attention, propagating Coelogyne marmorata is quite manageable. It’s not the absolute easiest beginner orchid, but with a little care and the right approach, even relative newcomers to orchid propagation can achieve success. It’s a rewarding journey, truly.
The Best Time to Start
For Coelogyne marmorata, the sweet spot for propagation is undeniably after flowering and when the plant is actively in its growth phase. You’ll often see this is in late spring through summer. This is when the plant has stored up plenty of energy and the warmer temperatures encourage new root development. Trying to propagate when it’s dormant or stressed is like asking a sleepy person to run a marathon – it’s just not going to go well.
Supplies You’ll Need
Before we dive in, let’s gather our tools. Having everything ready makes the whole process smoother.
- Sharp, sterile pruning shears or a clean knife: For making clean cuts. Sterilize with rubbing alcohol or a bleach solution between cuts.
- Orchid bark mix (medium to fine grade): A good quality mix that drains well is crucial. Often a blend of bark, perlite, and charcoal works wonders.
- New pots: Small, clean pots (3-4 inch diameter) are perfect for young divisions. Clear plastic pots are great so you can easily monitor root growth.
- Rooting hormone (optional but helpful): A powder or gel form can give your cuttings a little boost.
- Sphagnum moss: For retaining a bit of moisture around new propagations if needed.
- Labels and a marker: So you don’t forget what you’ve potted!
- Watering can or spray bottle: For gentle watering.
- A small tray or humidity dome (optional): To maintain a humid environment.
- Bottom heat source (optional but beneficial): A seedling heat mat helps encourage root growth.
Propagation Methods
Coelogyne marmorata is best propagated by division. This is a fantastic way to rejuvenate an older plant and get more of what you love.
Method: Division
This is the primary method for Coelogyne marmorata. You’re essentially separating a mature plant into smaller sections, each with at least a few pseudobulbs and a healthy root system.
- Prepare your plant: Water your Coelogyne marmorata thoroughly a day or two before you plan to divide it. This keeps the pseudobulbs plump and the roots more flexible, making the process easier.
- Remove from pot: Carefully ease the orchid out of its current pot. If it’s stuck, you might need to gently work a knife around the edges. If it’s very established, you might even need to cut the pot away.
- Clean the roots: Gently remove as much of the old potting mix as you can from the root ball. You want to be able to see the rhizome (the creeping stem that connects the pseudobulbs) and the roots clearly.
- Identify divisions: Look for natural breaks in the rhizome, where you can see a section with at least two to three healthy pseudobulbs and a good amount of live roots. Older, leafless pseudobulbs are less valuable for propagation, so focus on newer growth.
- Make the cut: Using your sterilized pruning shears or knife, carefully make a clean cut through the rhizome to separate the division. Try to minimize damage to the roots as much as possible.
- Prepare the division: If the division has a lot of old, spent roots, you can trim those away. If you choose to use rooting hormone, dip the cut end of the rhizome into the powder or gel now.
- Potting up: Place your new division into a clean, appropriately sized pot. Position it so that the newest growth (the part with the most vigorous-looking pseudobulbs) is facing outwards. You want to be able to see the base of the pseudobulbs just at the surface of the new potting mix. Fill the pot with your orchid bark mix, gently firming it around the roots. Avoid burying the pseudobulbs too deeply.
- Watering is key: After potting, give the new division a gentle watering. You want to settle the mix around the roots but avoid waterlogging the plant. Some growers prefer to wait a day or two before the first watering to allow any minor cuts to callus over.
The “Secret Sauce” (Pro Tips)
Over the years, I’ve learned a few tricks that can really make a difference.
- Don’t overpot new divisions. Bigger is not better here. A pot that’s too large holds too much moisture, which can lead to rot, especially for a plant that’s still establishing. Small pots are your friend.
- Mimic their natural habitat. Coelogyne marmorata hails from humid, shady environments. Once potted, place your new divisions in a spot with good air circulation but avoid direct sunlight. A little bit of humidity is beneficial, but constantly soggy conditions are a recipe for disaster. If you’re using clear pots, keeping them on a tray with some pebbles or a bit of moss can help.
- Patience is your greatest tool. This is especially true if you’re not seeing much visible growth immediately. Orchids work on their own timetable, and it can take weeks, even months, for a newly divided plant to fully settle in and start actively growing. Trust the process!
Aftercare & Troubleshooting
Once your Coelogyne marmorata division is potted, the real work (and joy!) begins.
Keep the new potting mix consistently moist but never soggy. Water thoroughly when the top layer begins to feel dry. You’ll want to mist the pseudobulbs and leaves occasionally, especially if your home is dry. As new roots emerge, you can begin a very diluted feeding schedule, following instructions for orchid fertilizers.
Now, what if things aren’t going as planned? The most common issue you’ll face is rot. Signs of rot include mushy, dark pseudobulbs and roots that fall apart easily. This is usually caused by overwatering and poor air circulation. If you see this, remove the affected parts immediately with your sterile tool. Repot into fresh, dry mix and try to keep the conditions a bit drier for a while.
Another sign of distress might be dehydrated or shriveled pseudobulbs. This can happen if the roots aren’t taking up water effectively or if the plant is in too bright a location. Ensure consistent watering and adjust light levels if necessary.
A Encouraging Closing
Propagating orchids is a journey. It requires a bit of observation, a gentle touch, and a whole lot of patience. But the reward of seeing a tiny division flourish into a mature plant is truly something special. Don’t get discouraged if your first attempt isn’t perfect. Every plant, every division, is a learning experience. So, take a deep breath, gather your supplies, and enjoy the process of creating more of these beautiful Coelogyne marmorata orchids. Happy growing!
Resource:
https://identify.plantnet.org/k-world-flora/species/Coelogyne%20marmorata%20Rchb.f./data