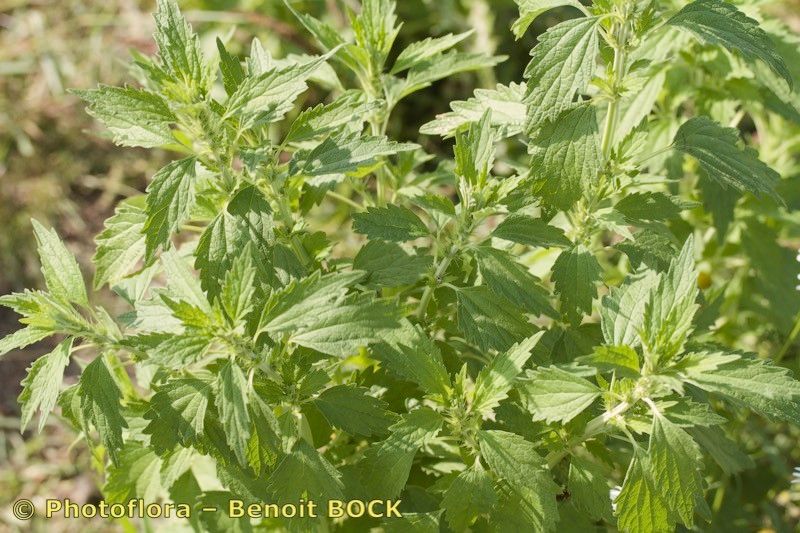
Hey there, fellow plant lovers! I’m so excited to chat with you today about one of my garden favorites: Chaiturus marrubiastrum. You know, the one with those lovely, often fuzzy, grey-green leaves that add such a soft texture and cool tone to any planting? It’s a real gem, and honestly, propagating it is one of those gardening wins that feels extra special. It’s not a finicky plant at all, which makes it a wonderful choice for even the newest among us to try their hand at. Seeing a little piece you took from a beloved plant grow into its own full glory? Pure magic.
The Best Time to Start
When I’m looking to get more Chaiturus marrubiastrum babies, I aim for the late spring or early summer. This is when the plant is actively growing and has plenty of energy. You want to take cuttings from stems that are firm but not woody. Think of it as the ‘just right’ stage – not too soft and floppy, but not hard and old either.
Supplies You’ll Need
Before we get our hands dirty, let’s make sure we have everything ready. It’s always a good idea to be prepared!
- Sharp Pruning Shears or a Clean Knife: For taking clean cuts from your parent plant.
- Rooting Hormone (Optional but Recommended): This really gives your cuttings a helpful boost. A powder or gel works great.
- Well-Draining Potting Mix: I usually use a mix of equal parts peat moss or coco coir and perlite or coarse sand. A store-bought cactus/succulent mix is also a good starting point.
- Small Pots or Trays: With drainage holes, of course! Old yogurt cups with poked holes work in a pinch.
- Plastic Bag or Clear Dome: To create a mini-greenhouse effect.
- Watering Can with a Fine Rose, or a Spray Bottle: For gentle watering.
Propagation Methods
Chaiturus marrubiastrum is quite generous, and stem cuttings are my go-to method. It’s straightforward and yields excellent results.
Stem Cuttings:
- Select Your Cuttings: Find healthy, non-flowering stems on your established plant. Look for stems that are about 4-6 inches long.
- Make the Cut: Using your clean shears or knife, make a clean cut just below a leaf node. A leaf node is where a leaf attaches to the stem; this is where roots will most likely emerge.
- Prepare the Cuttings: Gently remove the lower leaves from your cuttings, leaving just 2-3 leaves at the top. This prevents them from rotting in the soil.
- Apply Rooting Hormone (Optional): If you’re using rooting hormone, slightly wet the cut end of the stem and dip it into the powder or gel. Tap off any excess.
- Potting Up: Fill your small pots with your well-draining potting mix. Make a pilot hole with your finger or a pencil to avoid rubbing off the rooting hormone. Insert the cut end of the stem into the hole, ensuring the leaf nodes are just below the soil surface.
- Water Gently: Water the soil thoroughly but gently, allowing excess water to drain away.
- Create a Humid Environment: Place the pots in a tray and cover them loosely with a plastic bag or a clear dome. This helps maintain humidity, which is crucial for successful rooting. Make sure the leaves don’t touch the plastic, as this can encourage rot.
The “Secret Sauce” (Pro Tips)
Here are a few things I’ve learned over the years that can really make a difference:
- Bottom Heat is Your Friend: Some plant cuttings love a little warmth from below to encourage root development. If you have a heat mat designed for seedlings, placing your pots on it can significantly speed up the rooting process, especially if your house is on the cooler side.
- Don’t Overwater, But Keep it Moist: This is a delicate balance. You want the soil to be consistently moist, but never soggy. I check the moisture by gently poking my finger into the soil. If it feels dry an inch down, it’s time for a gentle watering.
- Patience is a Virtue (Seriously!): While Chaiturus marrubiastrum is generally easy, rooting can take anywhere from 3-6 weeks, sometimes longer depending on conditions. Resist the urge to pull them out to check for roots constantly! Trust the process.
Aftercare & Troubleshooting
Once you see signs of new growth – small leaves unfurling – or feel a gentle tug when you lightly pull on the cutting, that’s a good indication that roots have formed. You can gradually remove the plastic covering over a few days to acclimate your new plant to less humid conditions. Continue watering as needed, allowing the soil to dry slightly between waterings.
The most common issue you might encounter is rot. This usually happens if the soil is too wet and there’s not enough airflow. If you see a cutting turning brown and mushy, unfortunately, it’s probably a goner. Remove it immediately to prevent it from affecting others. Sometimes, a cutting just fails to root; don’t be discouraged, just try again! Remember, every plant and every cutting is a little bit different.
A Encouraging Closing
So there you have it! Propagating your Chaiturus marrubiastrum is a truly rewarding journey. Be patient with your little green friends, give them a good start, and enjoy the process of watching them grow. Happy gardening, and may your propagation adventures be bountiful!
Resource: