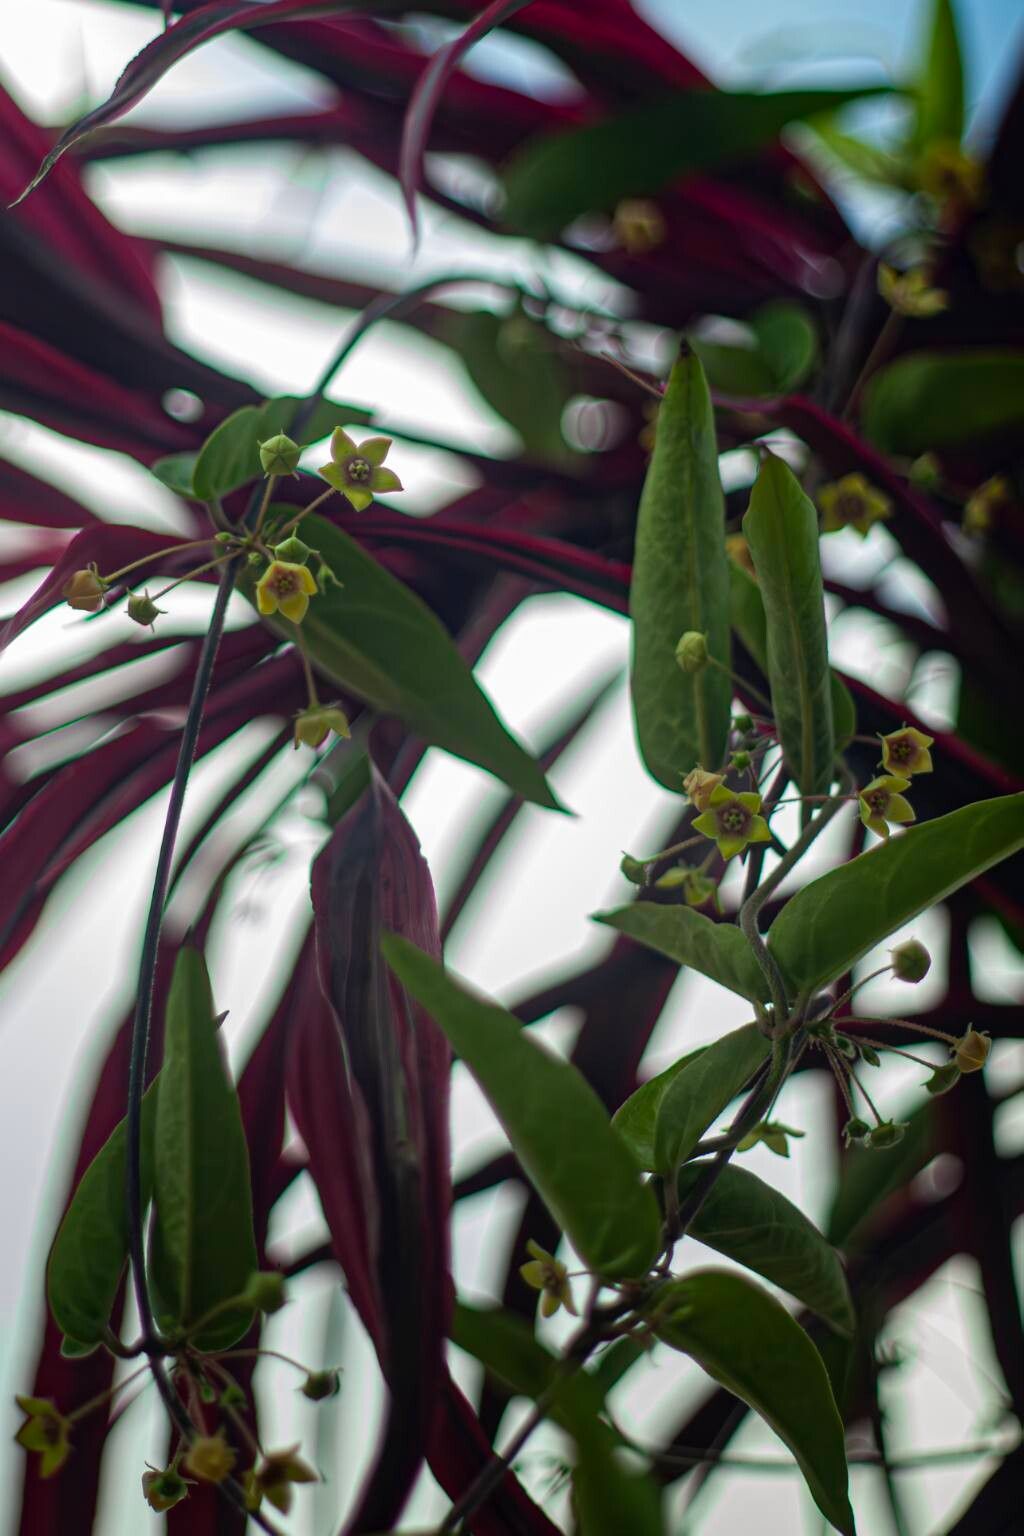
Oh, hello there! So glad you’re curious about Vincetoxicum indicum. It’s one of those vines that can really steal the show with its delicate, star-shaped flowers and lovely scent. Trust me, seeing a new little plant sprout from a piece of your existing one? It’s pure magic. And the best part? While it’s not quite “plant-it-and-forget-it” easy, with a little patience, even beginners can have a lot of success with it.
The Best Time to Start
For Vincetoxicum indicum, spring and early summer are your golden windows. This is when the plant is actively growing, full of energy, and more likely to put out roots. You want to capture that fresh, vibrant growth.
Supplies You’ll Need
Here’s a little stash you’ll want to gather:
- Sharp pruning shears or a clean knife: For making those crucial cuts.
- A rooting hormone powder or gel: This isn’t strictly essential, but it gives your cuttings a lovely boost.
- A well-draining potting mix: I like a blend of equal parts peat moss (or coir) and perlite. It keeps things airy.
- Small pots or trays: About a 4-inch size is perfect for starting out.
- A spray bottle: For misting.
- Plastic bags or a propagator: To create a humid environment.
- Labels: So you don’t forget what you planted where!
Propagation Methods
Let’s get our hands dirty!
1. Stem Cuttings: My Go-To Method
This is my favorite way to multiply these beauties.
- Take your cutting: Look for a healthy stem that’s not flowering but has developing leaves. You want a piece that’s about 4-6 inches long. Make a clean cut just below a leaf node (where a leaf attaches to the stem).
- Prepare the cutting: Gently remove the lower leaves, leaving just a couple at the very top. This prevents them from rotting once they’re in soil.
- Dip in rooting hormone: If you’re using it, dip the cut end into the hormone powder or gel. Tap off any excess.
- Plant it up: Make a small hole in your prepared potting mix with a pencil or your finger. Insert the cutting, ensuring the node where you removed the leaves is below the soil surface. Gently firm the soil around it.
- Create humidity: Water the soil lightly. Then, cover the pot with a clear plastic bag or place it in a propagator. Make sure the plastic bag doesn’t touch the leaves.
2. Division: For Established Plants
If you have a mature, well-established plant that’s getting a bit crowded, division is a fantastic option.
- Gently unpot the plant: Do this when it’s actively growing, ideally in spring.
- Inspect the root ball: You’re looking for natural divisions where you can see distinct clumps of roots and stems.
- Separate the clumps: Use your hands or a clean trowel to carefully pull or cut the root ball apart. Make sure each new division has some roots and at least one or two healthy stems.
- Repot: Plant each division into its own pot with fresh, well-draining potting mix. Water them in.
The “Secret Sauce” (Pro Tips)
Here are a couple of things I’ve picked up over the years that really make a difference:
- Keep the leaves dry: When you’re watering your cuttings in pots, aim the water directly at the soil. Avoid getting the leaves wet. Excess moisture on the foliage, especially in a humid environment, can invite fungal diseases.
- Bottom warmth is a winner: A gentle warmth from below can significantly speed up root development. A plant heating mat placed under your pots, set on a low setting, is a game-changer. It mimics the warmth of spring soil and encourages those roots to form.
Aftercare & Troubleshooting
Once you see new growth peeking out, that’s a good sign roots are forming!
- Acclimate gradually: If you’ve used a plastic bag for humidity, slowly start to remove it over a week or so. Open it for a few hours each day, gradually increasing the time it’s off. This helps your new plant adjust to drier air.
- Water as needed: Keep the soil consistently moist but not soggy. You’ll learn to feel the weight of the pot.
- Watch for wilting or yellowing leaves: This can indicate a few things. If the soil is too wet, it’s likely rot – a common enemy. If it’s too dry, the cutting will just shrivel. Sometimes, a cutting just doesn’t take, and that’s okay! Don’t be discouraged. Just clean up any rotted material, ensure good airflow, and try again.
A Little Persistence Pays Off
Propagating Vincetoxicum indicum is a rewarding journey. Be patient with your little cuttings. A plant won’t go from cutting to established overnight. Enjoy the process, celebrate each tiny success, and soon you’ll have even more of this lovely vine to share or enjoy in your own garden. Happy growing!
Resource:
https://identify.plantnet.org/k-world-flora/species/Vincetoxicum%20indicum%20(Burm.f.)%20Mabb./data