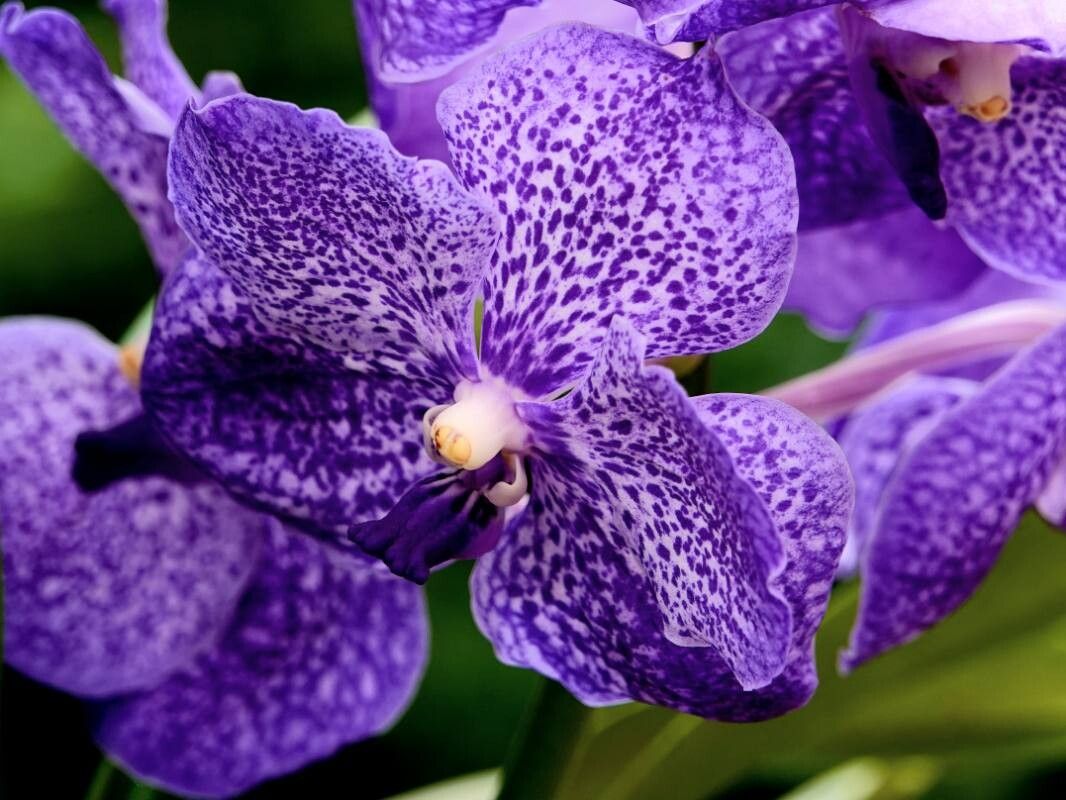
Hello there, fellow plant lover! Today, we’re diving into the wonderful world of Vanda coerulescens. If you’ve ever admired this orchid’s delicate, sky-blue blooms and thought, “I wish I could have more of those!”, then you’re in the right place. Propagating orchids like the Vanda coerulescens can feel a little intimidating at first, but I promise you, with a little know-how and patience, it’s an incredibly rewarding journey. Think of it as growing your orchid family – what could be better? And while Vanda coerulescens isn’t the absolute easiest orchid for a complete beginner to propagate, it’s absolutely achievable with the right approach.
The Best Time to Start
For Vanda coerulescens, the sweet spot for propagation is late spring or early summer. This is when the plant is actively growing and has built up enough energy reserves to dedicate to rooting new growth. You’ll often see new aerial roots starting to emerge from the base of the plant during this time, which is a great indicator that it’s ready to be divided or that you can take cuttings. Avoid propagating when the plant is actively flowering, as this can stress it out.
Supplies You’ll Need
Gathering your tools beforehand makes the whole process smoother. Here’s what I keep on hand:
- Sterilized pruning shears or a sharp, clean knife: Essential for making clean cuts. Don’t skip the sterilization! Isopropyl alcohol is your best friend here.
- Orchid potting mix: A well-draining blend is crucial. I usually use a mix of bark chips, perlite, and sphagnum moss. You want good air circulation for those roots.
- A clean pot or container: Something appropriately sized for your new division or cutting. Terra cotta pots are excellent for orchids as they breathe well.
- Oyster shell, charcoal, or perlite: To add to your mix for drainage and aeration.
- Rooting hormone (optional but helpful): A powder or gel can give your cuttings a little boost in establishing roots.
- A spray bottle: For misting.
- Clear plastic bag or propagation box (for some methods): To create a humid environment for cuttings.
- Rubbing alcohol or hydrogen peroxide: For sterilizing tools.
Propagation Methods
The most successful way to propagate Vanda coerulescens is through division. These orchids tend to produce multiple growth points, making them ideal candidates for splitting.
Division Method:
- Gently remove the plant from its pot. You might need to coax it a bit. Inspect the root system.
- Look for natural divisions. You’re searching for sections of the plant that have their own healthy roots and at least one or two healthy leaves.
- Carefully separate the divisions. Use your sterilized shears or knife to cut through the rhizome (the stem connecting the growths). Try to make the cut as clean as possible and ensure each new division has a good number of healthy roots. If some older roots are damaged or rotted, trim them away.
- Allow the cut surfaces to air dry for a few hours. This helps prevent rot. You can even sprinkle a bit of cinnamon on the cuts; it has antifungal properties and smells lovely!
- Pot up each division. Place them in their new pots with your fresh orchid mix. The base of the plant should be at the same level it was before. Don’t pack the mix too tightly; orchids like air around their roots.
The “Secret Sauce” (Pro Tips)
Here are a couple of things I’ve learned over the years that make a real difference:
- Don’t be afraid of healthy aerial roots. If you see strong, green aerial roots emerging from a healthy growth point, that’s a prime candidate for division. Those are the roots that will immediately start working for your new plant.
- Consider the humidity for divisions. While Vanda coerulescens likes humidity, when you first divide them, I find it beneficial to keep them in a slightly more humid environment for the first week or two. This can be as simple as placing them in a clear plastic bag with a few air holes, or just misting them more frequently without letting water sit in the crown.
Aftercare & Troubleshooting
Once your Vanda coerulescens divisions are potted up, they’ll need a little extra attention.
- Watering: Water them thoroughly when the potting mix is almost dry. Avoid letting them sit in soggy conditions, as this is a fast track to root rot.
- Light: Place them in bright, indirect light. Avoid direct sun which can scorch delicate new growth.
- Fertilizing: Wait about a month before you start a very dilute feeding regimen. Let them settle in first.
The most common sign of failure is root rot. You’ll notice yellowing, mushy roots that might also have a foul odor. If you see this, carefully unpot the plant, trim away all affected roots, and repot in fresh, dry mix. Ensure good air circulation and ease up on the watering. Sometimes, you might see leaves yellowing and dropping. This can be a sign of transplant shock or stress. As long as there are still healthy green parts and any emerging roots, it’s worth giving it time.
A Rewarding Endeavor
Propagating Vanda coerulescens is a wonderful way to expand your orchid collection and share the beauty of these stunning flowers. Remember to be patient; orchids take their time. Every successful division is a little victory, and I can’t wait for you to experience that joy. Happy growing!
Resource:
https://identify.plantnet.org/k-world-flora/species/Vanda%20coerulescens%20Griff./data