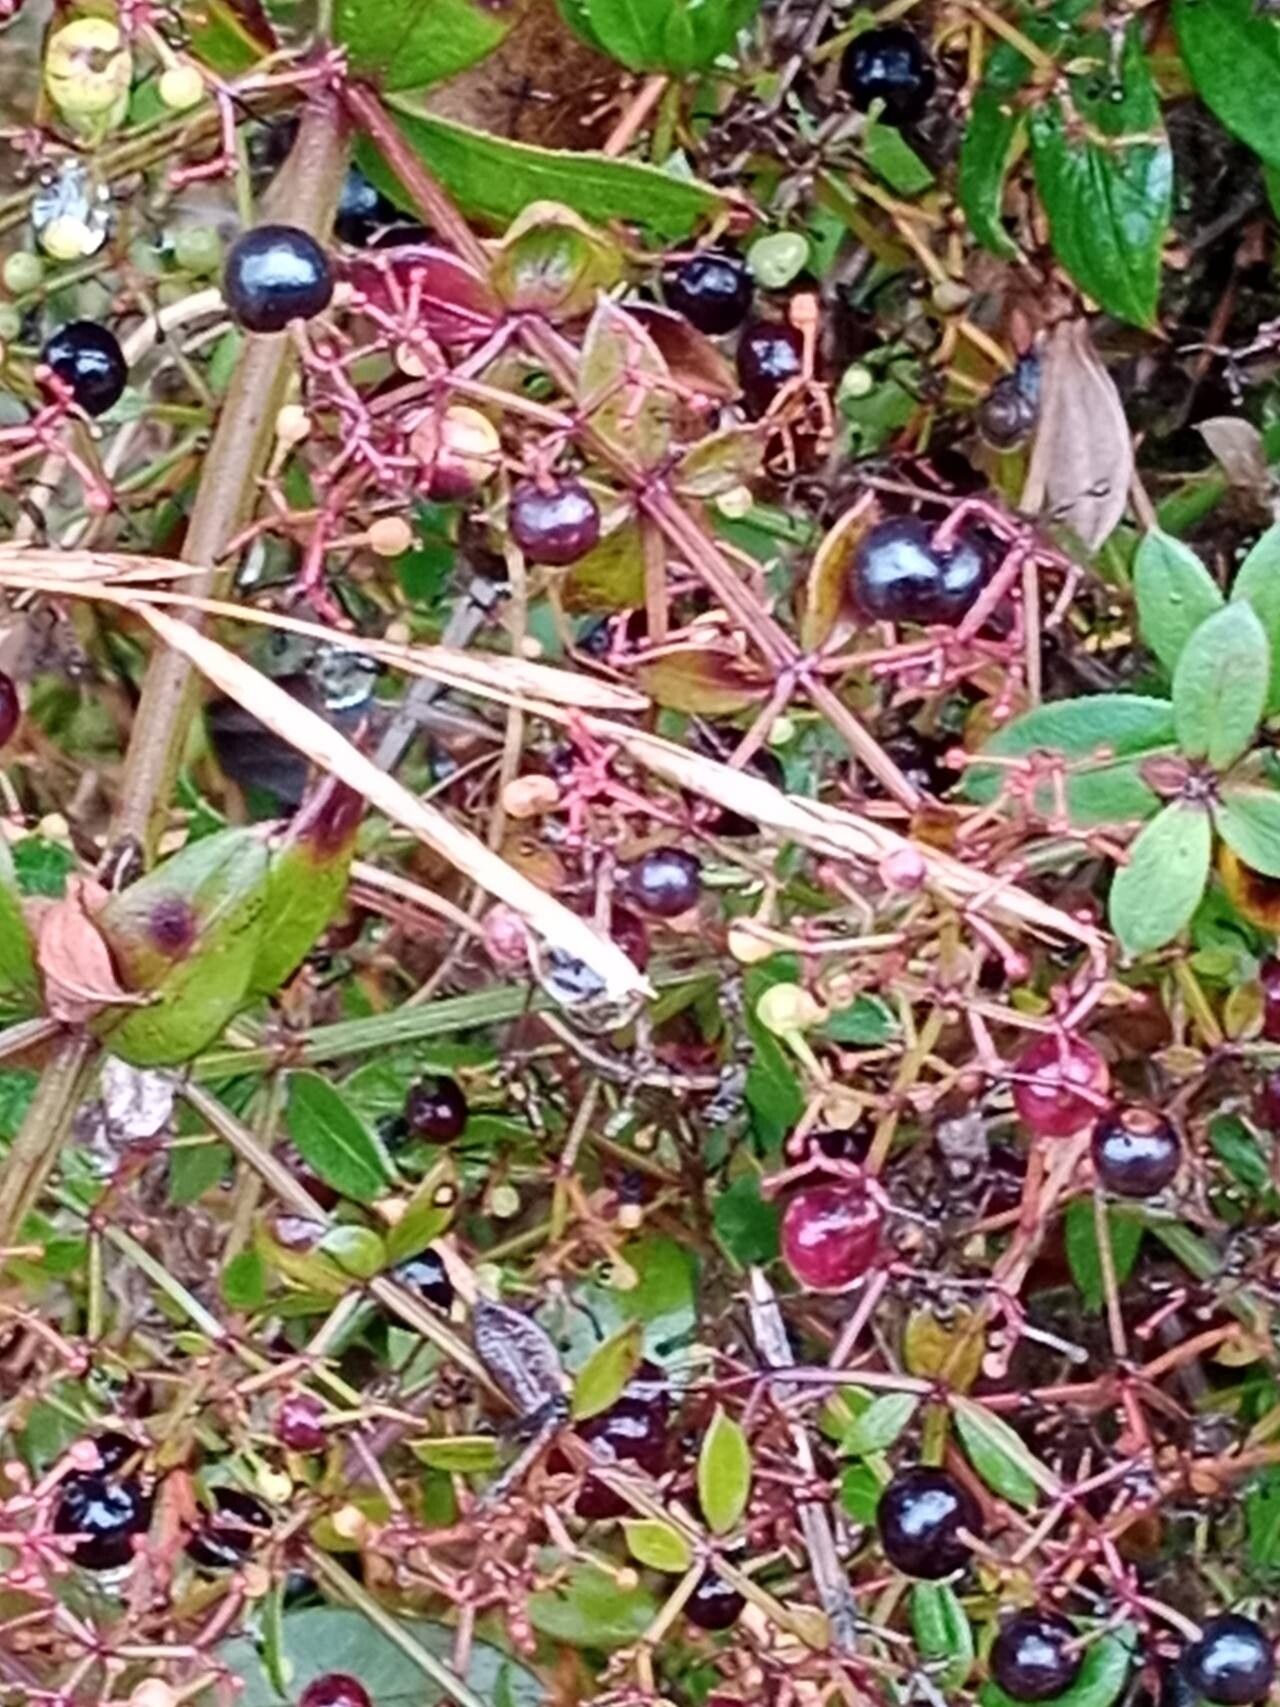
Hey there, fellow plant lovers! I’m so excited to chat with you today about a plant that’s really captured my heart over the years: Rubia peregrina, also known as Wild Madder. You might know it from its beautiful, trailing stems and delicate, star-shaped flowers that eventually turn into little black berries. It’s a plant that brings a touch of wild, untamed beauty to any garden, and honestly, getting more of them to grow is one of the most satisfying gardening projects you can undertake.
Now, is it a breeze for absolute beginners? I’d say it’s moderately easy. It requires a little bit of patience and attention, but the rewards are totally worth it. Think of it like learning a new dance step – a few practice moves and you’ll be twirling in no time!
The Best Time to Start
For Rubia peregrina, the sweet spot for propagation is definitely late spring to early summer. This is when the plant is actively growing, and the new shoots are nice and pliable. Starting a plant when it’s bursting with energy just gives it the best head start. You’ll find your cuttings are more vigorous and have a much higher chance of rooting well.
Supplies You’ll Need
Gathering your tools before you start makes the whole process so much smoother. Here’s a little checklist for you:
- Sharp pruning shears or a clean, sharp knife: For making clean cuts. Dull tools can damage the stems.
- Rooting hormone (optional but recommended): This really gives your cuttings an extra boost.
- Small pots or trays: Anything that has drainage holes.
- Well-draining potting mix: A good blend of peat moss, perlite, and a bit of sand works wonders. You can also find specific cactus or succulent mixes which are often perfect.
- Watering can or mister: For gentle watering.
- Plastic bags or a propagation dome: To create a humid microclimate.
Propagation Methods
I find Rubia peregrina is best propagated from stem cuttings. It’s straightforward and generally yields great results.
Stem Cuttings
- Select your material: Look for healthy, non-flowering stems that are about 4-6 inches long. Gently bend one. If it snaps easily, it’s a good candidate. If it’s very woody and stiff, it might be too mature.
- Make the cut: Using your sharp shears or knife, make a clean cut just below a leaf node. This is where new roots are most likely to form.
- Prepare the cutting: Gently remove the lower leaves from the cutting, leaving just a couple of leaves at the very top. This helps the plant put its energy into rooting rather than supporting too many leaves.
- Apply rooting hormone (optional): If you’re using rooting hormone, dip the cut end into the powder, tapping off any excess.
- Plant the cutting: Fill your small pots with the well-draining potting mix. Make a small hole with your finger or a pencil and insert the cutting, ensuring at least one leaf node is buried in the soil. Gently firm the soil around the stem.
- Water gently: Water the soil thoroughly but carefully, so you don’t dislodge the cutting.
- Create humidity: Cover the pot with a clear plastic bag (making sure the leaves don’t touch the sides) or place it in a propagation dome. This traps moisture and keeps the humidity high, which is crucial for cuttings.
- Provide light and warmth: Place the pots in a bright spot, but avoid direct sunlight initially. A little warmth from a heat mat underneath can really speed things up, but it’s not strictly necessary.
The “Secret Sauce” (Pro Tips)
Here are a couple of things I’ve learned over the years that make a big difference:
- Don’t be afraid to propagate from multiple stems: Not every cutting will make it, and that’s okay! It’s always better to take more than you think you’ll need. I usually aim for at least 5-6 cuttings when I start.
- Bottom watering is your best friend: Once your cuttings are potted, I prefer to water them from the bottom. This means placing the pots in a tray of water and letting the soil wick up the moisture it needs. It prevents disturbing the delicate cuttings and ensures the entire soil mass gets hydrated without waterlogging the surface.
- Patience is key! I know, I know, it sounds basic, but seriously. Some of these plants can take their sweet time to show signs of rooting. Resist the urge to pull them up to check!
Aftercare & Troubleshooting
Once you start seeing new growth emerging (that’s your sign of success!), it’s time to gradually acclimate your new plant to normal conditions. Slowly remove the plastic bag or open the propagation dome for increasing periods each day over a week or so. Continue to keep the soil lightly moist and out of direct sun.
The most common issue you might encounter is rot. This usually happens if the soil stays too wet or the humidity is too high without adequate air circulation. If you see a cutting turning mushy or black at the base, unfortunately, it’s usually beyond saving. Don’t get discouraged; just try again with a fresh cutting and perhaps adjust your watering or humidity levels.
A Encouraging Closing
Watching a new plant sprout and grow from a tiny piece of its parent is a truly magical experience. Be patient with your Rubia peregrina cuttings, give them a little TLC, and soon you’ll have a whole new generation of these beautiful plants to enjoy, share, or plant out in your garden. Happy propagating!
Resource:
https://identify.plantnet.org/k-world-flora/species/Rubia%20peregrina%20L./data