Oh, hello there! Come on in, pull up a chair. I’ve got a fresh pot of coffee brewing, and I was just thinking about those fabulous Ranunculus. Aren’t they just the most cheerful things? Those papery, multi-petaled blooms in every color imaginable– it’s like a painter’s palette exploded in the garden.
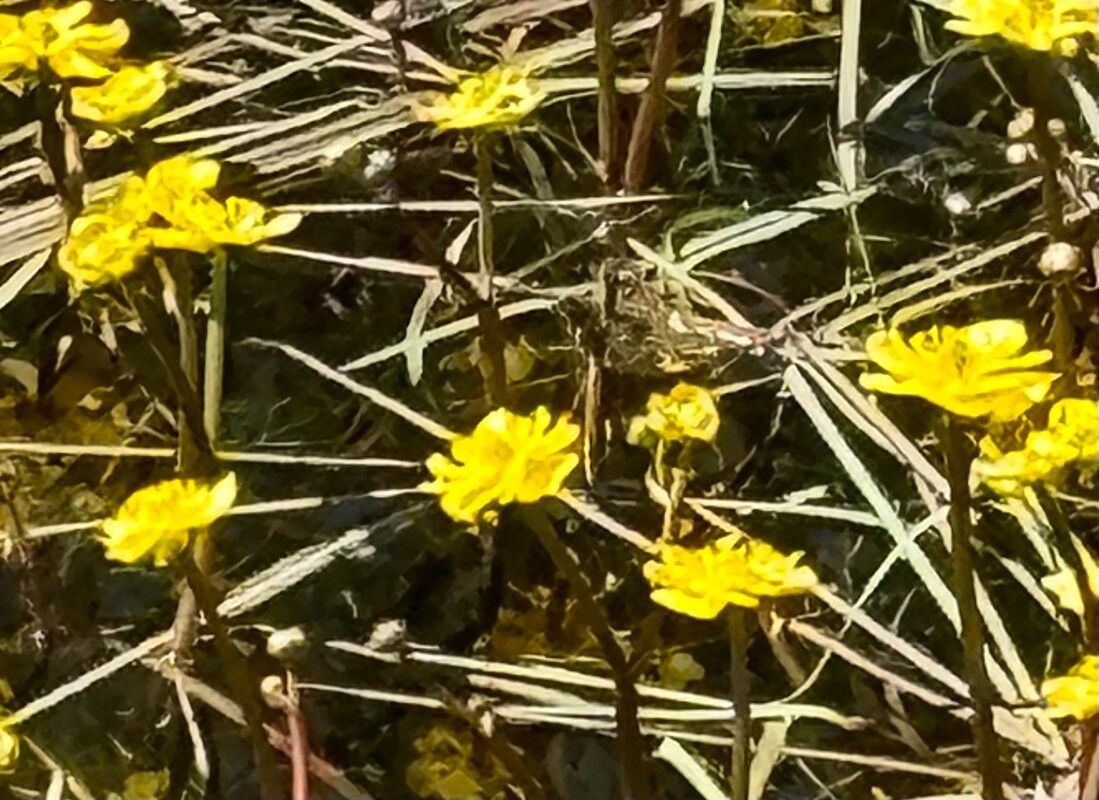
If you’ve ever admired them and thought, “I wish I had more of those!”, you’re in luck. Propagating R. flabellaris, or the Yellow Water-Crowfoot as it’s also known, is a truly rewarding experience. It’s not the absolute easiest plant for a complete beginner to propagate, but with a little attention and a bit of patience, you’ll be well on your way to doubling your happy blooms.
The Best Time to Start
For R. flabellaris, the sweet spot is generally in the spring, as new growth begins to emerge. You’re looking for those tender, young shoots that are just starting to get going. This is when the plant has the most energy for creating new life. Avoid trying to propagate from woody or over-mature stems.
Supplies You’ll Need
Gathering your tools upfront makes the whole process much smoother. Here’s what I usually have on hand:
- Sharp Pruning Shears or a Clean Knife: For taking clean cuts.
- Rooting Hormone (Optional but Recommended): This little helper encourages faster root development. Look for one with a good balance of auxins.
- Well-Draining Potting Mix: A blend of peat moss, perlite, and a bit of compost works wonders. You want something that holds moisture but doesn’t become waterlogged.
- Small Pots or Seedling Trays: With good drainage holes, of course!
- Plastic Bags or a Clear Cover: To create a mini-greenhouse effect.
- Watering Can with a Fine Rose: For gentle watering.
- Labels and a Marker: So you don’t forget what’s what!
Propagation Methods
Ranunculus flabellaris can be propagated in a couple of ways, but division is often the most reliable for home gardeners.
Division
This is my preferred method for R. flabellaris because it works directly with the tubers.
- Dig Carefully: In early spring, just as you see signs of new growth, gently dig up the entire plant. Be kind to those tubers – they’re the heart of your plant!
- Clean Gently: Brush off as much soil as you can, but don’t wash them unless they’re extremely muddy. You want to see the distinct tubers.
- Identify Growth Points: Look for the “eyes” or small buds on the tubers. This is where new shoots will emerge.
- Make the Cuts: Using your clean, sharp knife or shears, divide the tubers. Each piece should have at least one good eye. If you’re unsure, it’s better to err on the side of caution and give each division a better chance. Sometimes, a larger tuber with a good eye can even be left whole.
- Let Them Callus (Optional but Good Practice): If you can, let the cut surfaces air dry for a day or two in a dry spot. This helps prevent rot.
- Planting: Plant your divisions in pots filled with your well-draining mix, about 2-3 inches deep. Make sure the eyes are pointing upwards.
- Water Lightly: Give them a gentle watering, just enough to moisten the soil.
Stem Cuttings (More Challenging)
While division is generally more successful, you can try stem cuttings, especially if you have a particularly vigorous plant and want to experiment.
- Select Shoots: Look for healthy, non-flowering shoots that are about 3-4 inches long.
- Make the Cut: Using your sterile pruners, make a clean cut just below a leaf node.
- Prepare the Cutting: Remove the lower leaves, leaving just a couple at the top. This prevents them from rotting in the soil or water.
- Apply Rooting Hormone: Dip the cut end of the stem into rooting hormone.
- Planting: Insert the cuttings into pots filled with your well-draining potting mix. You can plant several in one pot, spaced a couple of inches apart.
- Create Humidity: Water gently, then cover the pot with a plastic bag or place it in a propagator. This keeps the humidity high, which is crucial for cuttings.
The “Secret Sauce” (Pro Tips)
Here are a couple of things I’ve learned over the years that can make a big difference:
- Don’t Over-Water Divisions: This is probably the most common pitfall. Tubers are prone to rot if kept too wet, especially before they’ve established roots. Think “moist,” not “soggy.”
- Bottom Heat is Your Friend for Cuttings: If you’re attempting stem cuttings, placing them on a heated propagation mat can significantly speed up root formation. It mimics the warmth of spring soil.
- Freshness Matters: Try to plant your divisions as soon as possible after digging, especially if you’re not letting them callus. The fresher they are, the better their chances of survival.
Aftercare & Troubleshooting
Once your divisions are planted or your cuttings have been set up, it’s time for watchful waiting.
- Provide Bright, Indirect Light: Keep newly potted divisions and cuttings in a bright spot, but avoid direct, hot sun until they show signs of vigorous new growth.
- Maintain Humidity: Continue to mist cuttings or ensure the plastic cover stays in place until you see new leaves unfurling.
- Watch for Rot: The biggest enemy here is rot. If you see mushy stems or tubers, or a fuzzy mold growth, it’s a sign of too much moisture or poor air circulation. You can try gently removing affected parts, but often, it’s best to discard them to prevent spreading.
- Signs of Success: You’ll know your cuttings or divisions are happy when you see new leaf growth appearing. This is your cue to gradually introduce them to a little more light and ventilation. Once they look strong, you can transplant them into their own pots.
A Encouraging Closing
Propagating plants is a journey, my friend. There will be triumphs, and sometimes, a few little setbacks. Don’t get discouraged if not every single trial is a roaring success. Observe, learn, and most importantly, enjoy the process. There’s a special kind of magic in nurturing a tiny piece of your favorite plant into a whole new, vibrant specimen. Happy gardening!
Resource:
https://identify.plantnet.org/k-world-flora/species/Ranunculus%20flabellaris%20Raf./data