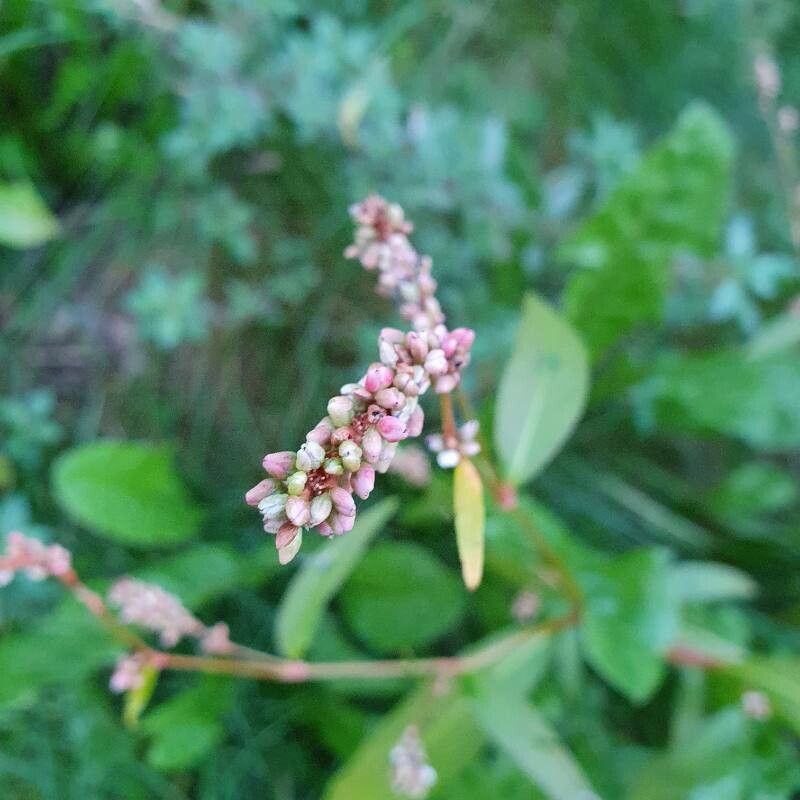
Oh, Persicaria longiseta! If you’re anything like me, you’ve probably fallen for those beautiful, arching stems and charming little flowers. I’ve grown these beauties in my garden for years, and they never fail to bring a smile to my face. They’re wonderfully adaptable and create such a lovely, informal feel.
The best part? Propagating Persicaria longiseta is a breeze! Seriously, even if you’re just starting to dip your toes into the world of plant propagation, you can absolutely succeed with this one. It’s so rewarding to watch a tiny cutting transform into a thriving new plant.
The Best Time to Start
For Persicaria longiseta, spring is your golden ticket. Wait until the plant has started actively growing after its winter rest. This typically means new shoots are appearing, and the days are getting longer and warmer. Taking cuttings from this vigorous, upward-growing phase gives them the best chance to establish strong roots.
Supplies You’ll Need
Here’s what I always have on hand when I’m propagating:
- Sharp pruning shears or a clean knife: For making nice, clean cuts.
- Rooting hormone (optional but helpful): A little powder or gel can speed things up.
- Potting mix: A well-draining mix is key. I like to mix equal parts of potting soil and perlite or coarse sand. You can also use a seed-starting mix if you have it.
- Small pots or trays: Clean ones, of course! Yogurt containers with drainage holes work in a pinch.
- Plastic bags or a propagation dome: To create a humid environment.
- Watering can with a fine rose: For gentle watering.
Propagation Methods
The easiest way to get more Persicaria longiseta plants is through stem cuttings. Here’s how I do it:
- Select good stems: Look for healthy, non-flowering stems that are about 4-6 inches long. You want them to be somewhat flexible but not woody.
- Make the cut: Using your sharp shears or knife, make a clean cut just below a leaf node. A leaf node is where a leaf attaches to the stem. This is where new roots tend to form.
- Prepare the cutting: Gently remove the lower leaves from the cutting, leaving just a few at the top. If the leaves are quite large, you can even cut them in half to reduce water loss.
- Apply rooting hormone (if using): Dip the cut end of the stem into your rooting hormone, tapping off any excess.
- Plant your cuttings: Fill your pots or trays with your prepared potting mix and moisten it. Make a small hole in the center of the mix with your finger or a pencil. Insert the cut end of your stem into the hole, ensuring at least one leaf node is buried beneath the surface. Gently firm the soil around the cutting.
- Create humidity: Water the soil gently. Then, cover the pot or tray with a plastic bag or propagation dome. This creates a mini greenhouse, keeping the humidity high, which is crucial for cuttings to root.
Another super simple method is water propagation:
- Take cuttings: Follow steps 1-3 above.
- Place in water: Put your cuttings in a jar or vase of water. Make sure no leaves are submerged in the water, as this can cause them to rot.
- Change water regularly: Change the water every few days to keep it fresh and prevent bacterial growth.
- Watch for roots: You should start to see roots appearing within a couple of weeks. Once they are about an inch long, you can transplant them into pots with soil.
For larger, established clumps, division is your go-to:
- Dig up the plant: In early spring, carefully dig up your established Persicaria clump.
- Separate the roots: Gently pull the clump apart into smaller sections. Each section should have roots and some healthy shoots. You can use your hands or a trowel if it’s a bit tough.
- Replant: Immediately replant your divisions in their new locations or in pots with fresh soil. Water them well.
The “Secret Sauce” (Pro Tips)
Here are a couple of things I’ve learned that really make a difference:
- Don’t overcrowd: When planting cuttings, give them a little space. If they’re too crowded, they’re more prone to fungal issues and competition.
- Bottom warmth matters: If you can, place your pots on a heat mat designed for seedlings. This gentle warmth from below can significantly speed up root development. It’s like giving them a warm hug!
- Fresh cuttings are best: Try to get your cuttings planted as soon as possible after taking them. The longer they sit out, the more stress they experience.
Aftercare & Troubleshooting
Once your cuttings have rooted (you’ll see new growth at the top, or they’ll resist gently tugging), it’s time to gradually acclimate them.
- Remove humidity cover: Slowly remove the plastic bag or dome over a few days to let them get used to drier air.
- Consistent moisture: Keep the soil consistently moist but not waterlogged. Overwatering is the quickest way to invite root rot, which often shows up as mushy, dark stems or yellowing leaves that quickly wilt. If you see this, sadly, that cutting is likely lost.
- Light: Place your newly rooted plants in bright, indirect light. Avoid harsh, direct sun, which can scorch young foliage.
- Transplanting: Once they have a good root system and are growing vigorously, you can transplant them into larger pots or directly into your garden.
A Encouraging Closing
Propagating Persicaria longiseta is such a satisfying way to fill your garden beds or share these lovely plants with friends. Be patient, trust the process, and don’t be discouraged if every single cutting doesn’t make it. Gardening is full of learning, and the joy of creating new life from your existing plants is truly something special. Happy propagating!
Resource:
https://identify.plantnet.org/k-world-flora/species/Persicaria%20longiseta%20(Bruijn)%20Kitag./data