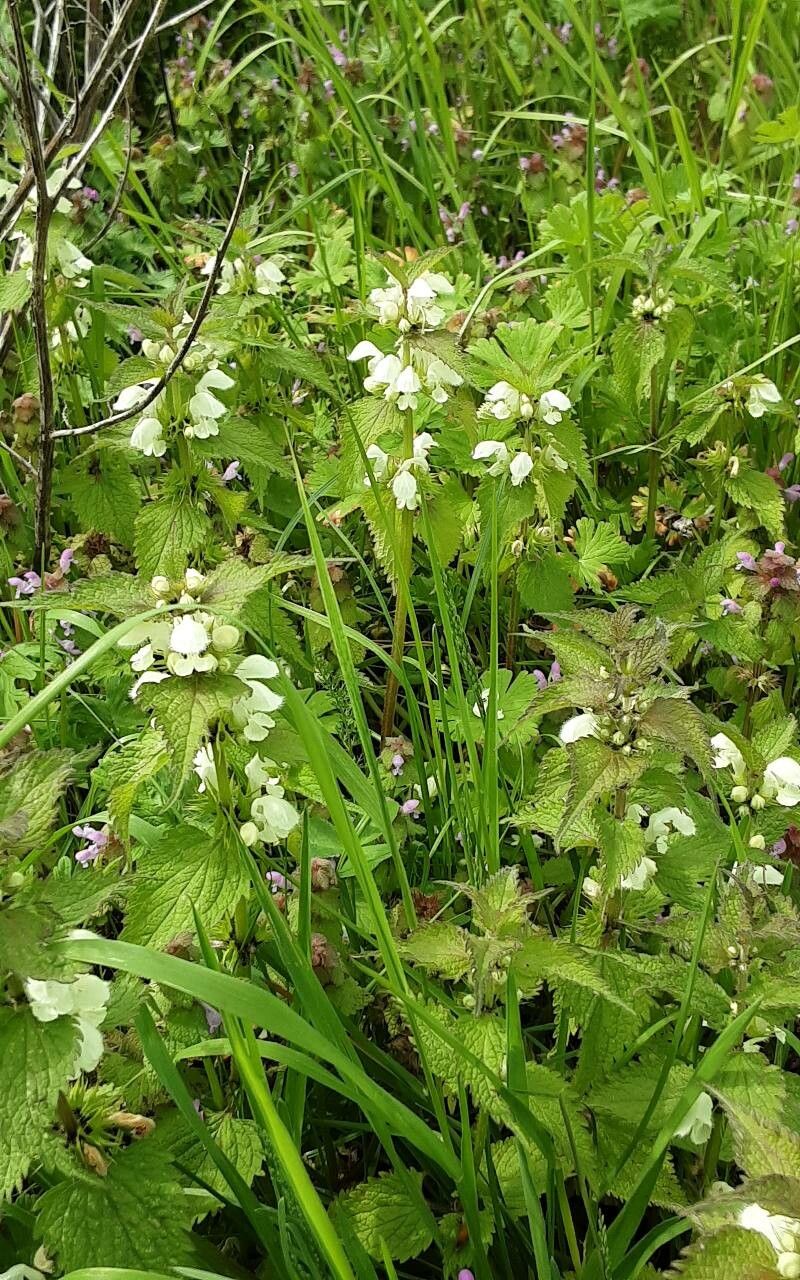
Hello there, fellow garden enthusiasts! I’m so glad you’ve stopped by my little corner of the web. Today, we’re diving into the wonderful world of propagating Lamium moschatum, also known as creeping or spotted deadnettle. Honestly, if you’re looking for a plant that brings a touch of delicate charm with minimal fuss, this is it. Its silvery leaves and dainty, typically pink or purple flowers create a lovely groundcover that really brightens up shady spots. And the best part? Propagating it is a genuinely rewarding experience, and I’m happy to share that it’s surprisingly easy, even for those of you just starting out on your propagation journey.
The Best Time to Start
For the absolute best success rates with Lamium moschatum, I always recommend working with it in the late spring or early summer. This is when the plant is usually in its most vigorous growth phase. You’ll have plenty of healthy, new stems that are perfect for taking cuttings. Aim for stems that are flexible and green, rather than old, woody ones.
Supplies You’ll Need
Gathering your supplies beforehand makes the whole process smooth and enjoyable. Here’s what I usually have on hand:
- Sharp pruning shears or clean scissors: For making clean cuts.
- Rooting hormone powder or gel (optional but recommended): This can give your cuttings a helpful boost.
- Small pots or seed trays: Whatever suits the number of cuttings you plan to take. Make sure they have drainage holes!
- A light, well-draining potting mix: I like a blend of peat-free compost, perlite, and a little coarse sand. This prevents waterlogging.
- A spray bottle filled with water: For keeping things humid.
- Plastic bags or clear plastic domes: To create a mini-greenhouse environment for your cuttings.
Propagation Methods
Lamium moschatum is a breeze to propagate, and I find these two methods to be the most effective:
1. Stem Cuttings
This is my go-to method for multiplying my lamium.
- Select your source: Find healthy, non-flowering stems on your established plant. Look for stems that are at least 4-6 inches long.
- Take the cutting: Using your clean shears, make a cut just below a leaf node. A leaf node is where a leaf attaches to the stem. This is where the magic happens for root development.
- Prepare the cutting: Gently remove the lower leaves from the cutting, leaving just a few at the very top. This prevents them from rotting when buried.
- Apply rooting hormone (optional): Dip the cut end of the stem into rooting hormone powder or gel. Tap off any excess.
- Plant the cutting: Fill your small pots with your prepared potting mix. Make a small hole with your finger or a pencil. Insert the cut end of the stem into the hole, ensuring that at least one leaf node is below the soil surface.
- Water gently: Give the soil a good watering to settle it around the cutting.
2. Water Propagation
This is a bit more visually satisfying for some, as you can watch the roots grow!
- Take cuttings: Follow steps 1-3 from the stem cuttings method.
- Place in water: Get a clean jar or glass and fill it with fresh water. Only immerse the leafless portion of the stem in the water. Ensure that the leaves are not touching the water.
- Find a good spot: Place the jar in a bright location but out of direct, harsh sunlight.
- Change the water: Refresh the water every few days to keep it clean and oxygenated.
The “Secret Sauce” (Pro Tips)
Okay, lean in close, I’ve got a couple of secrets that have served me well over the years:
- Don’t overcrowd: When planting cuttings in pots, give each one a little space. They need air circulation to prevent fungal issues. If you’re using water, two or three cuttings per jar is plenty.
- Humidity is key: Those plastic bags or domes are more than just aesthetics. They create a humid environment, which is crucial for cuttings to develop roots before they have their own water supply. Check for condensation – a little is good, too much can be a sign the humidity is too high and could lead to rot. If you see excessive fogging, “vent” the bag for a few hours.
- Bottom heat is a bonus: While not strictly necessary for lamium, if you happen to have a heated propagator or a warm spot on a windowsill, a little gentle bottom heat can really speed up root development. Think of it as giving your little ones a cozy, warm start.
Aftercare & Troubleshooting
Once your cuttings have started to root (you’ll see them pushing against the soil in pots, or developing roots in water), it’s time for their next phase.
- For water-propagated cuttings: When the roots are about an inch long, carefully transplant them into small pots filled with your well-draining potting mix. Water them in gently.
- For soil-propagated cuttings: You’ll know they’ve rooted when you feel a slight resistance when you gently tug on them. Start to gradually acclimate them to drier air by opening the plastic cover for longer periods over a week or so.
- Watering: Once potted, water them thoroughly but allow the top inch of soil to dry out completely between waterings. Overwatering is the most common culprit for failure.
- Troubleshooting: The most common sign of trouble is rot, which usually appears as mushy, brown stems. This is often due to overwatering or poor air circulation. If you see this, unfortunately, that cutting is likely lost, but don’t get discouraged! Simply remove it and check your watering habits. Another sign is wilting, which can happen if the cutting hasn’t rooted yet and can’t take up enough water, or if it’s too dry.
A Encouraging Closing
See? It’s really quite straightforward. Propagating Lamium moschatum is a delightful way to expand your garden, share plants with friends, or simply enjoy the satisfaction of growing something new. Be patient with your little cuttings. Some will take their time, while others will surprise you with their speedy root development. Just keep them in a bright, warm spot, provide consistent moisture, and allow yourself to enjoy the magical process of creation. Happy propagating!
Resource:
https://identify.plantnet.org/k-world-flora/species/Lamium%20moschatum%20Mill./data